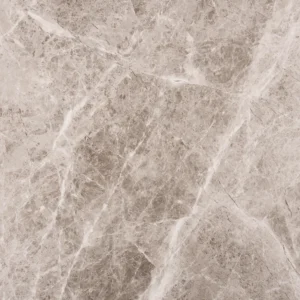
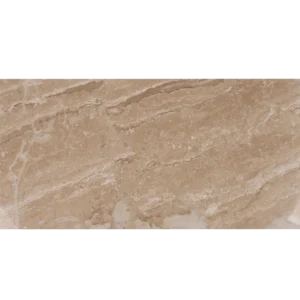
Installation Guide – Blanco White Matte Rectified Porcelain Tile 24×48
Important Advisory
Review the current Happy Floors recommendations and confirm that the tile, setting materials, substrate, and planned application are compatible before beginning work. Installation should follow applicable local building codes, recognized tile-industry standards, and project-specific requirements.
Step 1: Layout & Planning
- Verify the tile size, shade, caliber, finish, edge, and quantity before installation. Review pieces from multiple boxes to understand normal variation and establish the preferred layout.
- Dry-lay representative tiles when practical and plan the layout to balance cuts, maintain visual alignment, and coordinate the Blanco White color throughout the installation.
- Mark reference lines so the installation remains square and aligned. Plan movement accommodation according to the substrate, room size, climate, and applicable industry guidance.
- Because the tile has rectified edges, use a consistent joint width appropriate for the installation and product tolerances rather than placing tiles edge to edge.
Step 2: Tile Installation
- Install over a clean, sound, dry, and properly prepared substrate that is sufficiently flat and suitable for 24×48 porcelain tile. Correct cracks, excessive variation, moisture concerns, or structural deficiencies before setting tile.
- Select a mortar or setting material rated for porcelain tile and appropriate for the specific substrate and application. Follow the setting-material manufacturer’s mixing, open-time, and application instructions.
- Apply mortar evenly and achieve the coverage required by applicable installation standards and project conditions. For this 24×48 tile, proper mortar contact and support across the back of each tile are especially important. Periodically lift a tile to verify contact, and do not place tile over mortar that has skinned over.
- Set each tile according to the planned layout, pressing and adjusting it for proper contact, consistent joints, and a reasonably flush surface. Remove excess mortar from the joints before it hardens.
- Allow the installation to cure according to the setting-material manufacturer’s instructions before grouting or subjecting the surface to traffic.
Step 3: Cutting
- Measure and mark cuts carefully, allowing for the planned joint and movement spaces. Use a clean, appropriately rated wet saw or other professional cutting equipment suitable for porcelain tile.
- Support the 24×48 tile adequately during handling and cutting to reduce the risk of damage. Use suitable eye, hearing, and respiratory protection.
- Inspect cut edges and position cut pieces where they are least visible when the layout permits. Dry-fit cut pieces before setting them, and avoid using damaged or visibly defective pieces in prominent areas.
Step 4: Joint Filling
- Confirm that mortar has cured and that joints are clean, dry, and free of setting material before grouting.
- Choose a grout compatible with porcelain tile, the planned joint width, and the use conditions. Follow the grout manufacturer’s instructions for mixing, application, cleaning, and curing.
- Apply grout carefully and remove excess from the tile surface before it hardens. Use clean water and suitable tools to minimize haze, then protect the installation until the grout has cured as directed.
- Use an appropriate flexible sealant rather than rigid grout where movement joints or changes of plane are required, following the project design and recognized industry standards.
Step 5: Cleaning & Maintenance
- Remove installation residue using products approved for porcelain tile and follow the cleaner manufacturer’s directions. Test any cleaning product in an inconspicuous area first.
- For routine care, use a soft mop or cloth with a pH-neutral cleaner suitable for matte porcelain. Avoid abrasive tools and harsh products that could damage the finish.
- Clean spills and tracked dirt promptly, especially in high-use areas. Do not use maintenance procedures or sealers unless they are specifically recommended for this porcelain surface and application.
Disclaimer
Stone Market USA provides general installation information for planning purposes. Site conditions, substrate construction, climate, tile format, and use can affect installation requirements. A qualified tile professional should verify project conditions and follow the tile, mortar, grout, sealant, and cleaner manufacturers’ instructions, as well as applicable codes and recognized industry standards.