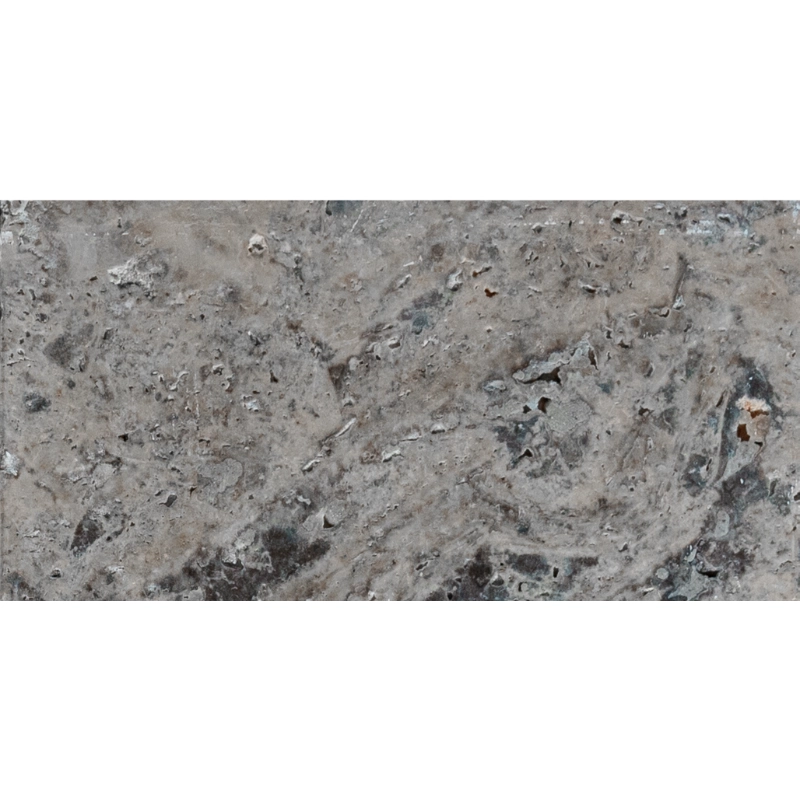
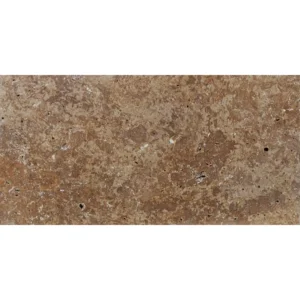
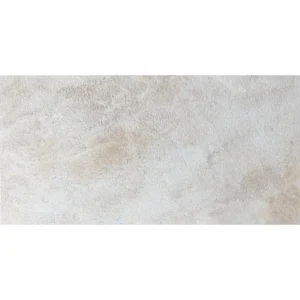
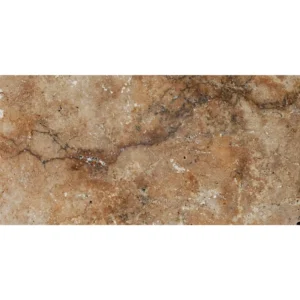
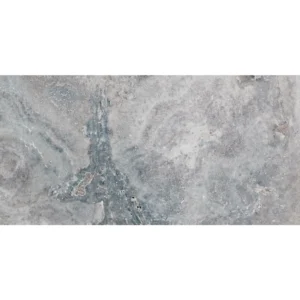
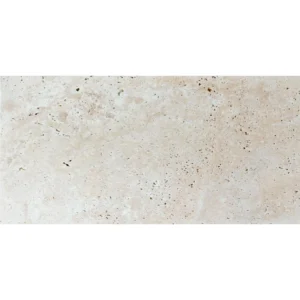
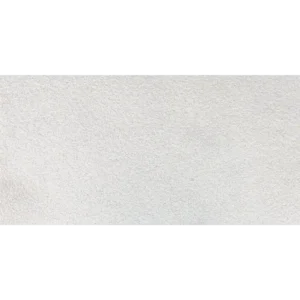
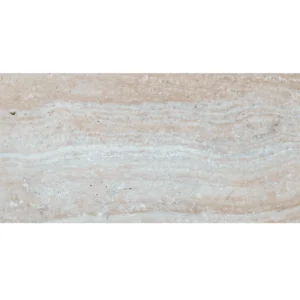
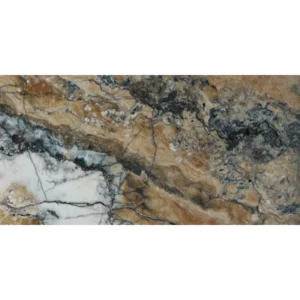
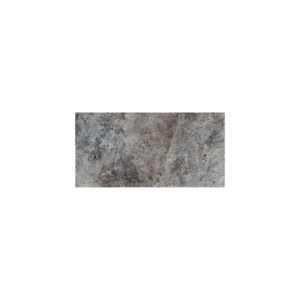
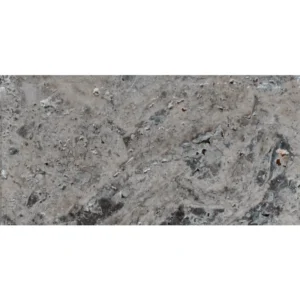
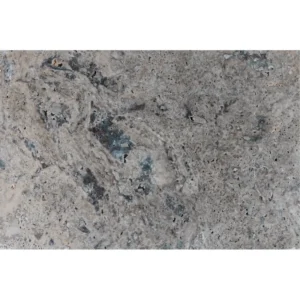
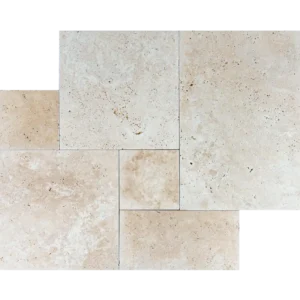
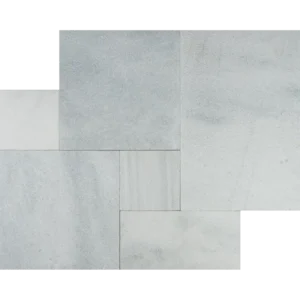
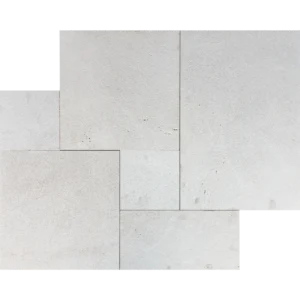
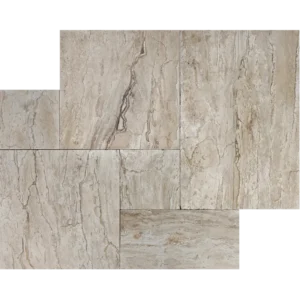
Silver Tumbled 12″x24″ Travertine Paver – Cool Gray, Clean Lines
Refresh patios and paths with the Silver Tumbled 12″x24″ Travertine Paver.
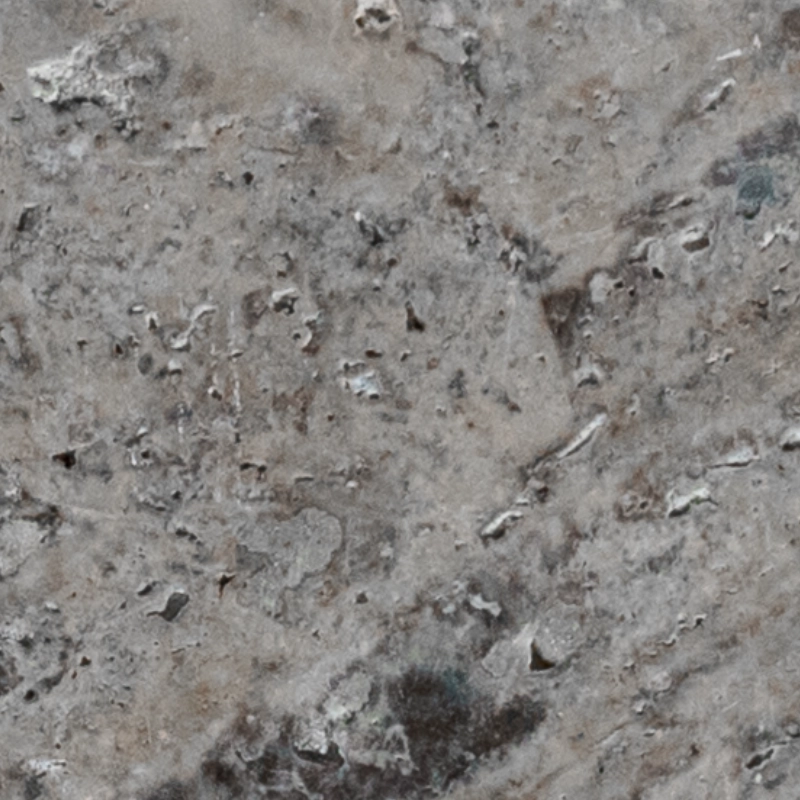
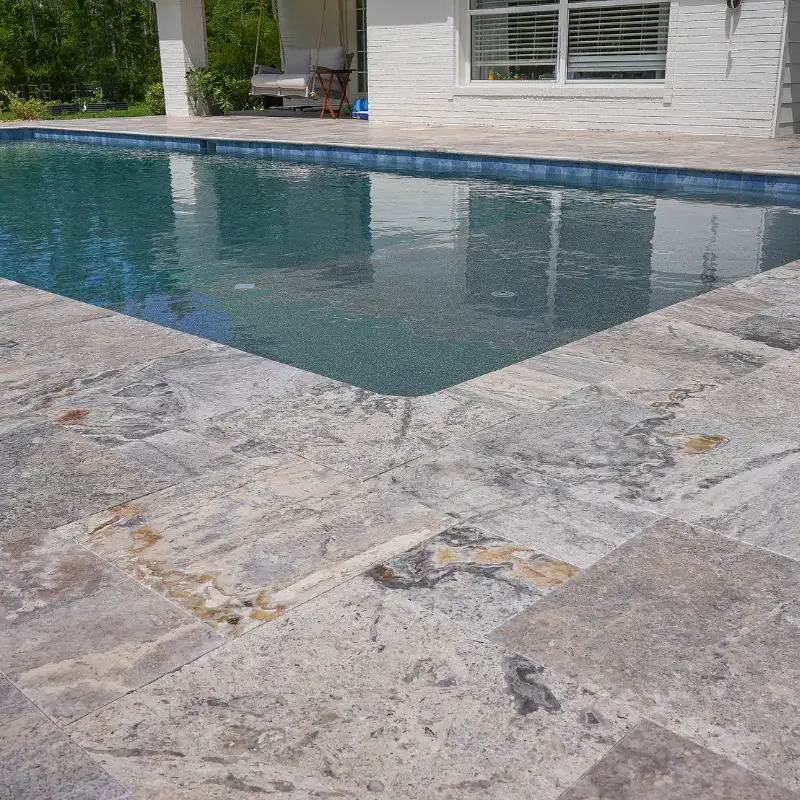
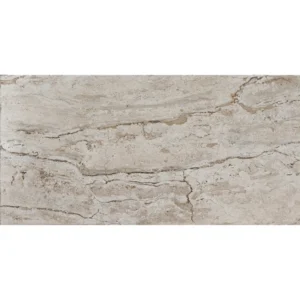
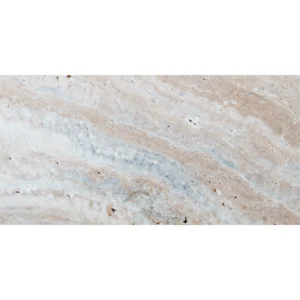
Its cool gray and silver-beige tones feel calm and refined.
The tumbled surface adds gentle texture and comfortable footing in all seasons.
The 12″x24″ format creates long, crisp lines with fewer joints.
As a result, layouts read sleek and modern.
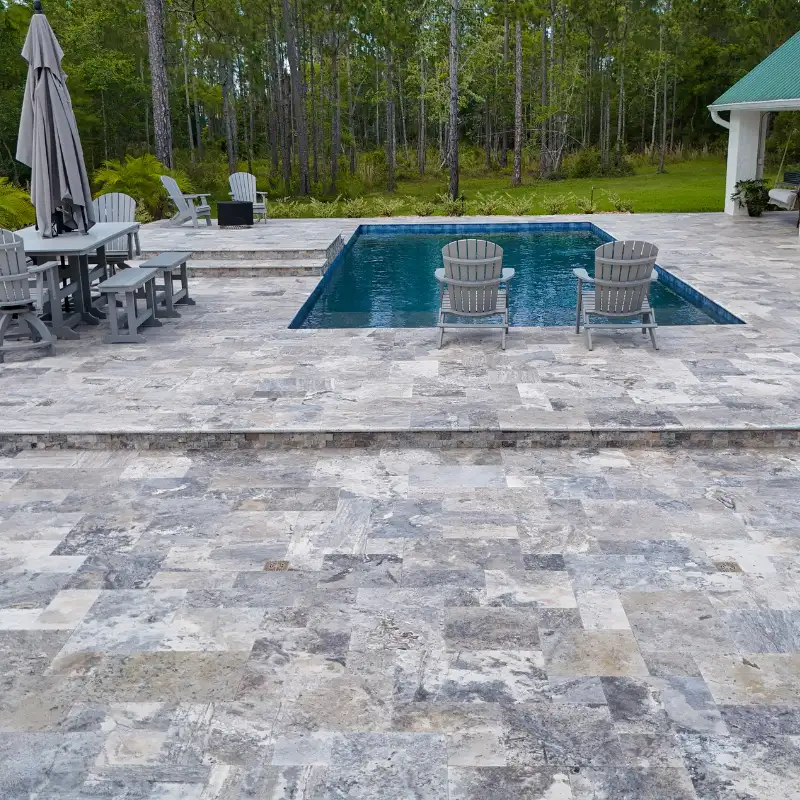
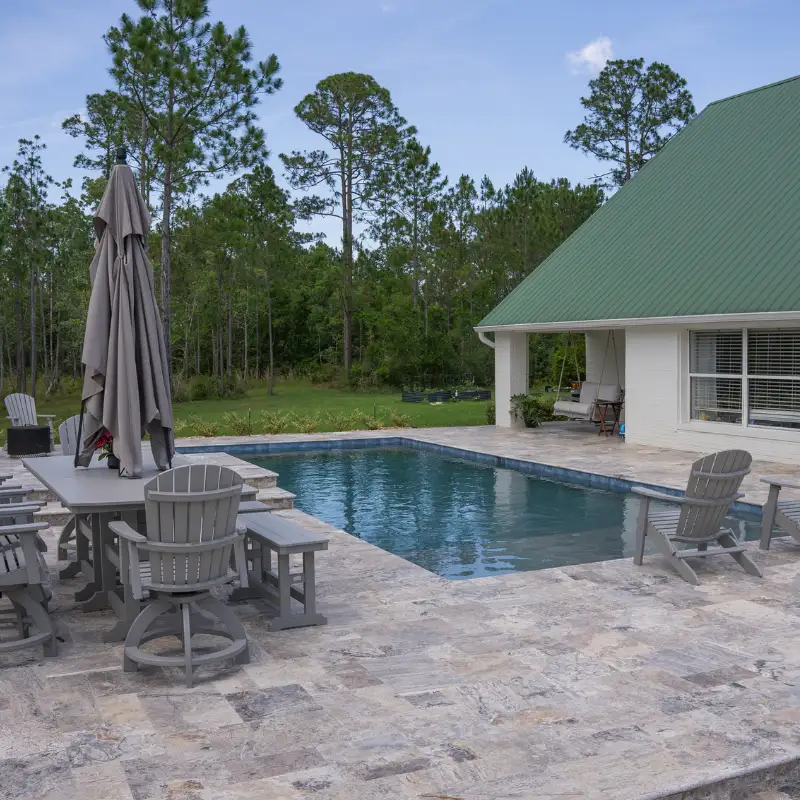
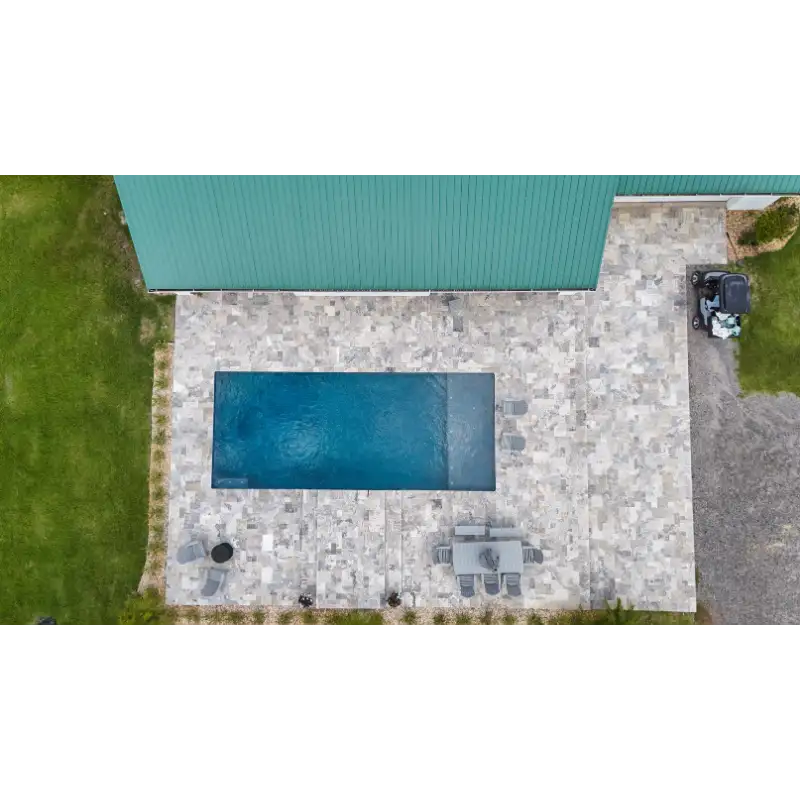
Use it for patios, pool surrounds, garden walks, and courtyards.
Moreover, the softened edges give a timeworn look that pairs well with wood, metal, or lush planting.
Key Features
- Material: Premium natural travertine
- Color: Silver gray with subtle beige movement
- Finish: Tumbled texture for natural grip and character
- Size: 12″x24″ (nominal)
- Edge: Soft, weathered profile
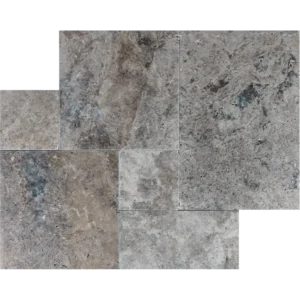
- Patterns: Running bond, staggered, modular mixes
- Use: Patios, walkways, pool decks, terraces
Choose this silver travertine when you want clean geometry and a relaxed, coastal feel.
Additionally, simple sealing and routine care help preserve its tone and texture for years.
Installation Guide – Silver Tumbled 12″x24″ Travertine Paver
Important Note
This guide covers only the paver covering phase. Sub-base and bedding preparation must be completed by qualified professionals prior to installation.
Step 1: Dry Layout & Planning
- Dry-lay pavers to evaluate natural color/vein variation and tumbled edge differences.
- Select a layout that limits lippage on this large format—running bond or ashlar patterns are recommended.
- Snap chalk lines or use a laser to create straight reference lines for consistent courses.
Step 2: Paver Placement
- Gently place each 12″x24″ paver onto the prepared bedding layer, following your layout lines.
- Maintain uniform joint spacing of 1/8″–1/4″ to accommodate joint filler.
- Tap with a rubber mallet to fully seat each paver and achieve a level surface; check adjacent edges frequently to avoid lippage.
Step 3: Cutting & Edge Finishing
- Use a wet saw with a diamond blade rated for travertine to make clean, accurate cuts.
- Support large-format pavers during cutting to prevent edge chipping or fractures.
- Smooth exposed cut edges with a rubbing stone to blend with the tumbled finish.
Step 4: Joint Filling
- Fill joints with polymeric sand or a travertine-compatible joint filler.
- Gently compact the surface and sweep away excess material.
- If using polymeric sand, lightly mist to activate per manufacturer instructions.
Step 5: Sealing & Maintenance
- After the installation is dry, apply a breathable, penetrating sealer formulated for exterior travertine.
- Re-seal every 1–2 years depending on exposure and traffic.
- Clean with pH-neutral stone cleaners only; avoid acidic or abrasive products.
Disclaimer
Travertine is a natural stone and may show tonal variation, surface pits, and veining—these are inherent characteristics, not defects. Always dry-lay and inspect materials before final installation. Professional installation is recommended for best performance and appearance.


