Royal Beige 12″x24″ Leathered Marble Paver – Luxe Outdoor Surfaces
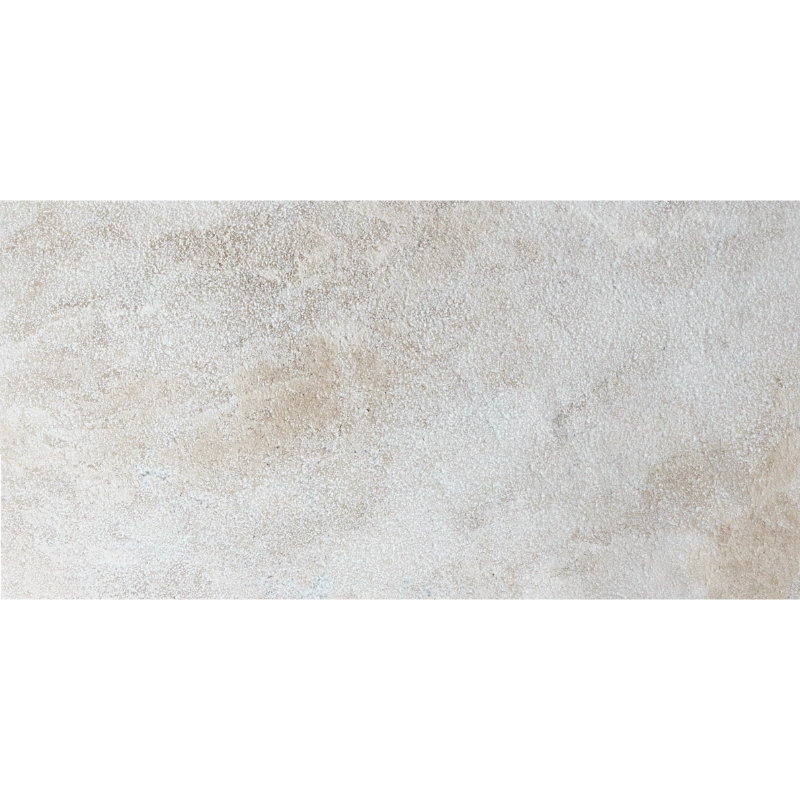
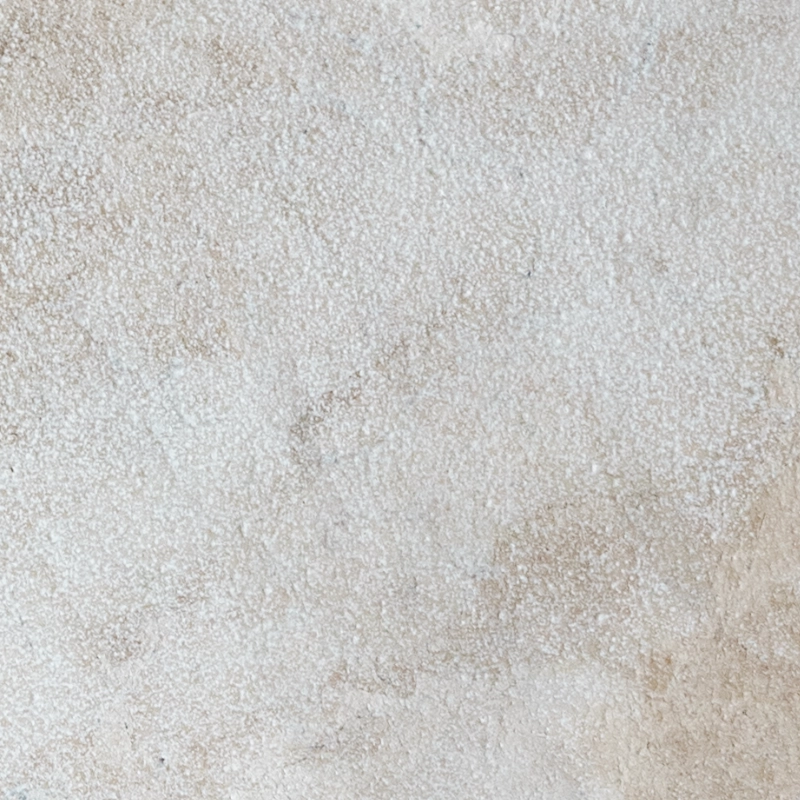
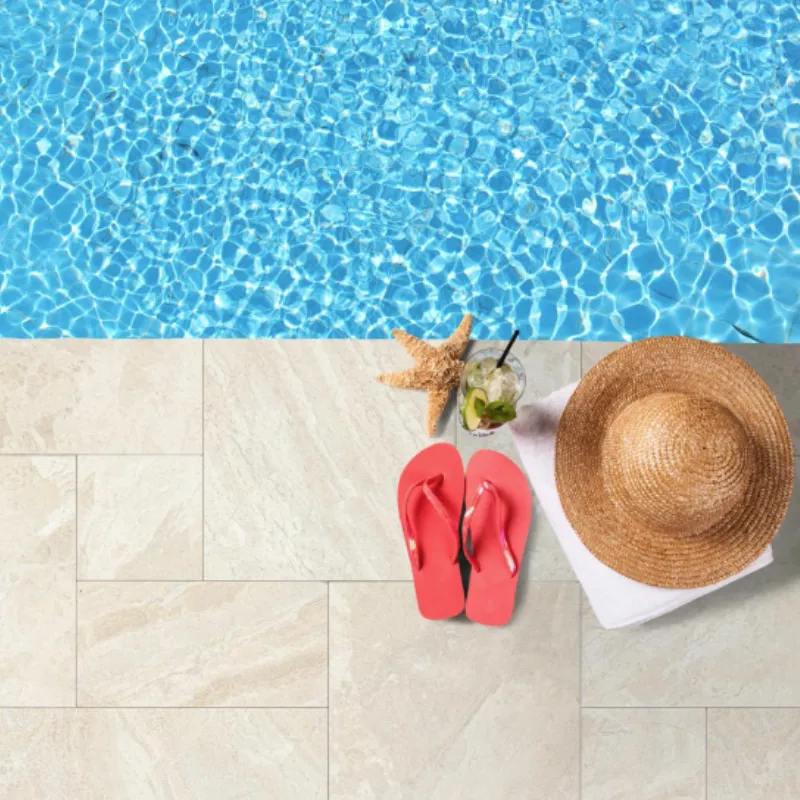
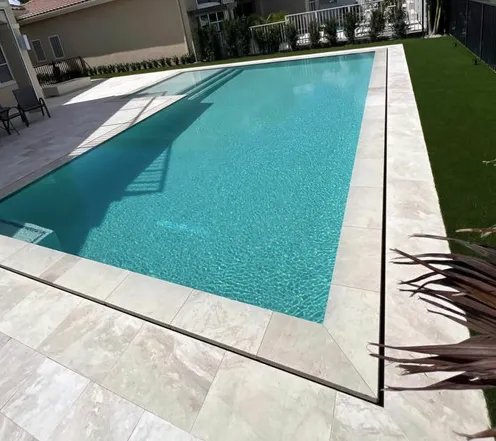
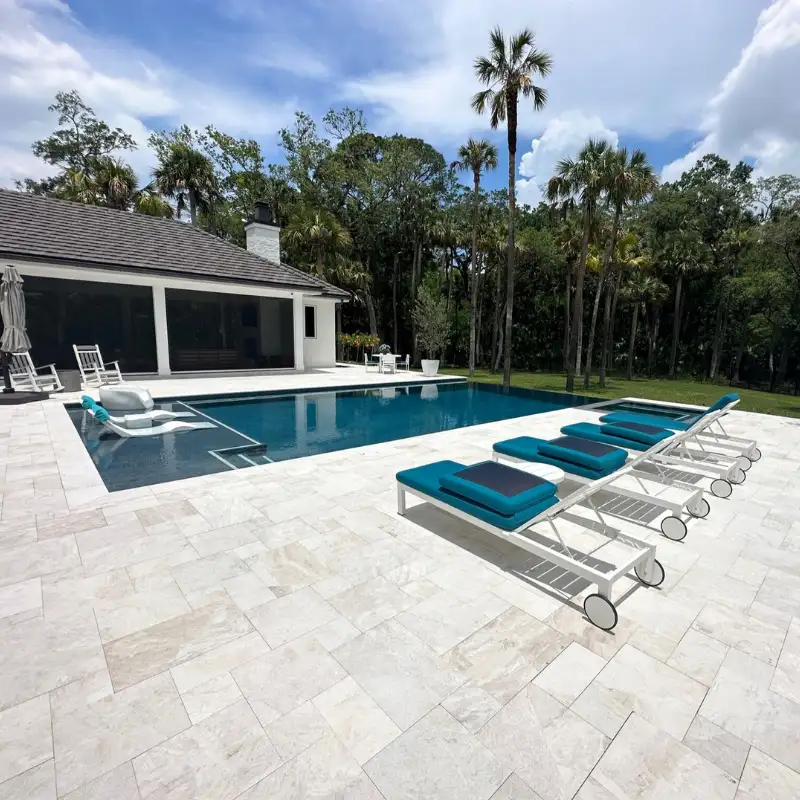
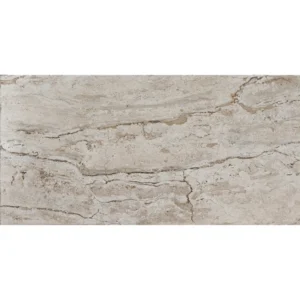
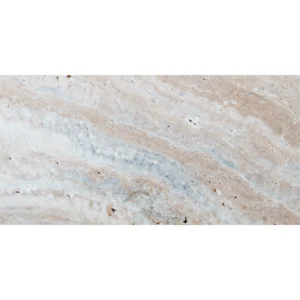
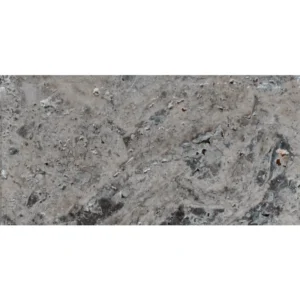
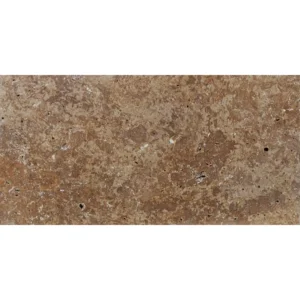
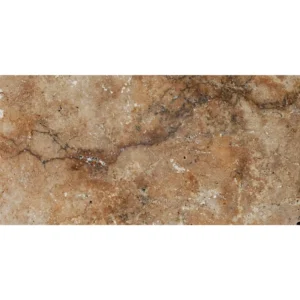
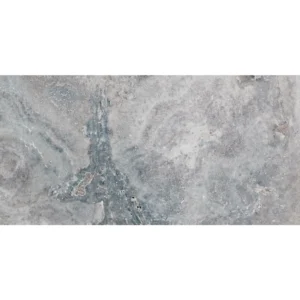
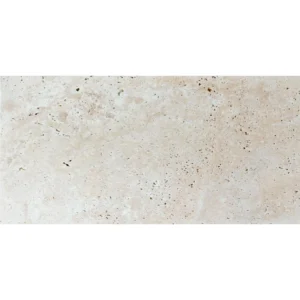
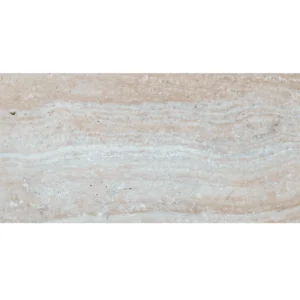
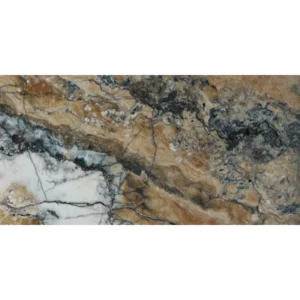
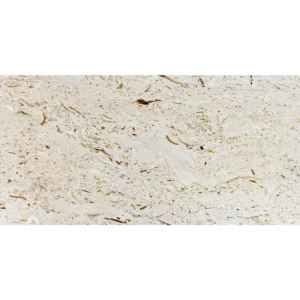
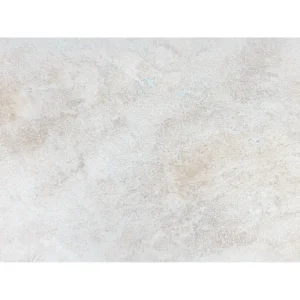
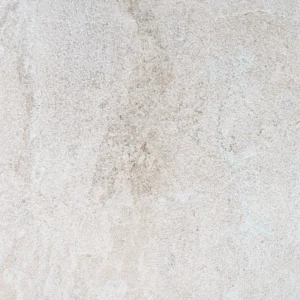
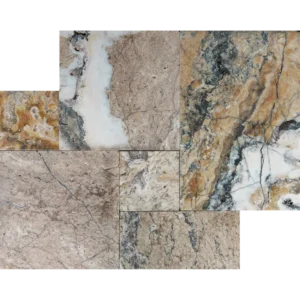
The Royal Beige 12″x24″ Leathered Marble Paver brings the warmth of creamy beige stone to patios, walkways, and pool surrounds. Its leathered finish offers a soft, tactile texture and built-in slip resistance, blending safety with high-end style.
Why Choose This Marble Paver?
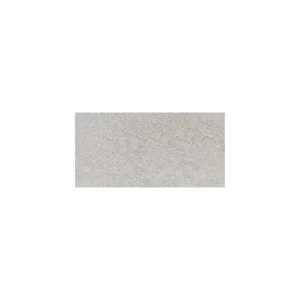
- Soft, non-reflective leathered texture for reduced glare
- Slip-resistant surface ideal for wet or high-traffic areas
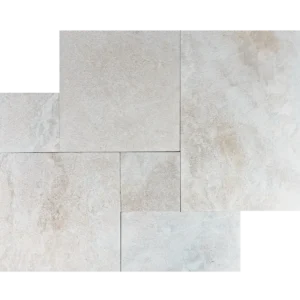
- Large 12″x24″ format for fewer grout lines and cleaner lines
- Durable natural marble that withstands weather and wear
- Neutral beige tone that complements any outdoor palette
Thanks to its premium craftsmanship, these pavers maintain their elegance season after season. Whether you’re creating a serene poolside retreat or a refined courtyard, the Royal Beige Leathered Paver delivers lasting beauty and reliable performance.
Installation Guide – Royal Beige 12″x24″ Leather Finish Marble Paver
Important Advisory
This guide covers only the paver covering phase. Ensure sub-base and bedding layers are properly prepared by qualified professionals before installation.
Step 1: Dry Layout & Pattern Planning
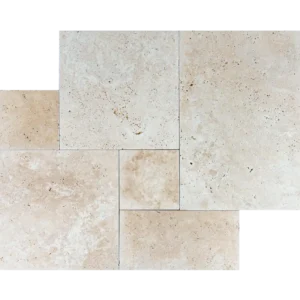
- Dry-lay the 12″x24″ pavers on the prepared bedding surface to assess color and leathered texture variations.
- Choose a layout (running bond, ashlar, herringbone) that minimizes visible joints and balances veining.
- Snap chalk lines or use a laser level to mark straight reference lines for precise alignment.
Step 2: Paver Placement
- Carefully set each paver onto the bedding surface following your guide lines.
- Maintain consistent joint spacing of 1/8″–1/4″ using spacers if needed.
- Tap pavers gently with a rubber mallet to ensure full seating and a level surface.
- Regularly check with a level to prevent lippage, especially important with large-format pavers.
Step 3: Cutting & Edge Finishing
- Use a wet saw with a diamond blade rated for marble to achieve clean, precise cuts.
- Support each paver during cutting to avoid edge chipping.
- Smooth any exposed cut edges with a fine rubbing block to preserve the leathered finish.
Step 4: Joint Treatment
- Fill joints with polymeric sand or a marble-safe joint filler.
- Compact gently and sweep away all excess filler.
- If using polymeric sand, mist lightly to activate bonding agents according to manufacturer instructions.
Step 5: Sealing & Maintenance
- After the installation is fully dry, apply a breathable, penetrating sealer formulated for exterior marble.
- Re-seal every 1–2 years based on exposure and foot traffic.
- Clean with pH-neutral, non-abrasive stone cleaners; avoid acidic products that can etch marble.
Disclaimer
Natural marble exhibits tonal and textural variations that are inherent to the material and not defects. Always dry-lay and inspect materials before final installation. Professional installation is strongly recommended to ensure long-term durability and optimal appearance.