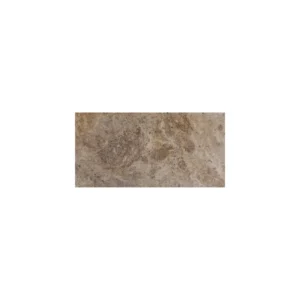
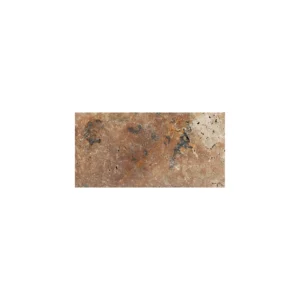
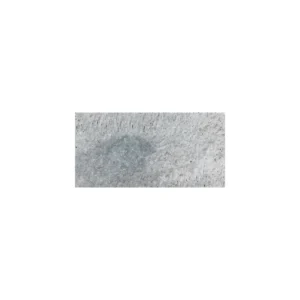
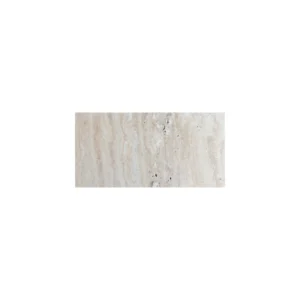
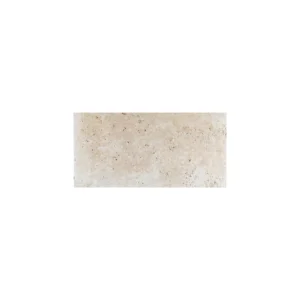
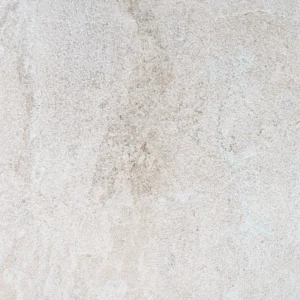
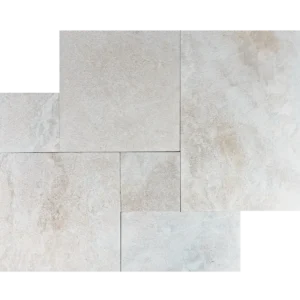
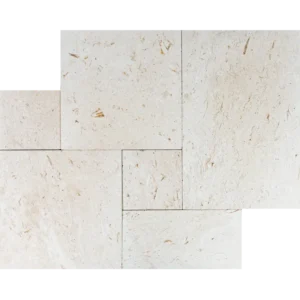
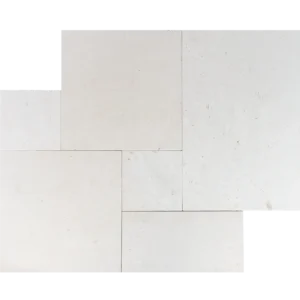
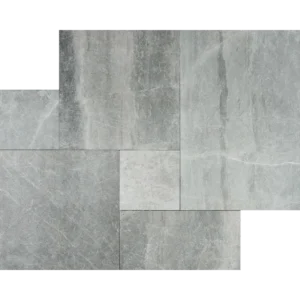
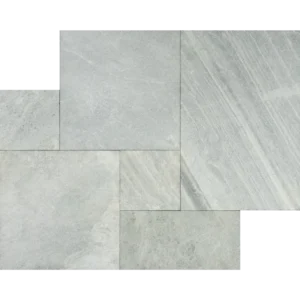
Royal Beige 6″x12″ Leathered Marble Paver – Refined Outdoor Accent
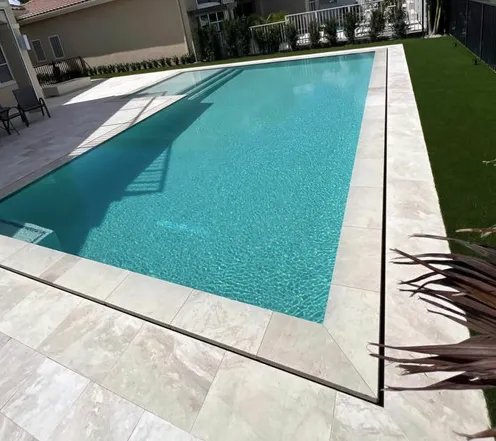
The Royal Beige 6″x12″ Leathered Marble Paver adds subtle warmth and texture to outdoor spaces. Its soft beige tones and leathered finish create a gentle, non-slip surface. As a result, it suits patios, walkways, and pool edges where both style and safety matter.
Because of its 6″x12″ format, you can craft detailed patterns like herringbone or stacked layouts. Moreover, the leathered edge softens glare and brings a tactile feel underfoot. Consequently, your design gains depth and natural charm.
Crafted from premium marble, these pavers resist weather and stand up to heavy use. Additionally, their small size makes installation flexible and efficient. Therefore, they work well in both residential gardens and commercial courtyards.
Key Features
- Material: Premium natural marble
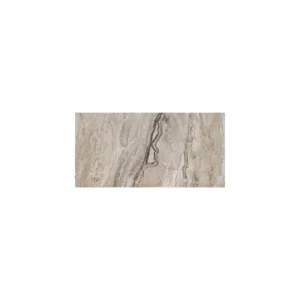
- Color: Warm beige with subtle veining
- Finish: Leathered for texture and grip
- Size: 6″x12″ (nominal)
- Edge: Leathered straight edge
- Applications: Patios, walkways, pool surrounds, and accent areas
Installation Guide – Royal Beige 6″x12″ Leather Finish Marble Paver
Important Advisory
This guide covers only the paver covering phase. Ensure sub-base and bedding preparation are completed by qualified professionals before installation.
Step 1: Dry Layout & Pattern Planning
- Dry-lay pavers on the prepared bedding layer to assess color and leathered texture variation.
- Arrange in patterns such as running bond, herringbone, or basketweave to minimize visible joints and create visual interest.
- Use chalk lines or a laser level to mark straight reference lines for precise alignment.
Step 2: Paver Placement
- Gently set each 6″x12″ paver onto the bedding surface, following your layout lines.
- Maintain uniform joint spacing of 1/8″–1/4″ using spacers if needed.
- Tap each paver lightly with a rubber mallet to ensure full contact and a level surface.
- Check frequently with a level to avoid lippage, especially given the small format.
Step 3: Cutting & Edge Finishing
- Use a wet saw equipped with a diamond blade rated for marble to perform accurate cuts.
- Support the small-format pavers securely during cutting to prevent chipping.
- Smooth any exposed edges with a fine rubbing block to preserve the leathered finish.
Step 4: Joint Treatment
- Fill joints with polymeric sand or a marble-compatible joint filler.
- Compact the surface gently and sweep away excess filler.
- If using polymeric sand, mist lightly to activate binding agents per manufacturer instructions.
Step 5: Sealing & Maintenance
- After installation is fully dry, apply a breathable, penetrating sealer formulated for exterior marble.
- Re-seal every 1–2 years depending on exposure and foot traffic.
- Clean only with pH-neutral, non-abrasive stone cleaners; avoid acidic products that can etch marble.
Disclaimer
Natural marble exhibits tonal and textural variations which are inherent characteristics and not defects. Always dry-lay and inspect materials prior to final installation. Professional installation is strongly recommended to ensure long-term performance and optimal appearance.


