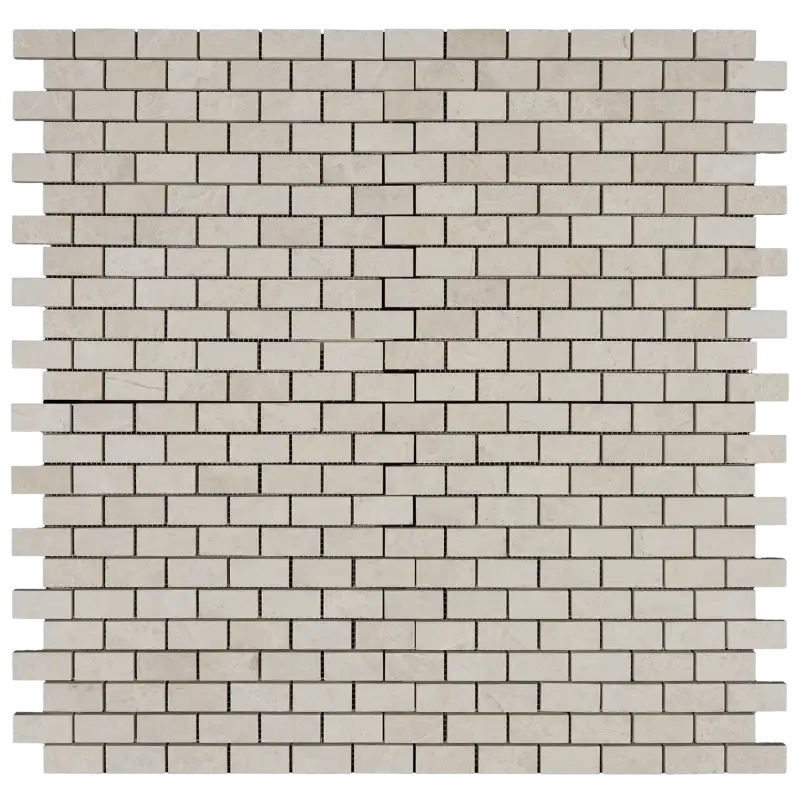
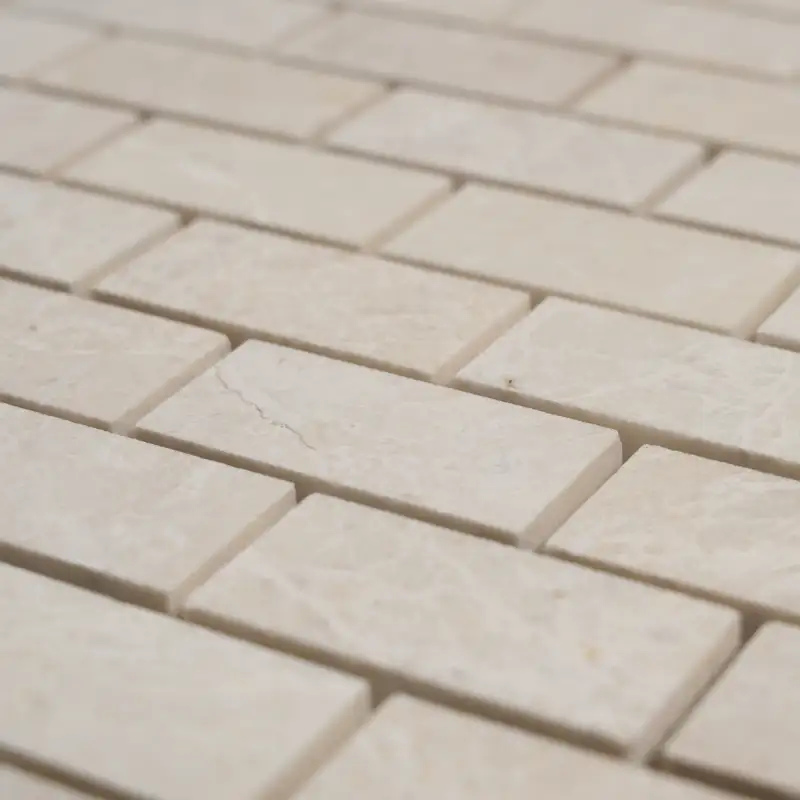
Vanilla 1″x2″ Brick Honed Marble Mosaic Tile (12″x12″ Sheet)
The Vanilla 1″x2″ Brick Honed Marble Mosaic Tile brings refined warmth and natural beauty to any interior space. Featuring smooth matte-finished marble in soft beige tones, this mosaic captures a clean and timeless look with its classic brick pattern. Perfect for kitchens, showers, bathrooms, and decorative walls, it combines durability with elegant simplicity.
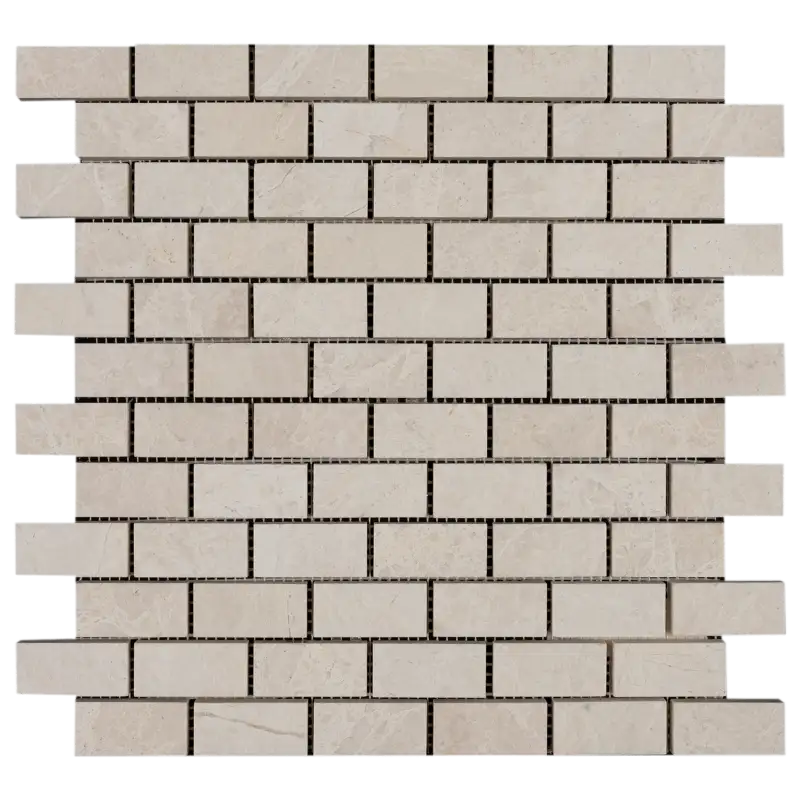
Designed with 1″x2″ rectangular pieces arranged in a staggered brick layout, this mosaic tile creates visual rhythm and adds texture without overpowering the room. The honed finish reduces glare while enhancing the stone’s organic character, making it suitable for both modern and traditional designs.
Key Features
- Material: Premium natural Vanilla marble
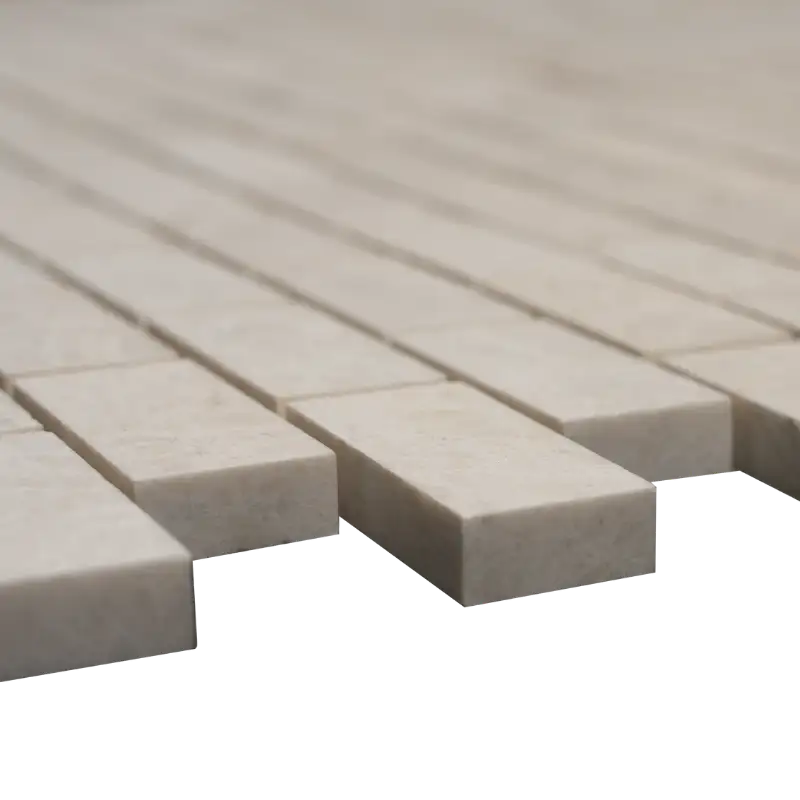
- Finish: Honed – smooth, matte & elegant
- Chip Size: 1″ x 2″
- Sheet Size: 12″ x 12″ (30.5 cm x 30.5 cm)
- Pattern: Classic brick / subway mosaic layout
- Color: Warm beige with soft natural veining
- Applications: Backsplashes, shower walls, bathrooms, accent walls, decorative features
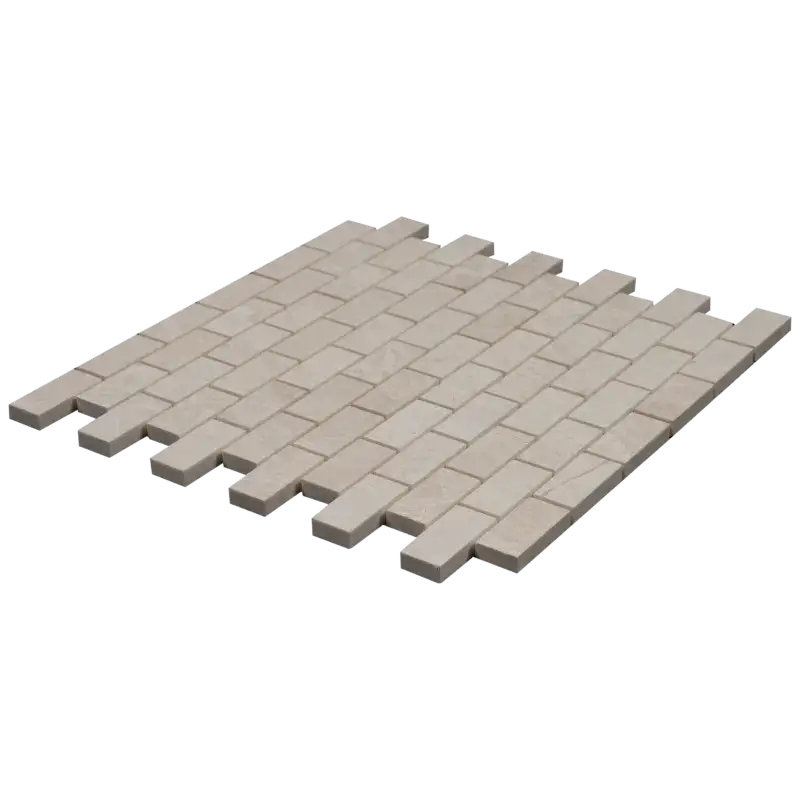
- Mounting: Mesh-mounted for easy installation
This Vanilla brick mosaic is an ideal choice whether you’re creating a clean modern look or enhancing a classic space with natural stone. Its durability and timeless aesthetic make it a versatile option for residential and commercial projects.
Want a different finish? Explore our complete mosaic tile lineup.
Installation Guide – Vanilla 1″x2″ Brick (Subway) Honed Marble Mosaic Tile
Material Notes
- Natural Vanilla beige marble with a honed (matte) finish.
- 1″x2″ rectangular chips, mesh-mounted on a 12″x12″ sheet.
- Suitable for walls, backsplashes, shower surrounds, and low-traffic residential floors.
Step 1: Surface Preparation
- Ensure substrate is clean, dry, flat, and structurally sound.
- Correct uneven surfaces (≥ 1/8″ in 10′) using a skim coat if needed.
- Install ANSI A118.10 waterproofing in showers or wet zones.
- Use white thin-set to avoid discoloration under light beige marble.
Step 2: Dry Layout & Planning
- Blend sheets from multiple boxes for consistent shade variation.
- Establish level reference lines and maintain consistent brick staggering.
- Trim mesh edges as needed for a seamless, continuous brick layout.
Step 3: Adhesive Application (White Thin-Set)
- Use white polymer-modified thin-set (ANSI A118.4/A118.15).
- Recommended trowel: 3/16″ V-notch.
- Key in thin-set, comb evenly, and flatten ridges to prevent telegraphing.
- Only cover small sections that can be tiled within 10–15 minutes.
Step 4: Setting the Sheets
- Align sheets along layout lines to maintain straight brick joints.
- Use a rubber float to press sheets firmly and evenly.
- Avoid visible sheet lines—stagger sheet seams to match the brick pattern.
- Clean thin-set squeeze-out immediately.
Step 5: Cutting & Detailing
- Use a wet saw with a continuous-rim diamond blade for clean cuts.
- Tape cut lines to reduce chipping.
- Smooth edges with a rubbing stone for a clean finish.
Step 6: Grouting
- Allow thin-set to cure 24 hours before grouting.
- Use unsanded grout for joints ≤ 1/8″.
- For safety, test grout on a small area to ensure no staining.
- Pack grout diagonally with a float and clean using minimal water.
Step 7: Sealing
- After 72-hour grout cure, apply a penetrating sealer for protection.
- Re-seal annually or as needed in wet areas.
Maintenance
- Use pH-neutral stone cleaners only.
- Avoid acids, bleach, and abrasive pads (marble can etch).
- Dry shower surfaces regularly to minimize mineral buildup.
Important Note
Stonemarket USA recommends professional installation and premium-grade materials for optimal results.