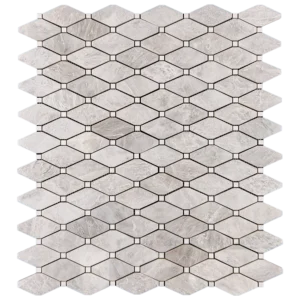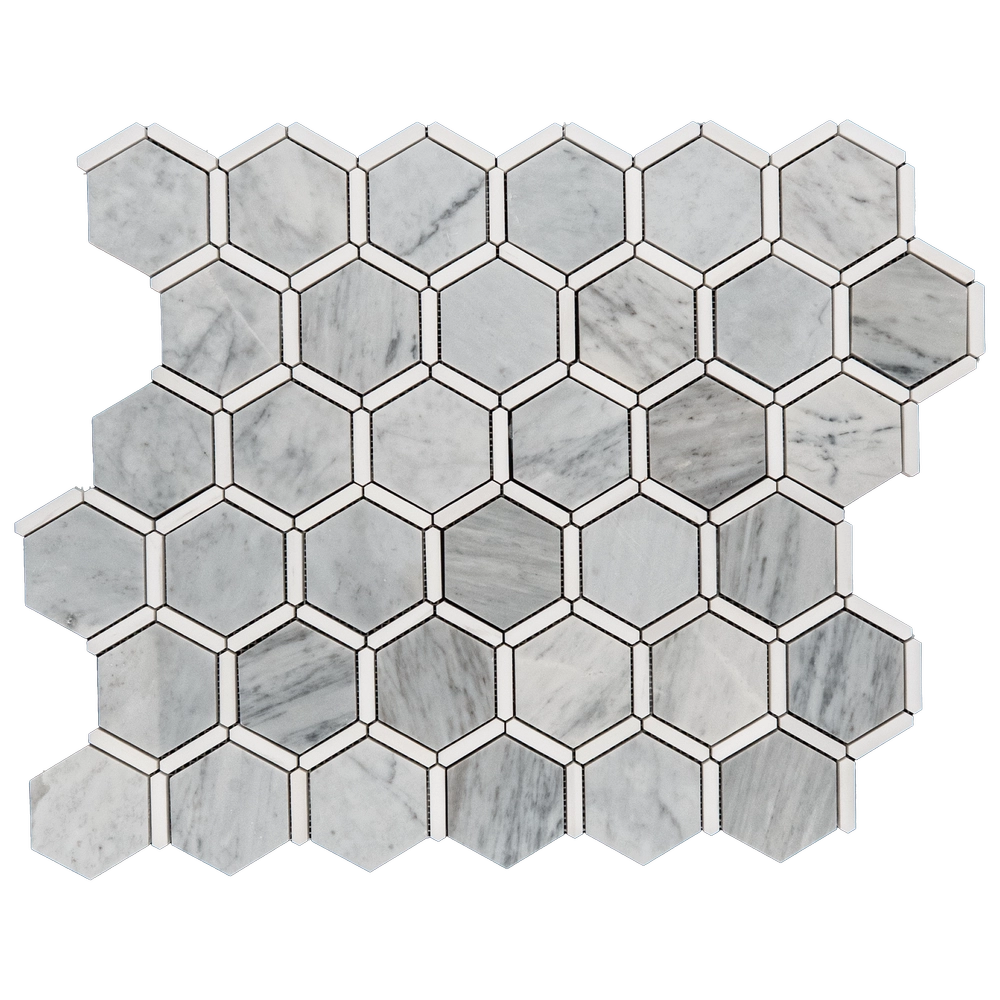
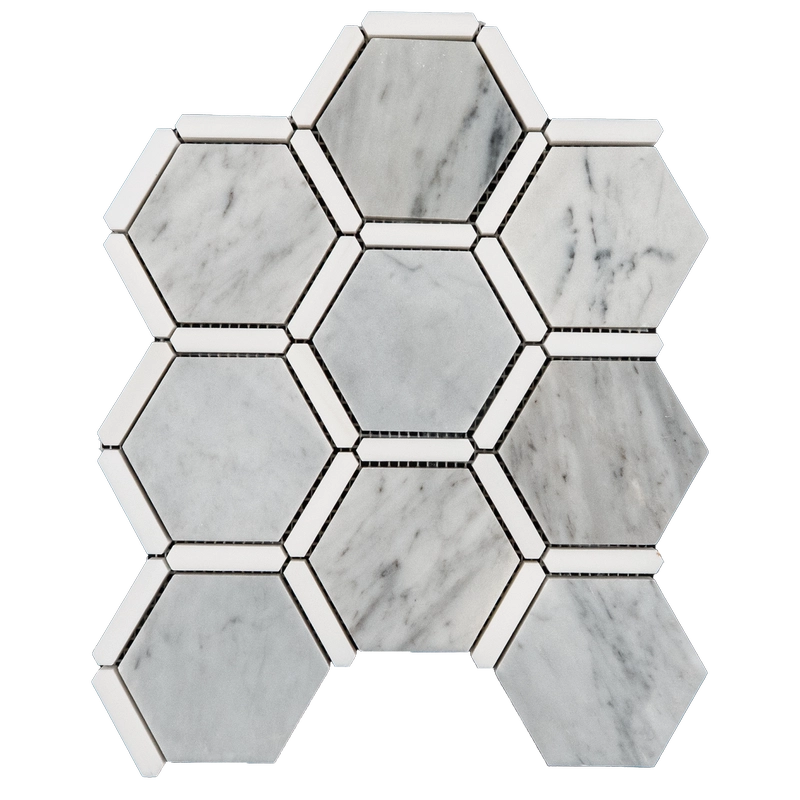
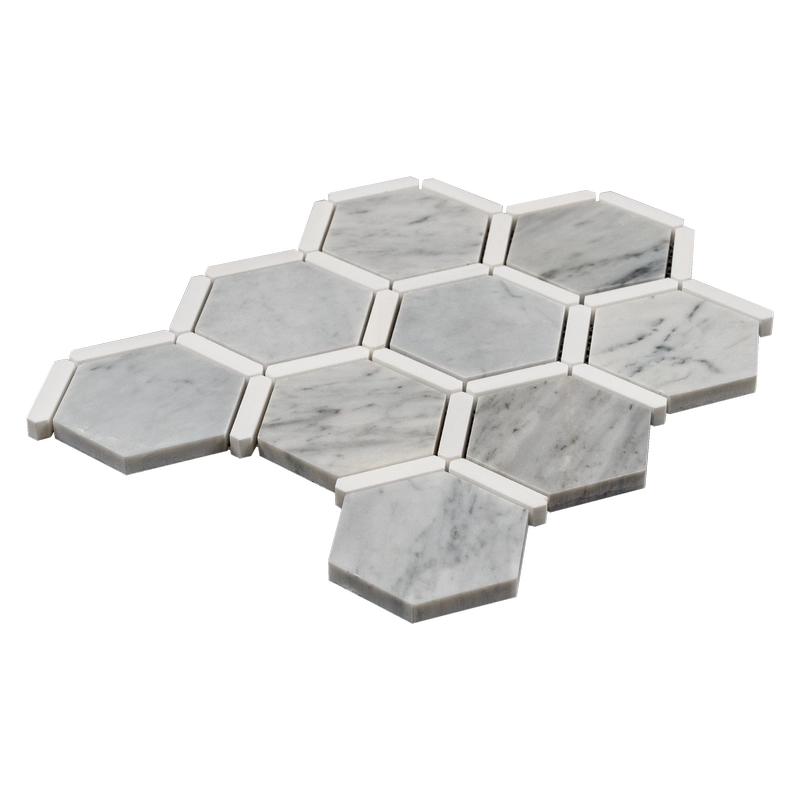
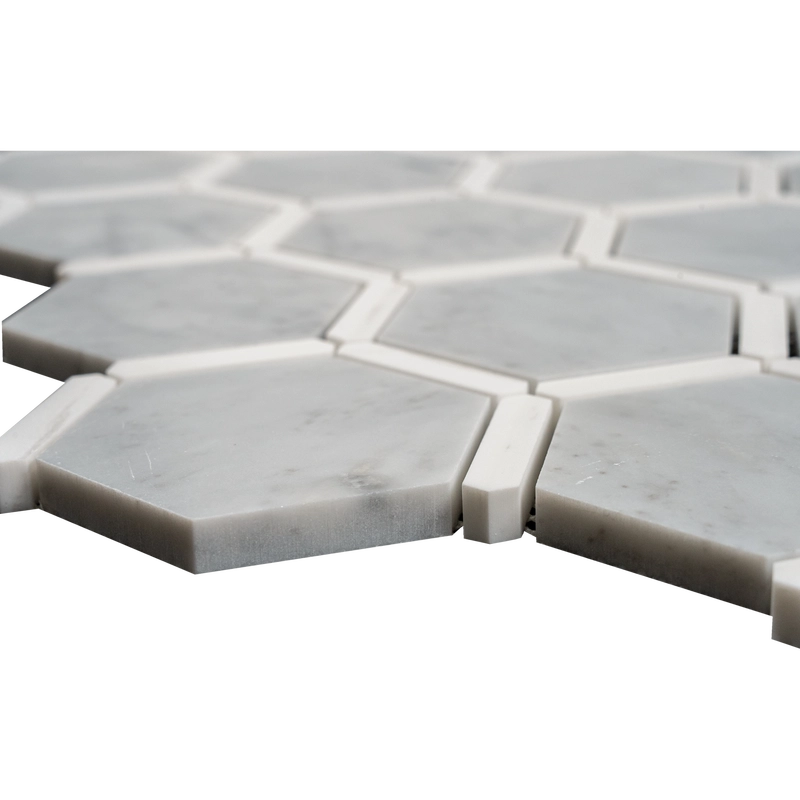
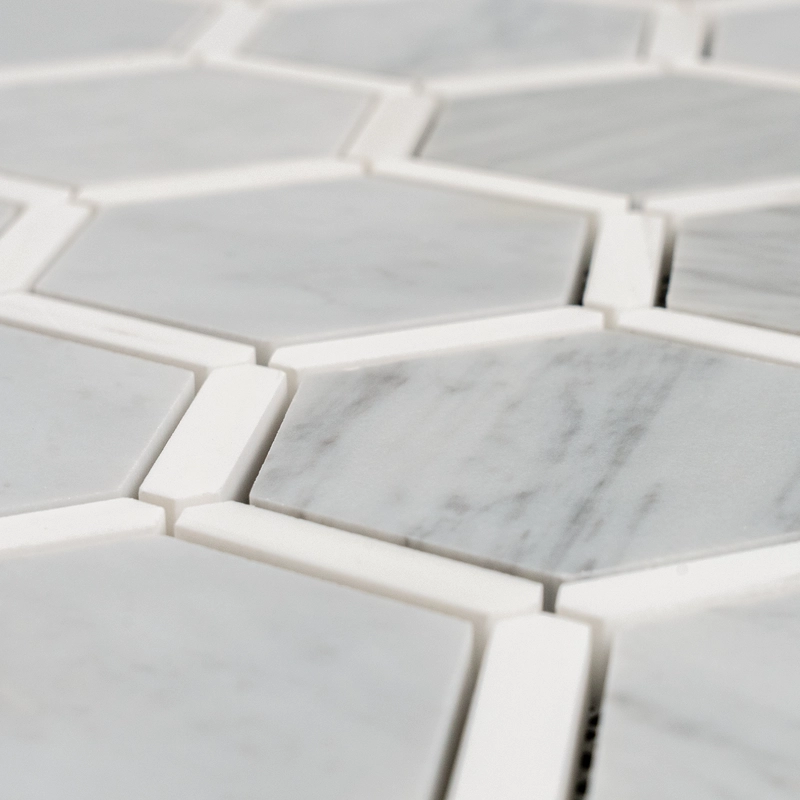
Carrara with Dolomite Touch Polished Marble Mosaic Tile
The Carrara with Dolomite Touch Polished Marble Mosaic Tile offers a refined combination of two timeless marbles. Classic Carrara white marble provides a bright backdrop, while Dolomite adds crisp accents that highlight contrast and depth. Together, they create a balanced look with natural elegance and enduring charm.
Thanks to its polished finish, this mosaic reflects light beautifully and enhances the natural veining of each stone. The result is a tile that looks sleek yet inviting, making it an excellent choice for both traditional and modern interiors. Whether you want to upgrade a kitchen backsplash, refresh a bathroom wall, or design an eye-catching feature, this tile provides the sophistication you need.
Key Features:
- Material: Premium Carrara and Dolomite marble
- Finish: Polished for a smooth, radiant surface
- Design: Elegant contrast of white and soft gray tones
- Applications: Perfect for backsplashes, showers, walls, and accent features
- Style: Timeless blend that fits both modern and classic interiors
Use this mosaic tile to transform kitchens, bathrooms, or accent areas with lasting beauty. The blend of Carrara and Dolomite ensures your project stands out while remaining easy to pair with other surfaces and finishes.