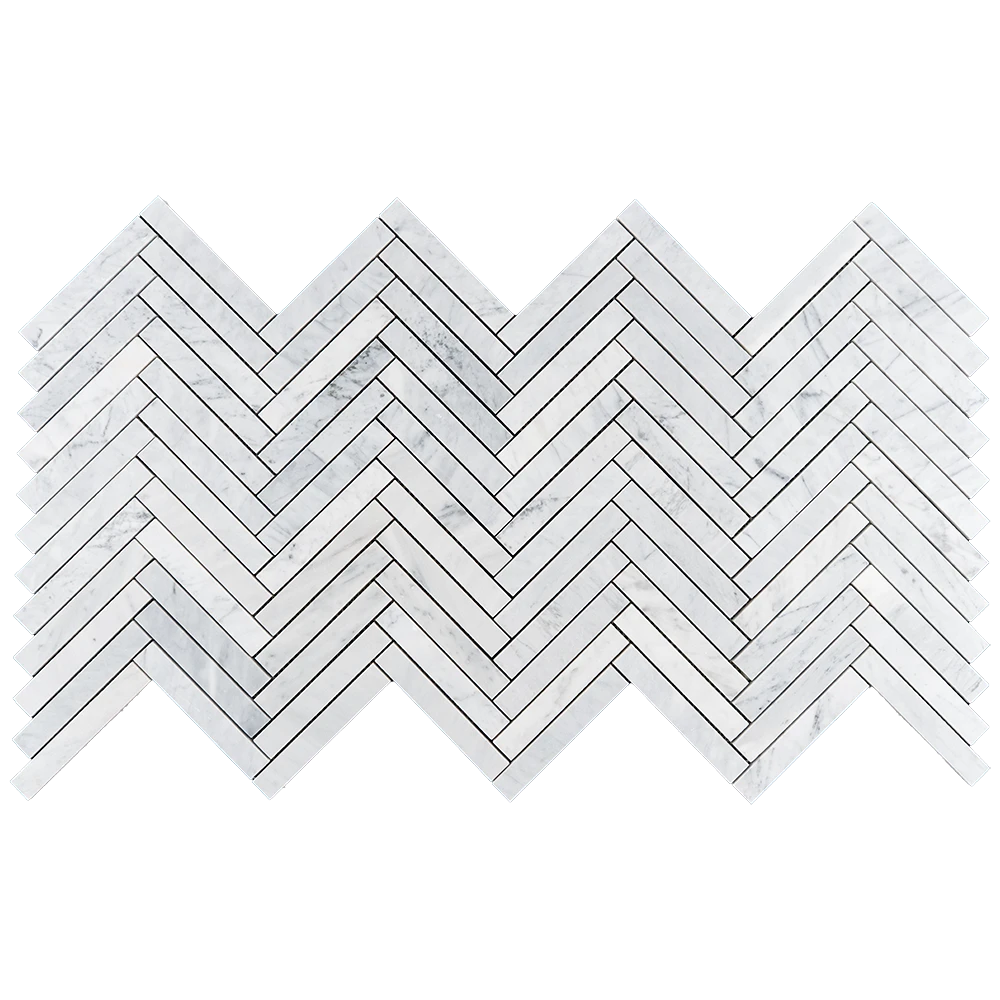
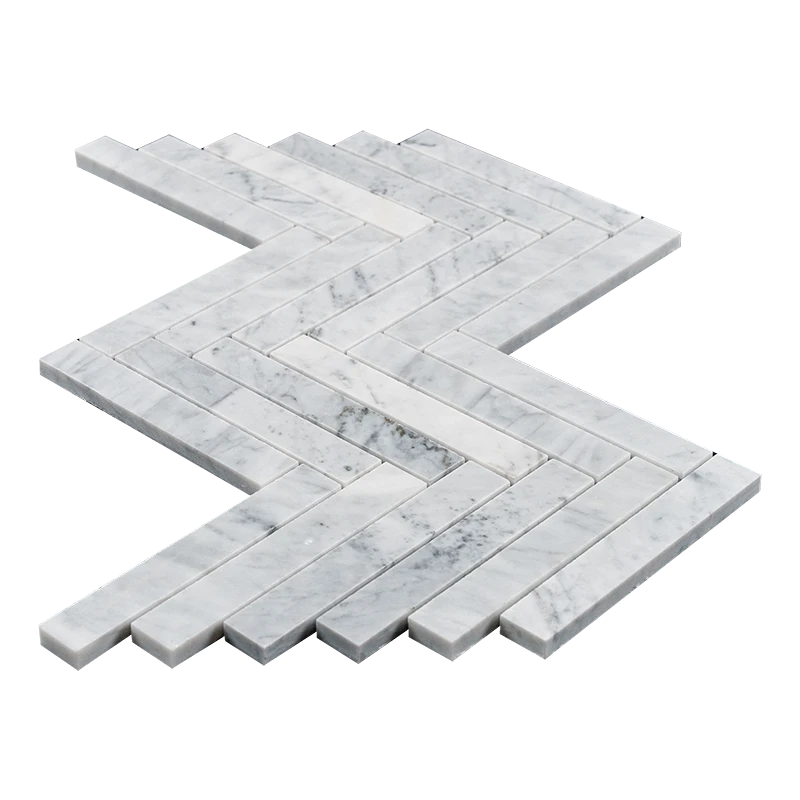
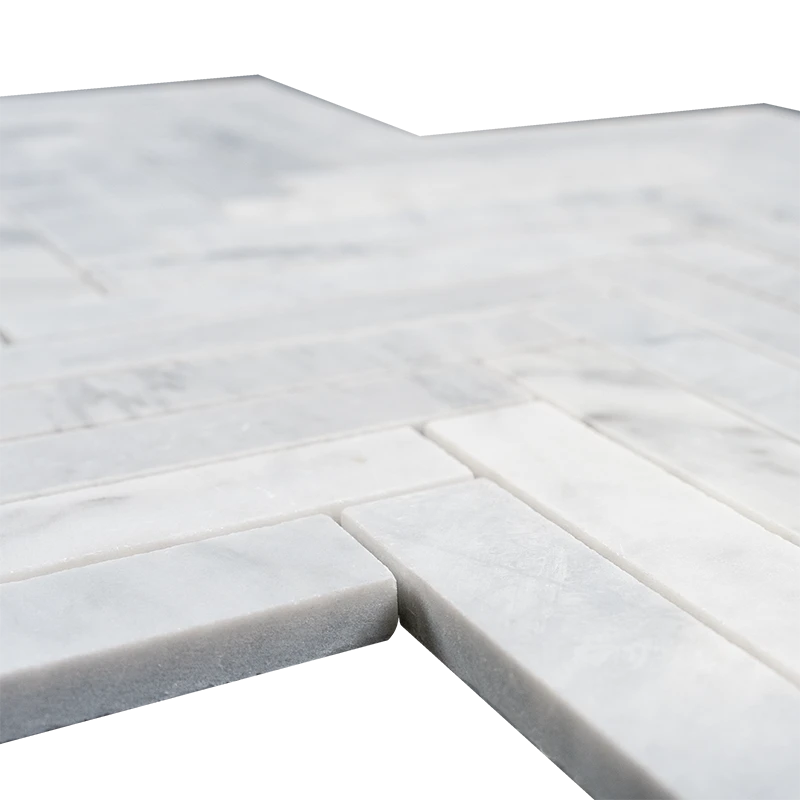
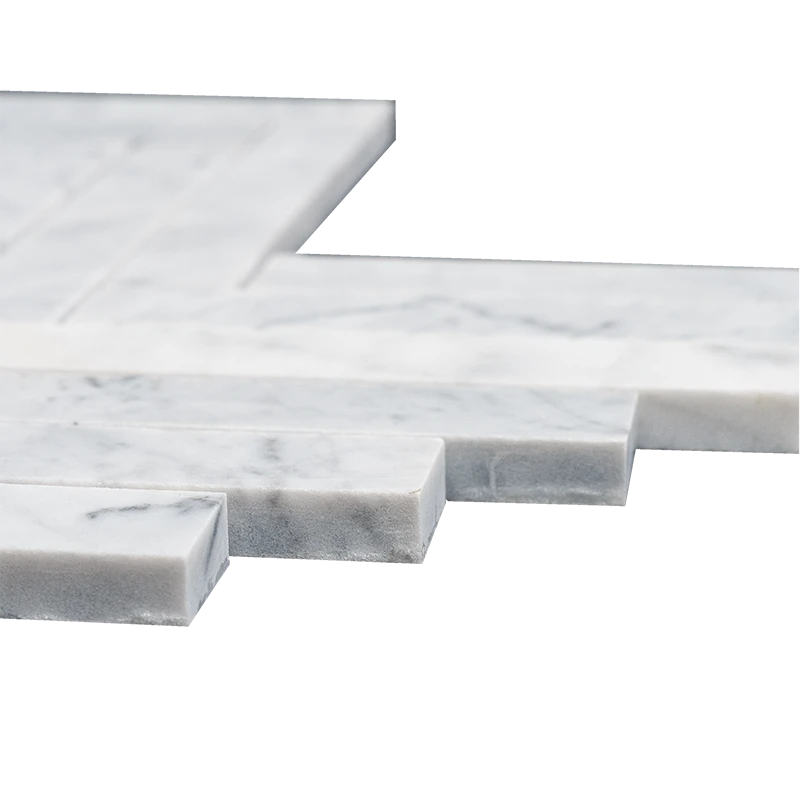
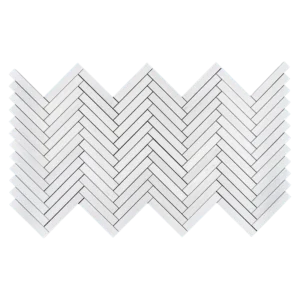
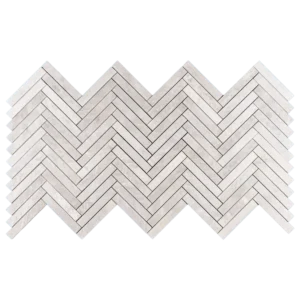
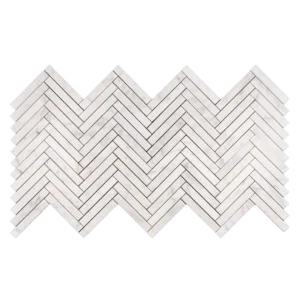
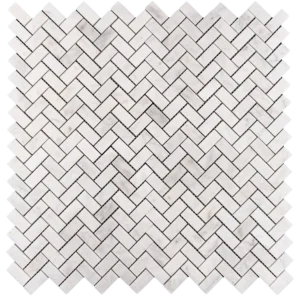
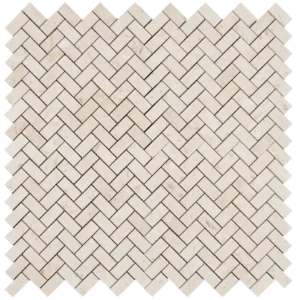
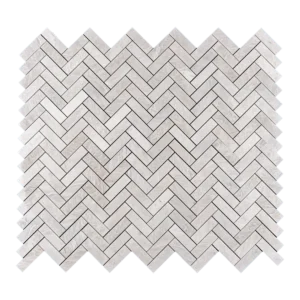
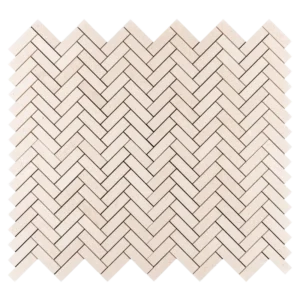
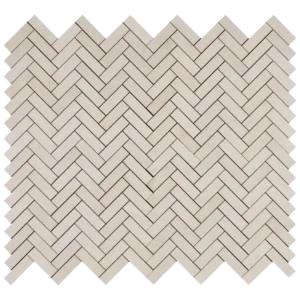
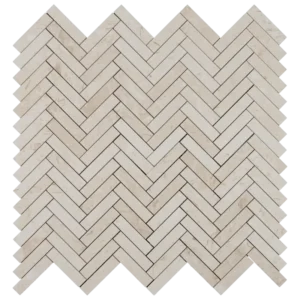
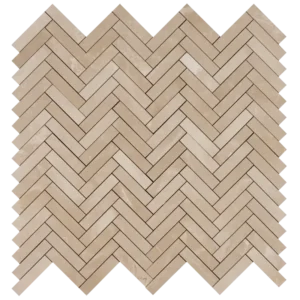
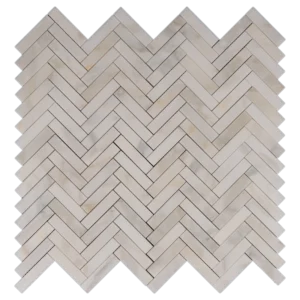
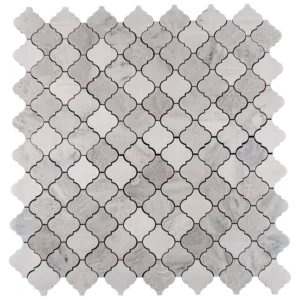
Maximize the Performance of Your Carrara White Herringbone Honed Marble Mosaic Tile (8.4″ x 16.3″)
Ensure a flawless and long-lasting installation by following these essential steps for preparing, installing, and finishing your Carrara White Herringbone Honed Marble Mosaic Tile (8.4″ x 16.3″). Proper installation guarantees durability, stability, and aesthetic appeal, while maintaining the sophisticated herringbone pattern and honed marble finish.
Step 1: Surface Preparation
A well-prepared surface is essential for a successful tile installation. Ensure the substrate is:
✔ Clean, dry, and free from dust, grease, soap scum, and debris.
✔ Structurally sound and level, with no cracks or loose sections.
✔ Properly waterproofed, especially in moisture-prone areas like bathrooms, kitchens, and showers.
✔ Cleared of any moldings or obstructions that may interfere with tile placement.
✔ If necessary, apply a self-leveling compound to create an even surface before installation.
Step 2: Layout Planning
✔ Measure the installation area and mark the center points of all four walls.
✔ Snap chalk lines between opposite walls to establish a precise grid for tile alignment.
✔ Dry-lay a row of tiles along the center lines in both directions to ensure even distribution and a balanced pattern.
✔ Adjust the center line if edge cuts are too small.
✔ Use tile spacers (1.5mm – 3mm) to maintain uniform grout joints.
✔ Dry-lay multiple sheets to ensure a seamless herringbone pattern before installation.
Step 3: Selecting & Applying Adhesive
Choosing the right adhesive is crucial for a strong bond. We recommend using a high-quality white thin-set mortar, such as:
✔ Application:
- Mix only the amount of mortar that can be used within 30 minutes.
- Apply a 1/4-inch adhesive layer using the flat side of a notched trowel.
- Comb the adhesive with the notched side of the trowel at a 45-degree angle to create even ridges.
- Work in small sections (2’ x 3’) to prevent the mortar from drying before tile placement.
- Back-butter each tile (apply a thin adhesive layer to the back) for stronger adhesion.
Step 4: Cutting & Fitting Tiles
✔ Mark tiles accurately using a pencil or tile marker.
✔ Use a wet saw with a diamond blade for precise, clean cuts on honed marble.
✔ Smooth rough edges with a rubbing stone to maintain a matte finish.
✔ For curved or intricate cuts, use a tile nipper or a grinding tool.
✔ Dry-fit all tiles before applying mortar to ensure a seamless pattern alignment.
Step 5: Setting the Tiles
✔ Start laying tiles from the center of the room, working outward within each grid.
✔ Place tiles with a slight twisting motion to secure a firm bond.
✔ Avoid sliding tiles into position to prevent mortar displacement.
✔ Use spacers to maintain consistent grout joints and ensure a seamless herringbone pattern.
✔ Tap each tile gently with a rubber mallet to ensure even placement.
✔ Wipe off excess mortar with a damp sponge.
✔ Allow the adhesive to cure for at least 24 hours before proceeding with grouting.
Step 6: Grouting & Finishing
✔ Remove tile spacers before applying grout.
✔ Use a high-quality, non-sanded grout to prevent scratches on the honed marble surface.
✔ Spread the grout diagonally across the tiles using a rubber float, ensuring joints are completely filled.
✔ Remove excess grout immediately using the float’s edge.
✔ Wait 15–20 minutes, then wipe off the grout haze with a damp sponge.
✔ Allow grout to cure for 72 hours before exposing the surface to heavy use.
✔ Apply a penetrating sealer after the grout has fully cured to protect the stone from stains and moisture.
Maintenance Tips
✔ Use pH-neutral stone cleaners to maintain the natural look of honed marble tiles.
✔ Avoid acidic or harsh cleaning agents that may damage the surface.
✔ Reseal the stone regularly to maintain its durability and appearance.
✔ Place felt pads under furniture to prevent scratches.
Important Notice:
Stonemarket USA is not responsible for improper installations. For best results, we strongly recommend hiring a professional tile installer and using premium-grade materials.
📞 For any questions, contact Stonemarket USA Customer Support at Stone Market USA Team.
By following these expert installation guidelines, you’ll enjoy the timeless beauty and durability of your Carrara White Herringbone Honed Marble Mosaic Tile (8.4″ x 16.3″) for years to come. 🚀