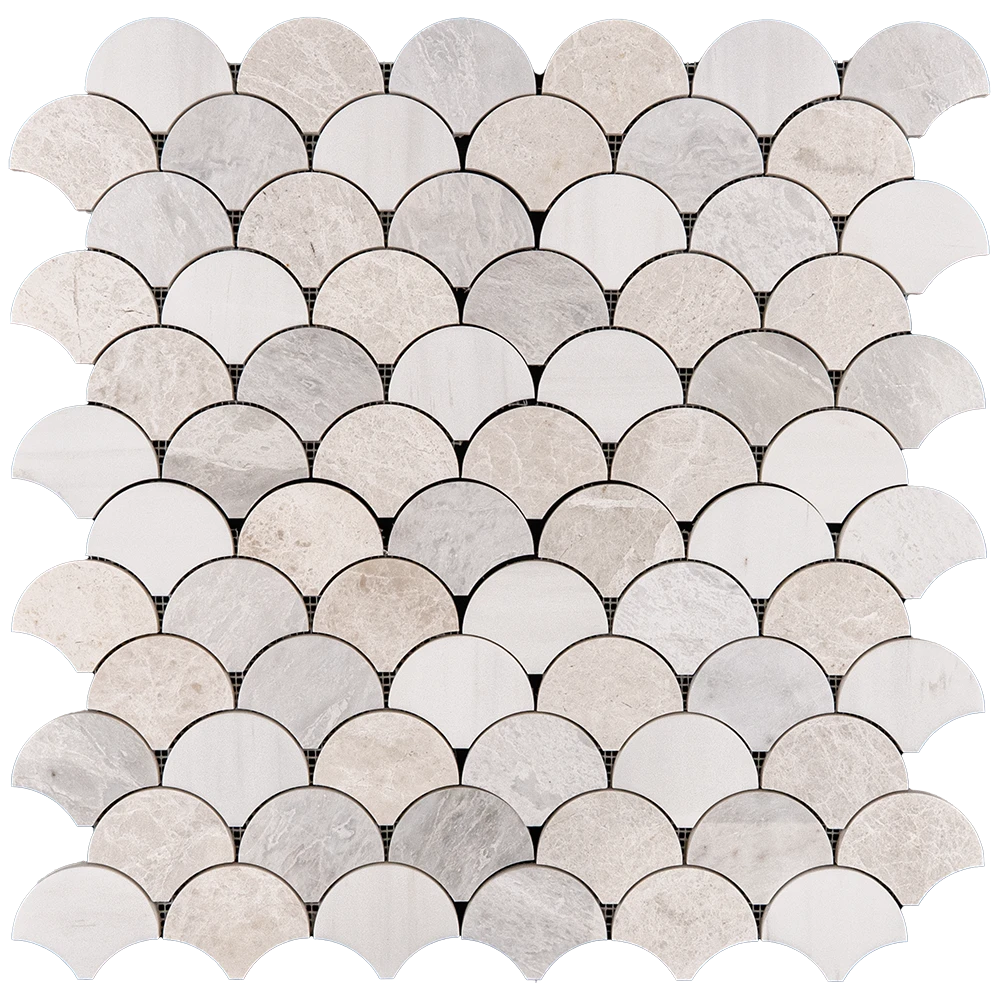
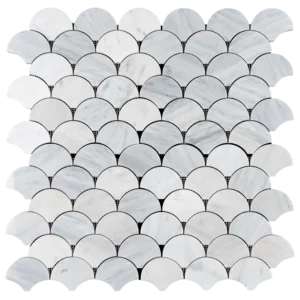
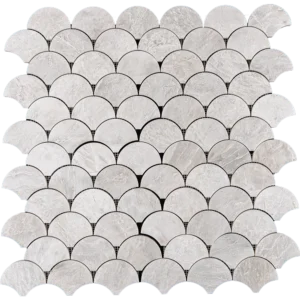
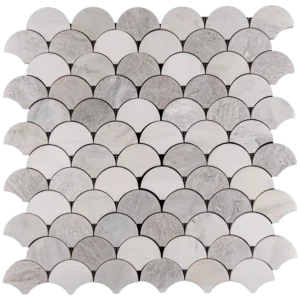
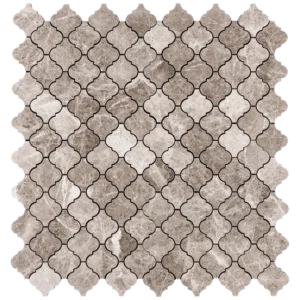
Fish Scale Dolomite Iceberg Vanilla Marble Mosaic Tile – Polished Finish (10.4″ x 10.8″)
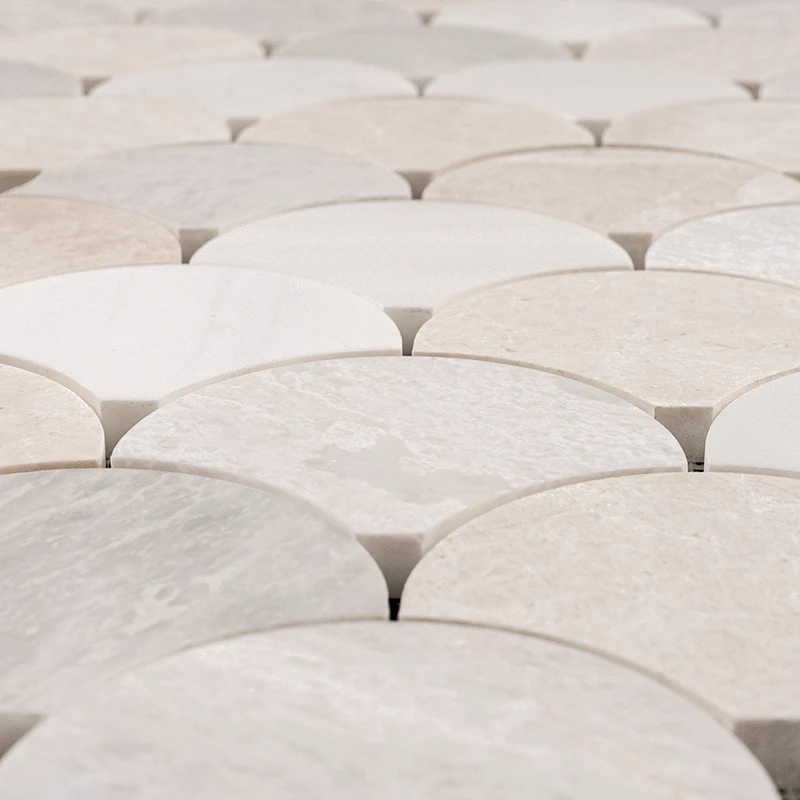
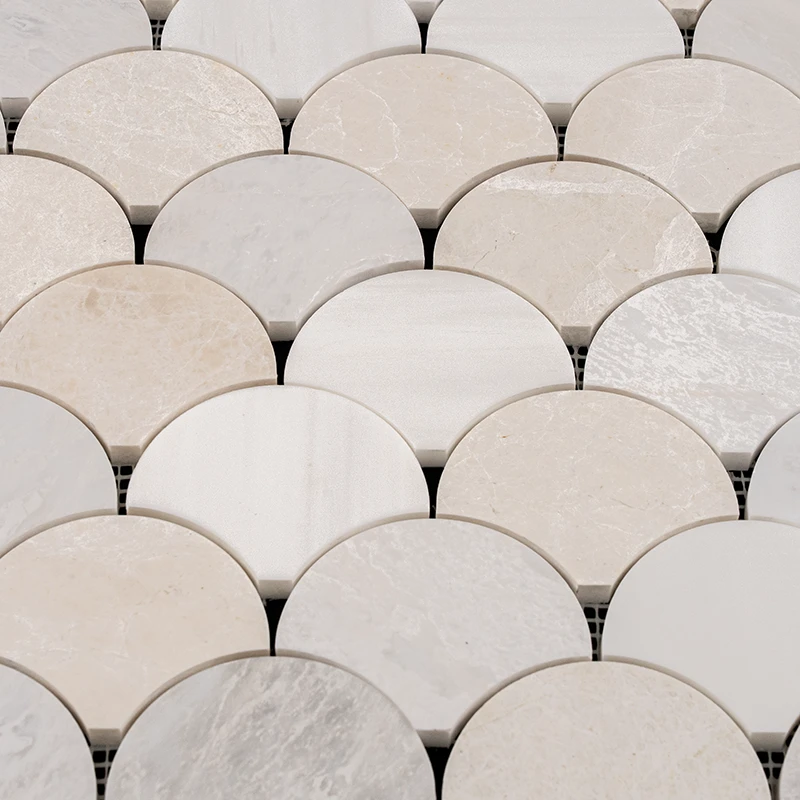
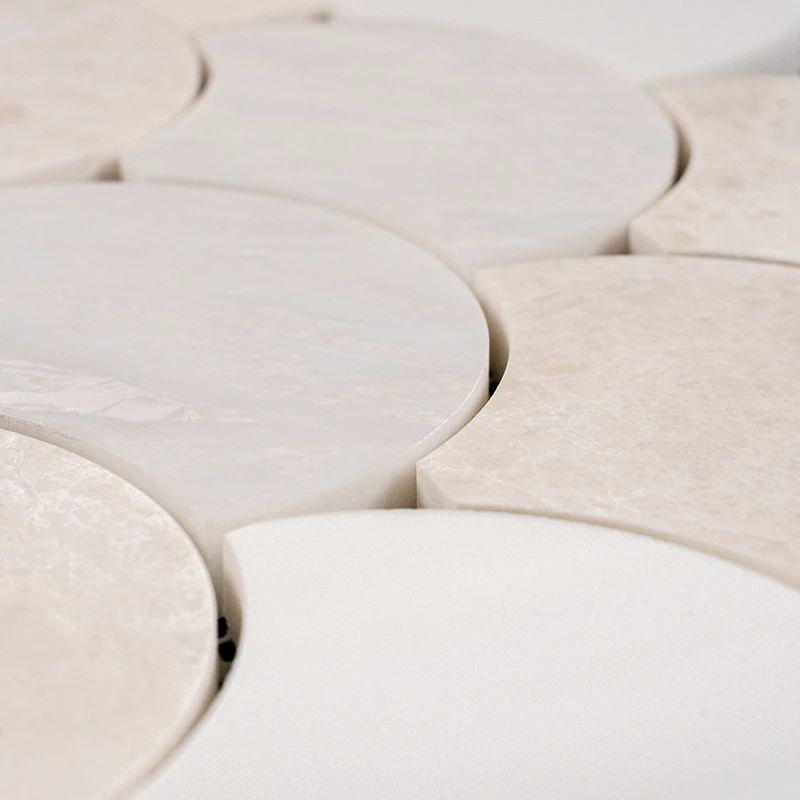
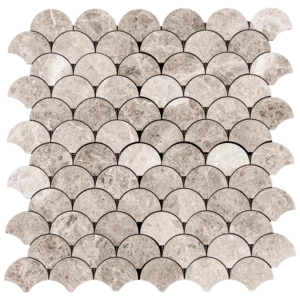
Enhance your interiors with the graceful flow of the Fish Scale Dolomite Iceberg Vanilla Marble Mosaic Tile. This mosaic combines three natural marbles—dolomite, iceberg, and vanilla—into a fluid, wave-inspired pattern. The polished surface reflects light gently, adding depth and a touch of luxury to any room.
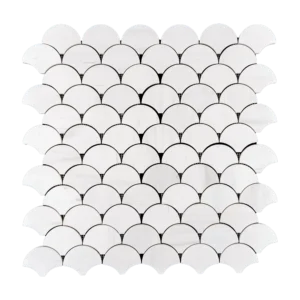
Each mesh-mounted sheet is carefully crafted to ensure clean lines and smooth alignment. Because the fish scale layout flows naturally, it brings movement to kitchen backsplashes, bathroom walls, and accent features. Moreover, the subtle mix of icy whites and creamy tones creates a calming, elegant effect.
- Material: Natural marble – Dolomite, Iceberg, Vanilla
- Color: White, cream, and soft icy tones
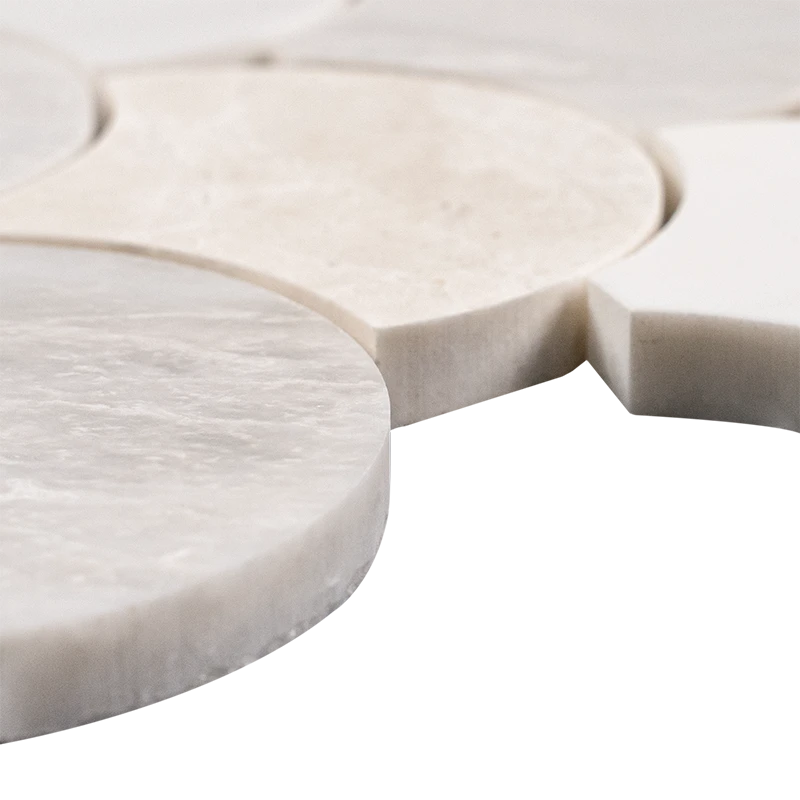
- Finish: Polished for a reflective, smooth surface
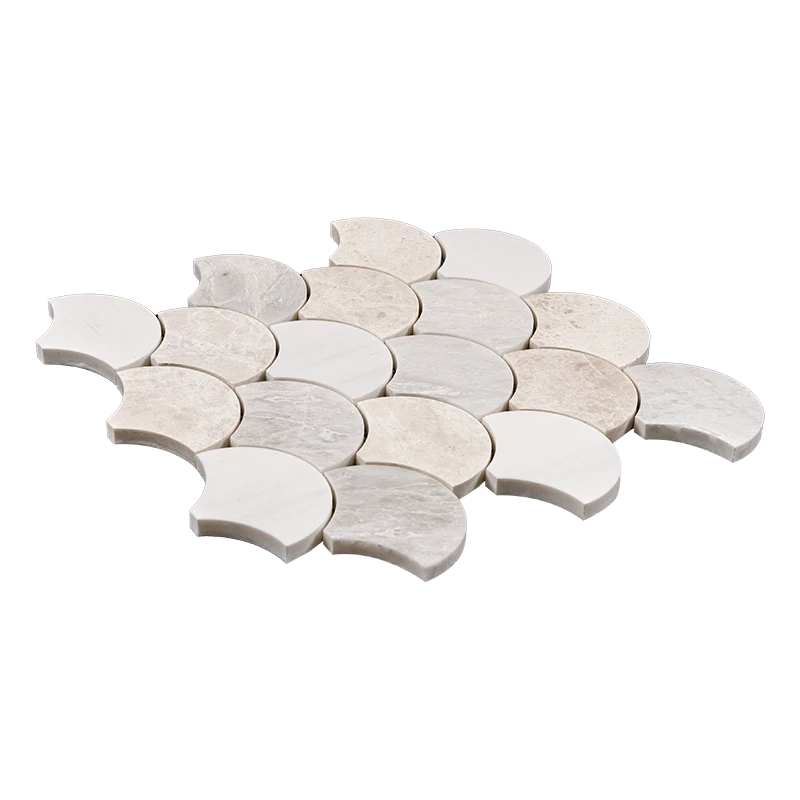
- Sheet Size: 10.4″ x 10.8″
- Pattern: Fish Scale – curved, overlapping design
- Best Use: Interior walls, backsplashes, shower features, accent areas
- Installation: Mesh-backed for easier handling and uniform spacing
Thanks to its durable stone composition and eye-catching pattern, this mosaic tile is both practical and artistic. While perfect for modern spaces, it also complements classic and coastal styles beautifully.
Note: Each tile sheet is unique due to natural veining and color variations, making your design one of a kind.
Fish Scale Dolomite, Iceberg, and Vanilla Marble Mosaic Tile – Polished Finish (10.4″ x 10.8″)
Install a Flowing Blend of Elegance with Expert Precision
This detailed installation guide helps you properly set your Fish Scale Dolomite, Iceberg, and Vanilla Marble Mosaic Tile. These instructions ensure a clean, durable finish while maintaining the polished surface and the soft, curved fish scale pattern.
Step 1: Surface Preparation – Build on a Strong Foundation
- Clean and dry the wall surface; remove dust, grease, and residue
- Ensure the base is flat, stable, and crack-free
- Apply waterproofing membrane in showers, bathrooms, and kitchen backsplashes
- Remove baseboards and other obstacles before beginning
- Use a self-leveling compound to fix uneven surfaces if necessary
Step 2: Layout Planning – Maintain Flow and Symmetry
- Find the center of each wall and snap chalk lines to guide your layout
- Dry-lay tile sheets to check spacing and the balance of the color blend
- Avoid thin cuts at the borders by adjusting sheet placement
- Place spacers (1.5–3mm) between sheets for even grout lines
- Ensure curves and color transitions flow naturally across sheets
Step 3: Adhesive Application – Choose a High-Performance Thin-Set
Recommended Mortars:
Application Instructions:
- Mix small batches of thin-set usable within 30 minutes
- Apply using the flat side of a 1/4″ notched trowel
- Comb mortar at a 45° angle for full coverage
- Back-butter each sheet to strengthen bonding
- Work in small sections to prevent premature drying
Step 4: Cutting & Fitting – Precision Around Curves
- Use a wet saw with a diamond blade for clean cuts
- Mark cuts with a pencil or wax marker
- Smooth edges with a rubbing stone for safety and polish
- Use tile nippers for small, curved adjustments
- Dry-fit all pieces before final placement
Step 5: Setting the Tiles – Follow the Natural Flow
- Start tiling from the center and move outward
- Press each mesh-backed sheet into mortar with a light twist
- Do not slide the sheets after setting
- Maintain alignment using spacers between sheets
- Tap with a rubber mallet to level the surface
- Wipe away excess mortar with a damp sponge
- Let the adhesive cure for 24 hours before grouting
Step 6: Grouting & Sealing – Protect the Finish
- Remove spacers before grouting
- Use unsanded grout to avoid scratching the polished marble
- Apply grout diagonally using a rubber float
- Clean excess grout immediately
- After 15–20 minutes, wipe the haze with a damp sponge
- Let grout cure for 72 hours before sealing
- Use a premium penetrating marble sealer for protection
Maintenance – Keep the Surface Looking Pristine
- Clean regularly with pH-neutral stone-safe cleaners
- Avoid harsh or acidic products
- Reapply sealer as needed based on usage
- Place felt pads under furniture near tiled areas
Important Note
Stonemarket USA does not accept responsibility for incorrect installation. We recommend hiring licensed professionals and using premium adhesives and sealants.