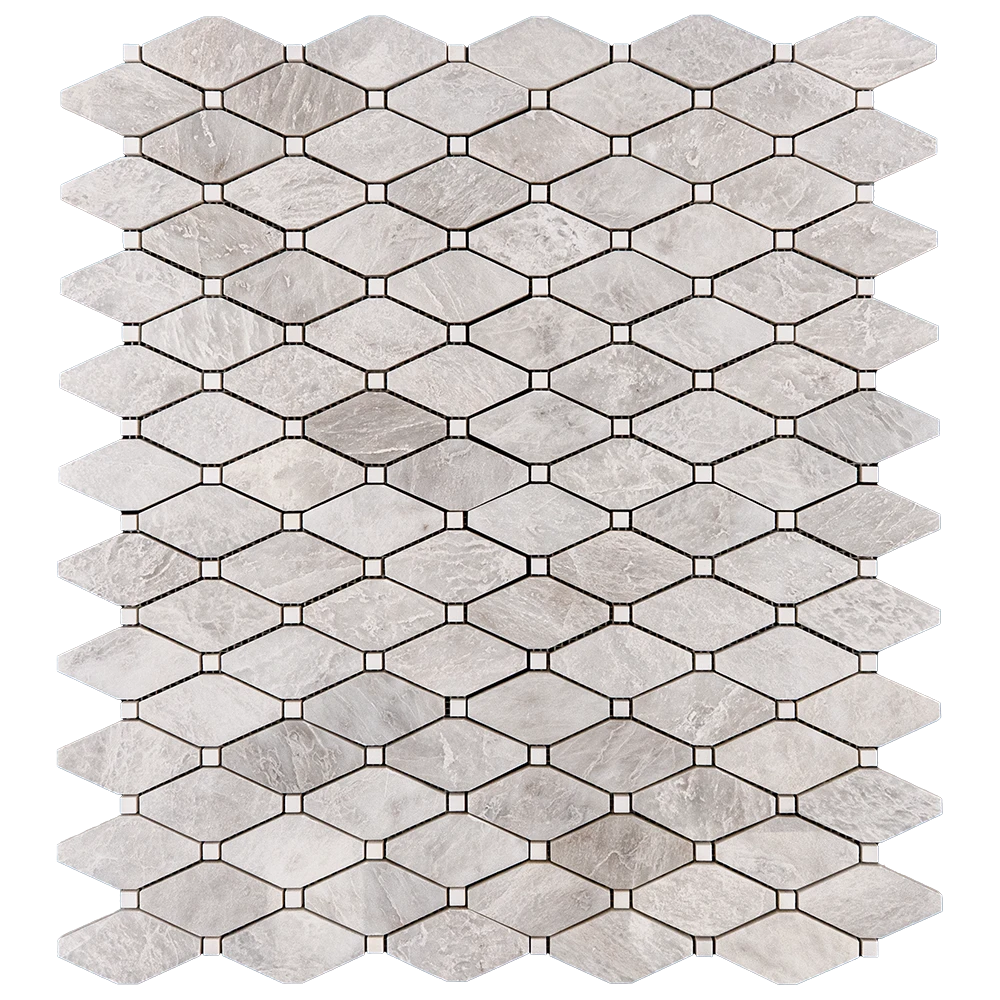
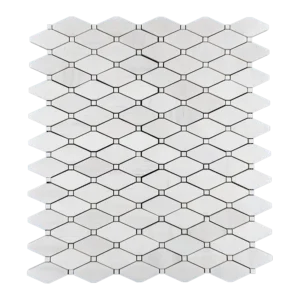
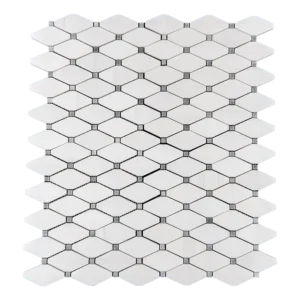
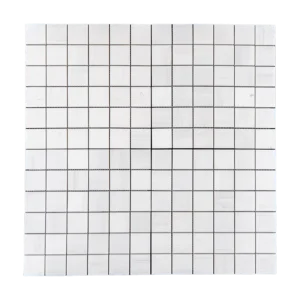
Polished Clipped Diamond White Marble Mosaic – Iceberg Blend with Dolomite Dot
Crafted for elegant interiors, this clipped diamond white marble mosaic tile features a refined polished finish and a timeless geometric pattern. Made from high-quality white marble, it adds depth, brightness, and visual movement to backsplashes, shower walls, and accent spaces.
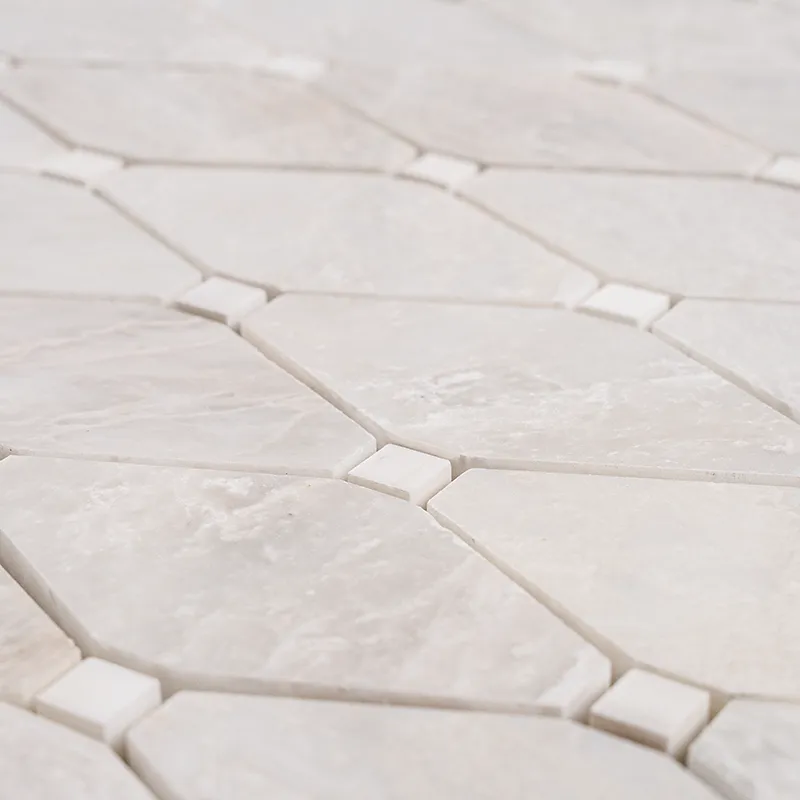
This clipped diamond white marble mosaic tile, accented with Dolomite dots, creates sculptural dimension and brings a refined texture to modern and traditional spaces.
Perfect For:
- Kitchen backsplashes
- Bathroom and shower walls
- Fireplace surrounds
- Accent and feature walls
Product Details:
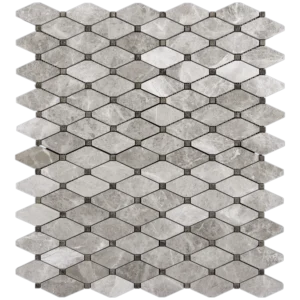
- Material: Iceberg Marble with Dolomite Dot Accents
- Finish: Polished
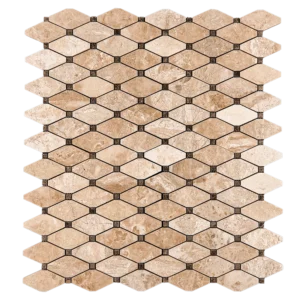
- Color Palette: Crisp white with natural veining
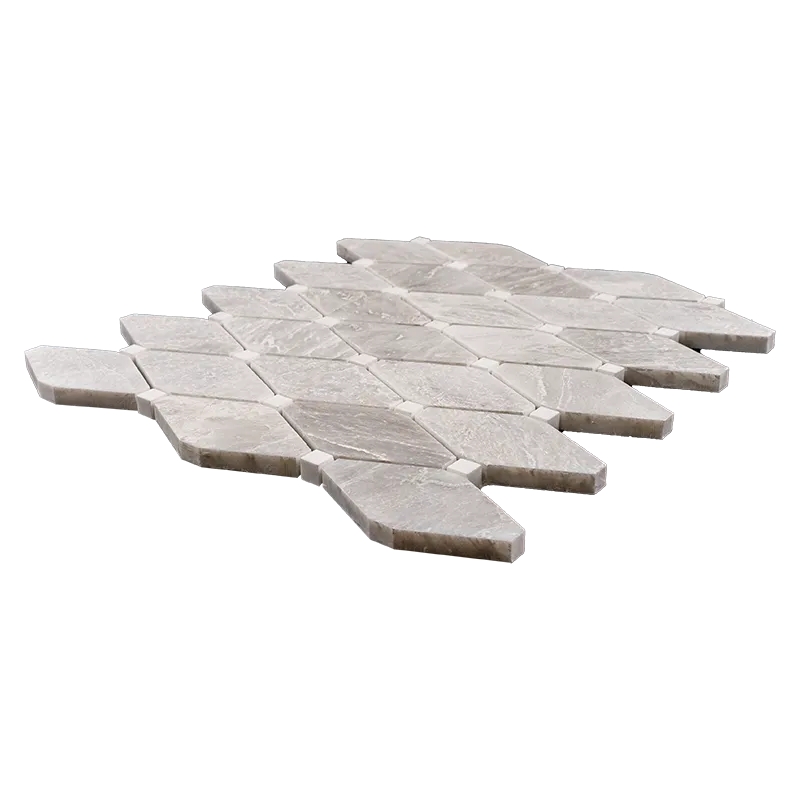
- Pattern: Clipped Diamond
- Sheet Size: 10.4″ x 12″ (26.5 x 30.5 cm)
- Packaging: 5 sheets per box
- Weight: Approx. 5.02 lbs per box
- Installation: Mesh-mounted, suitable for indoor wall applications
Why Choose This Tile:
- Distinctive clipped diamond layout with architectural appeal
- Elegant mix of Iceberg marble and Dolomite dots for subtle contrast
- Polished surface enhances light and detail
- Ideal for luxurious residential or boutique commercial designs
Clipped Diamond Iceberg White Marble Mosaic Tile – Iceberg Blend with Dolomite Dot (10.4″ x 12″)
Maximize Beauty & Performance with Professional Installation
Ensure a flawless, long-lasting result by following this expert installation guide for your Clipped Diamond Iceberg White Marble Mosaic Tile. These steps help preserve the tile’s structure, polished finish, and elegant geometric pattern.
Step 1: Surface Preparation – Build on a Solid, Clean Base
- Surface must be clean, dry, and free from dust, grease, or residues
- Ensure the substrate is flat, level, and free of cracks or loose areas
- Apply waterproofing membrane in wet areas such as showers or kitchen backsplashes
- Remove baseboards or obstacles before beginning
- Use self-leveling compound if needed to correct uneven areas
Step 2: Layout Planning – Create Balance and Flow
- Measure your surface and find the center point of each wall
- Use chalk lines to mark a grid for layout reference
- Dry-lay sheets to preview spacing and clipped diamond alignment
- Adjust layout to minimize small cuts at edges
- Use 1.5–3mm spacers to maintain consistent grout joints
Step 3: Adhesive Selection – Use High-Performance White Thin-Set
Recommended mortars:
Application steps:
- Mix only the amount of mortar you can use in 30 minutes
- Apply mortar using the flat side of a 1/4″ notched trowel
- Comb with the notched side at a 45° angle
- Back-butter each sheet for improved adhesion
<