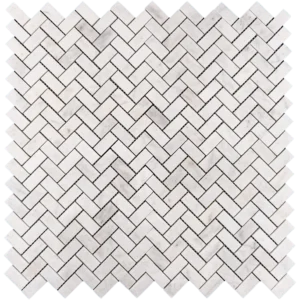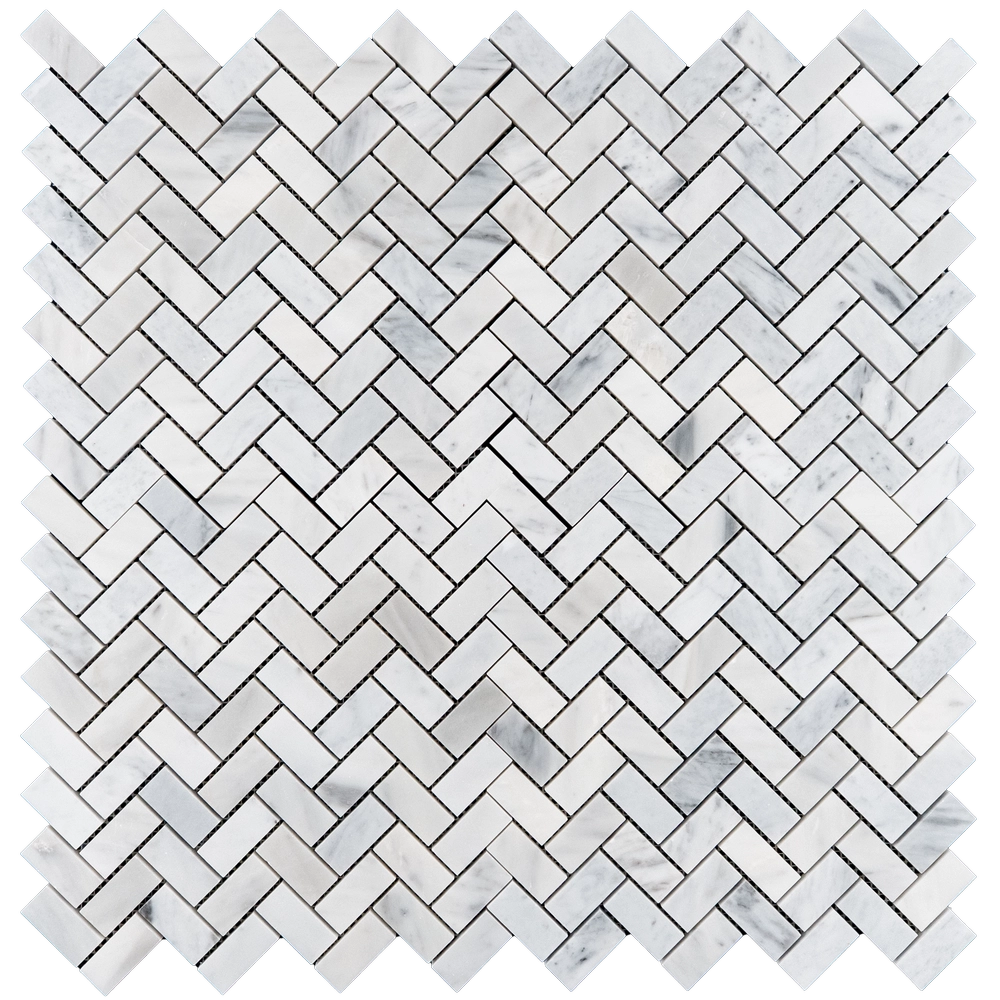
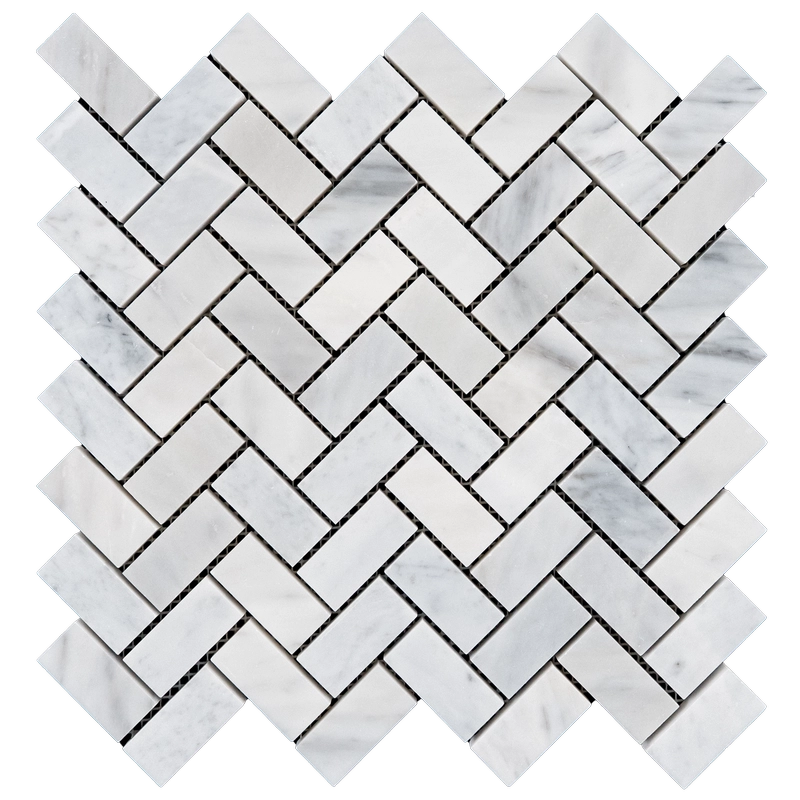
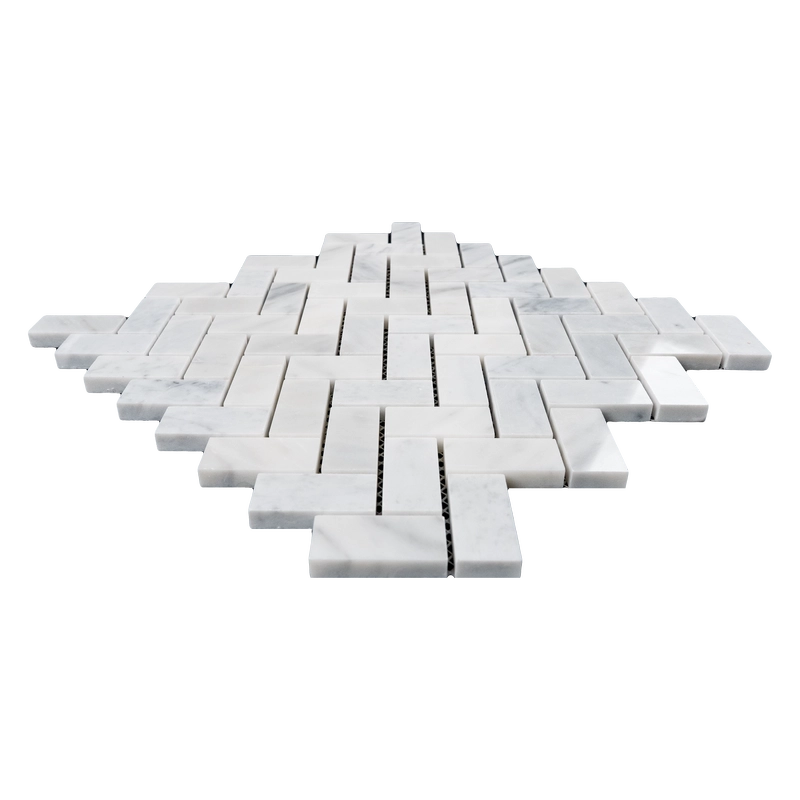

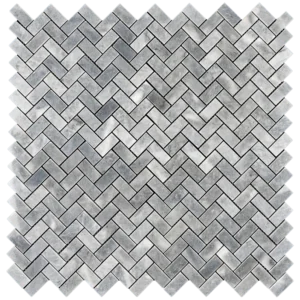
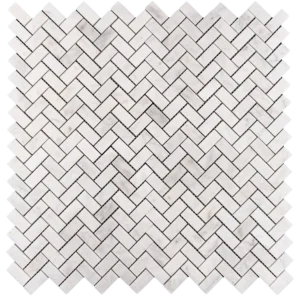
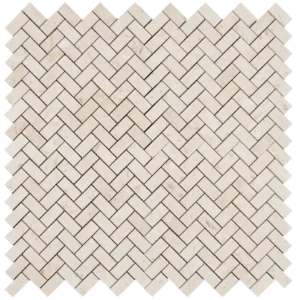
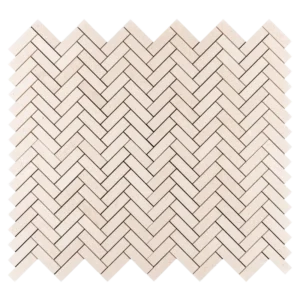
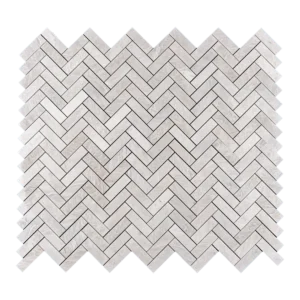
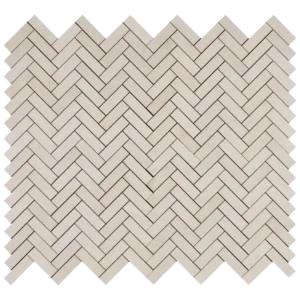
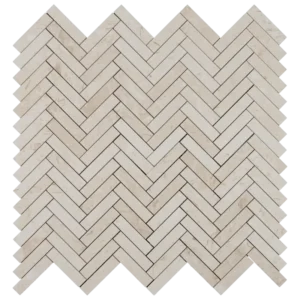
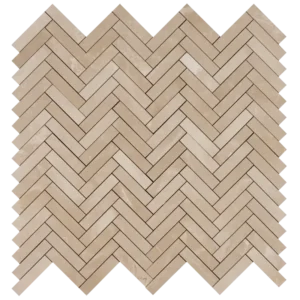
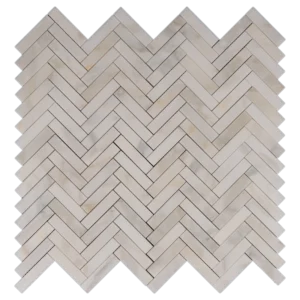
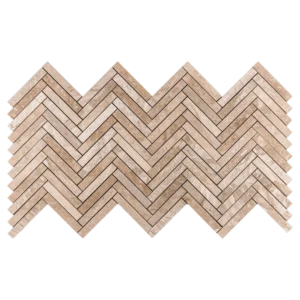
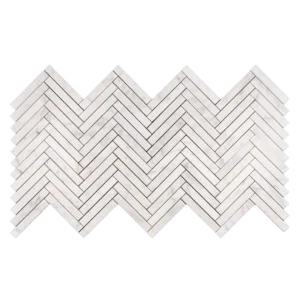
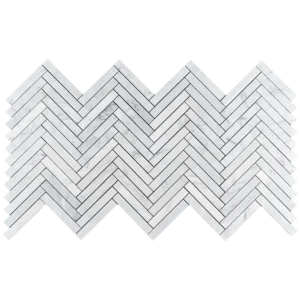
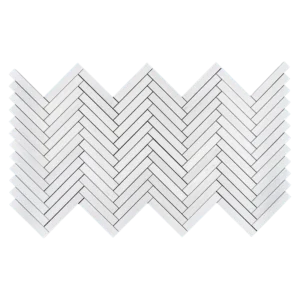
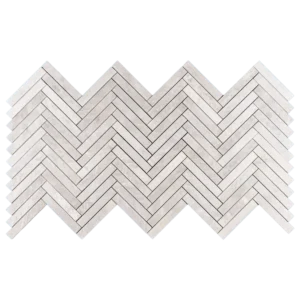
CARRARA White Herringbone 1″x2″ Polished Mosaic Tile
The CARRARA White Herringbone 1″x2″ Polished Mosaic Tile adds timeless elegance to modern interiors.
Made from authentic Carrara marble, it features a polished finish that highlights the stone’s crisp white tones and refined grey veining.
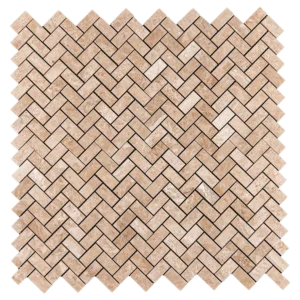
This herringbone pattern creates movement and visual depth, while the polished surface reflects light for a brighter look.
Moreover, the design works beautifully in kitchens, bathrooms, showers, and accent walls.
It blends classic Italian style with a contemporary edge, making it a versatile choice for many applications.
Key Features:
- Material: Premium Carrara White Marble
- Finish: Polished for a sleek, reflective surface
- Pattern: Classic 1″x2″ herringbone design
- Color: White marble with subtle grey veining
- Applications: Suitable for walls, floors, backsplashes, and showers
In addition, the herringbone layout provides geometric charm that elevates both small and large spaces.
Therefore, this polished Carrara White mosaic is ideal for anyone seeking luxury, durability, and timeless design in one tile.