Loading... (Warehouse Local Time)
Mon–Fri: 9:00 AM – 6:00 PM |

Beige Diamond 2×2 Inch Polished Luxurious Mosaic Tile –Marble Beige Gray

Beige Diamond Square Polished Marble Mosaic Tile adds a sophisticated touch to your space with its elegant Beige-gray tones and natural veining. The 2″ x 2″ mosaic pattern seamlessly complements both modern and classic interiors.

$9.74 / Sq Ft

Est. Coverage: 1 sq. ft. per piece | 5 sq. ft. per box | 360 sq. ft. per crate | Request Info
Item Code MM106-11022 Category


Radiant Luxury in Every Square Inch

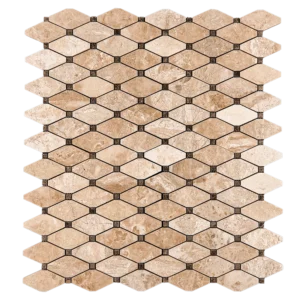
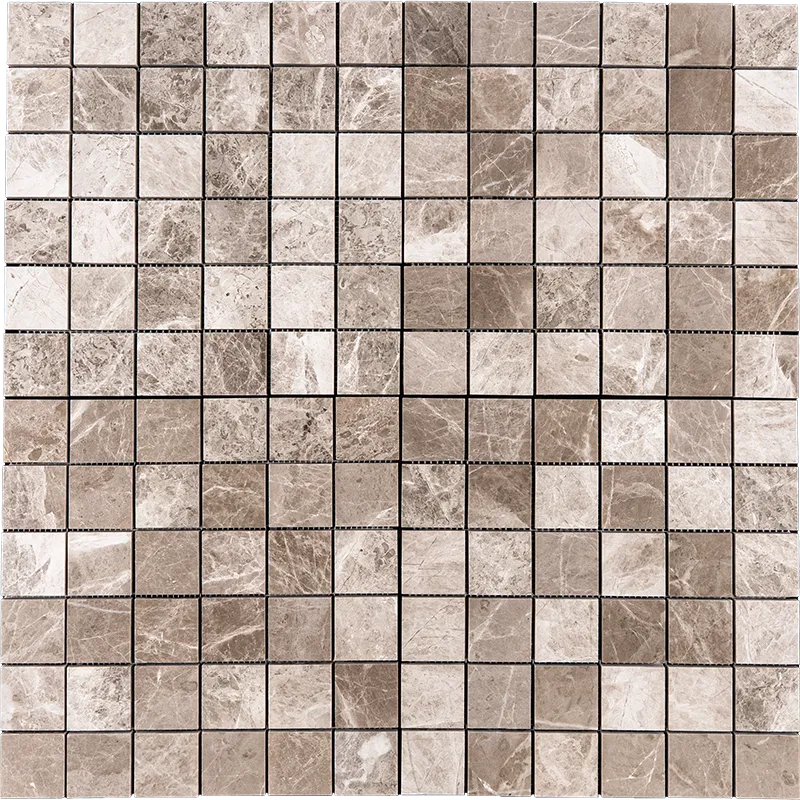
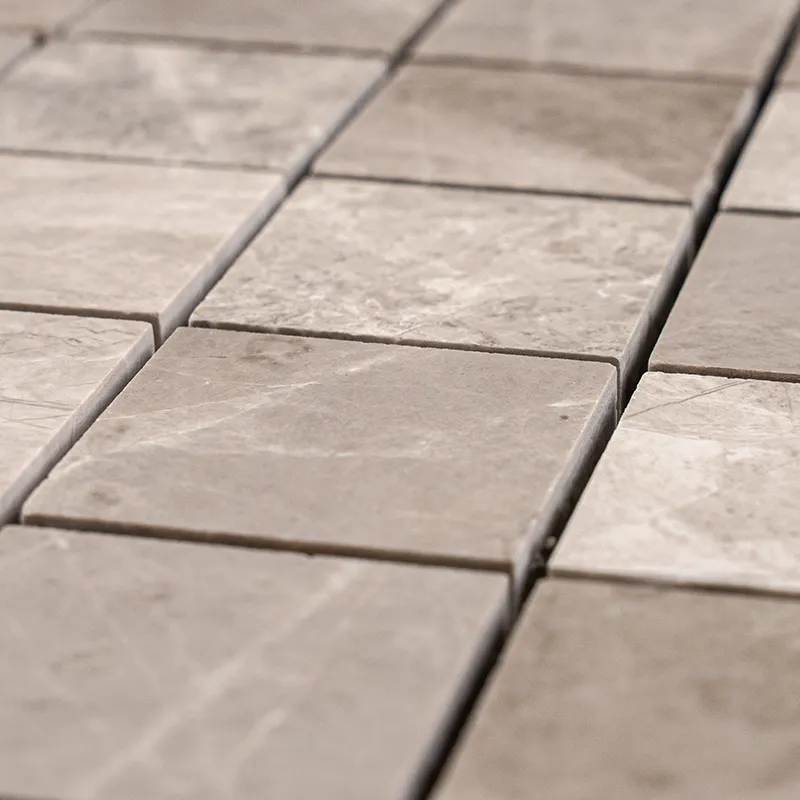
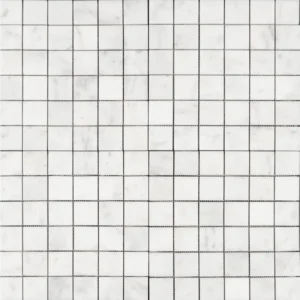
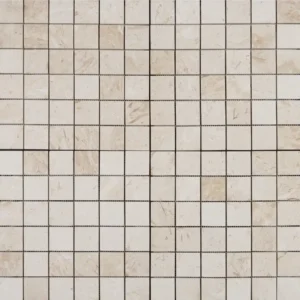
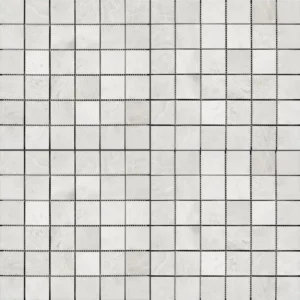
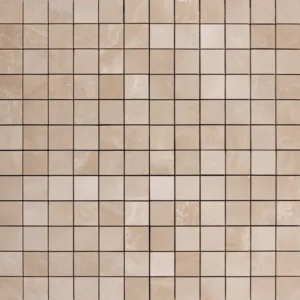
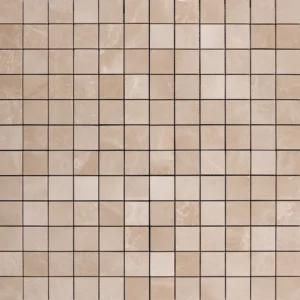
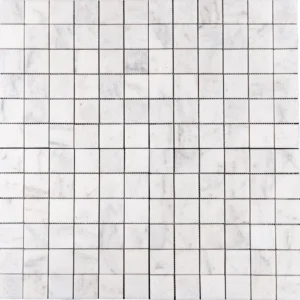
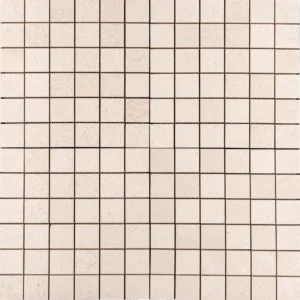
Transform your home with the bold elegance of the Beige Diamond 2×2 Inch Polished Luxurious Mosaic Tile – Marble Beige Gray. This striking mosaic features 2×2 inch square pieces cut from high-quality Beige-gray marble. The polished finish highlights the stone’s natural sparkle and veining, giving any space a luxurious touch.

Moreover, the mesh-mounted design ensures a seamless installation. As a result, this tile is ideal for kitchen backsplashes, shower walls, accent areas, and statement surfaces. Additionally, it radiates a sense of refined luxury, transforming any space into a masterpiece.

Product Overview

    • Material: Natural Beige Gray Marble
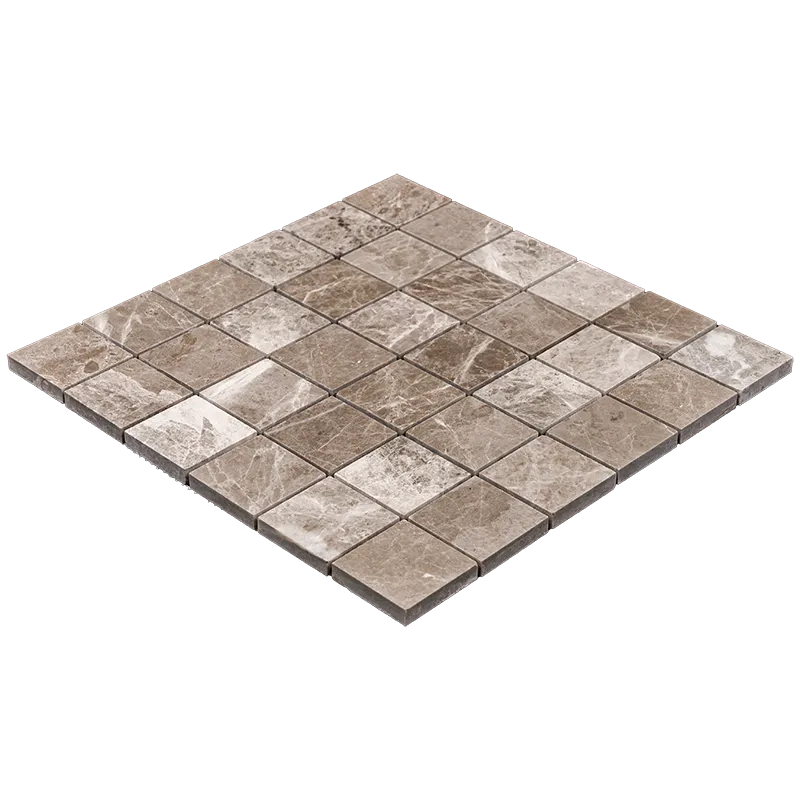
    • Tile Sheet Size: 12″ x 12″ (30.5 cm x 30.5 cm)
    • Tile Size: 2″ x 2″ (5.1 cm x 5.1 cm)
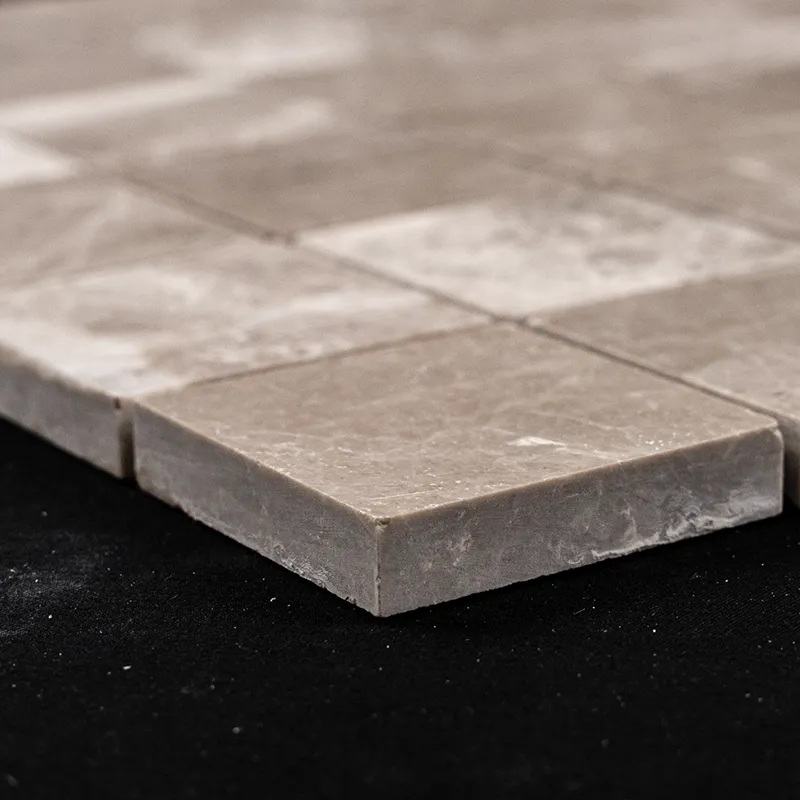
    • Thickness: 3/8″ (1 cm)
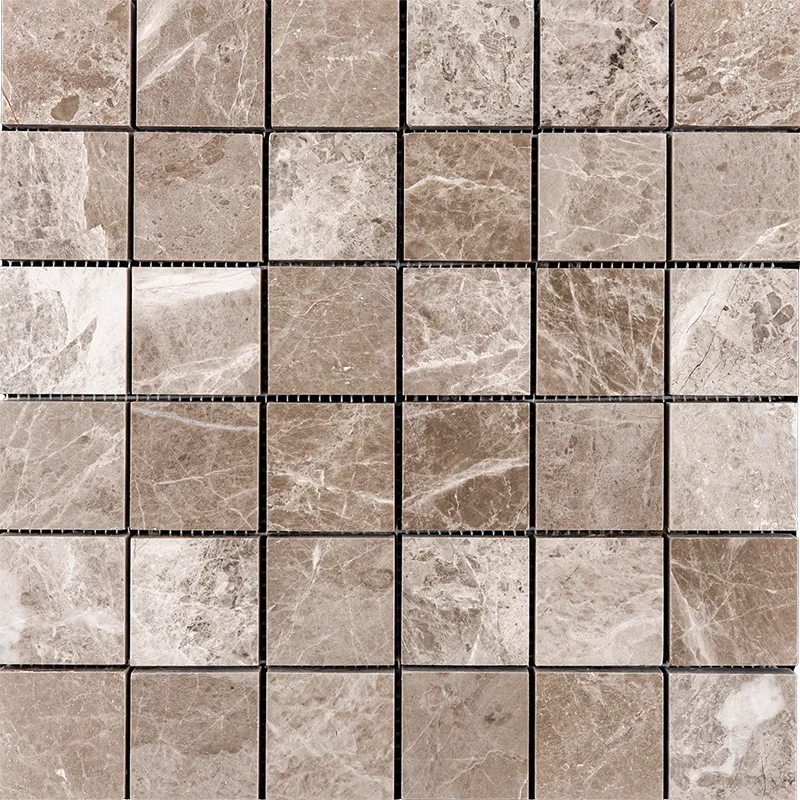
    • Finish: Polished (Glossy and Reflective)
    • Color: Beige Gray with Natural Veining
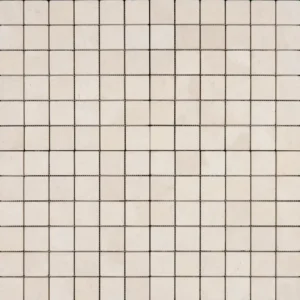
    • Pattern: Square Mosaic (2×2 inch)
    • Backing: Mesh-mounted for easy installation

Key Features

      • Modern square design for a clean, contemporary look
      • High-gloss finish enhances brightness and depth
      • Natural veining adds unique character to each tile
      • Works well in both residential and commercial spaces
      • Water-resistant and easy to clean, perfect for wet areas
      • Mesh backing allows quick cuts and easy alignment

Recommended Uses

      • Kitchen backsplashes
      • Bathroom walls and showers
      • Feature walls and decorative niches
      • Fireplace surrounds and entryways
      • Boutique retail and hospitality design

Installation & Maintenance Tips

      • Use high-quality white thin-set mortar for best adhesion
      • Apply non-sanded grout to prevent scratches on the polished surface
      • Seal thoroughly with a premium marble sealer before and after grouting
      • Clean only with pH-neutral, stone-safe products for lasting beauty

Ordering & Shipping Info

      • Sold by: Square meter (1 SQM per unit)
      • Box Quantity: 72 boxes per order (34.59 SQM total)
      • Shipping: Reliable delivery nationwide with protective packaging
      • Bulk Pricing: Discounts available for large orders and contractors

Order Today and Redefine Your Space

Don’t wait to make a bold, elegant statement in your home or commercial project with the Beige Diamond Mosaic Tile. From spa-like bathrooms to high-end kitchens, this tile offers unmatched luxury and style. Additionally, it brings a touch of sophistication that’s hard to match.

Furthermore, our experts are ready to help with custom needs and questions. Contact us today for personalized advice and support to get the most out of your project.

Weight5.70 lbs
Dimensions12 × 12 × 0.40 in
Chip Size (Inches)

Color

Finish

Size (inches)

Thickness

Collection

Beige Diamond Collection

Design

Square

Material

Maximize the Performance of Your Beige Diamond Square Polished Marble Mosaic Tile (12″ x 12″)

Follow these essential steps for preparing, installing, and finishing your Beige Diamond Square Polished Marble Mosaic Tile (12″ x 12″) to achieve a flawless and long-lasting installation. Proper installation ensures durability, stability, and aesthetic appeal while maintaining the luxurious polished marble finish and timeless square design.

Step 1: Surface Preparation
  • Clean, dry, and free from dust, grease, soap scum, and debris.
  • Structurally sound and level, with no cracks or loose sections.
  • Properly waterproofed, especially in moisture-prone areas like bathrooms, kitchens, and showers.
  • Clear of moldings or obstructions that may interfere with tile placement.
  • If necessary, apply a self-leveling compound to create an even surface before installation.
Step 2: Layout Planning
  • Measure the installation area and mark the center points of all four walls.
  • Snap chalk lines to create a precise grid for alignment.
  • Dry-lay tiles along the center lines to ensure balanced placement.
  • Adjust center lines if edge cuts are too small.
  • Use tile spacers (1.5mm – 3mm) for uniform grout joints.
  • Dry-lay multiple sheets to confirm pattern alignment.
Step 3: Selecting & Applying Adhesive

Use a high-quality white thin-set mortar such as:

  • Mapei
  • Laticrete
  • Ardex
Application Tips:
  1. Mix only the amount of mortar usable within 30 minutes.
  2. Apply a 1/4-inch layer using the flat side of a notched trowel.
  3. Comb the mortar at a 45-degree angle to create ridges.
  4. Work in 2′ x 3′ sections to avoid drying before placement.
  5. Back-butter each tile to improve adhesion.
Step 4: Cutting & Fitting Tiles
  • Mark tiles with a pencil or tile marker.
  • Use a wet saw with diamond blade for clean cuts.
  • Smooth edges with a rubbing stone.
  • For intricate cuts, use a tile nipper or grinder.
  • Dry-fit all tiles before applying adhesive.
Step 5: Setting the Tiles
  • Start from the center of the room, working outward.
  • Place tiles with a twisting motion for bond strength.
  • Avoid sliding tiles into position.
  • Use spacers to maintain grout lines.
  • Tap gently with a rubber mallet.
  • Wipe off excess mortar with a damp sponge.
  • Allow to cure 24 hours before grouting.
Step 6: Grouting & Finishing
  • Remove spacers before grouting.
  • Use non-sanded grout to protect the polished finish.
  • Spread grout diagonally with a rubber float.
  • Remove excess grout immediately.
  • After 15–20 minutes, clean haze with a damp sponge.
  • Allow to cure 72 hours before use.
  • Apply penetrating sealer after curing.
Maintenance Tips
  • Use pH-neutral cleaners to protect the surface.
  • Avoid acidic or harsh chemicals.
  • Reseal regularly to maintain shine and durability.
  • Place felt pads under furniture to prevent scratching.
Important Notice:

Stonemarket USA is not responsible for improper installations. We strongly recommend hiring a professional tile installer and using premium-grade materials for the best results.

📞 Need help? Contact Stonemarket USA Customer Support

By following these expert installation guidelines, you’ll enjoy the timeless beauty and durability of your Beige Diamond Square Polished Marble Mosaic Tile (12″ x 12″) for years to come.

Category
Category
Material
Material
Color
Color
Size
Size
Finish
Finish
Design
Design
Thickness
Thickness
Application
Usage Area

Need a Quote or Have a Question?

Let us know what you’re planning! Feel free to include project name, area, timeline, or any other notes.