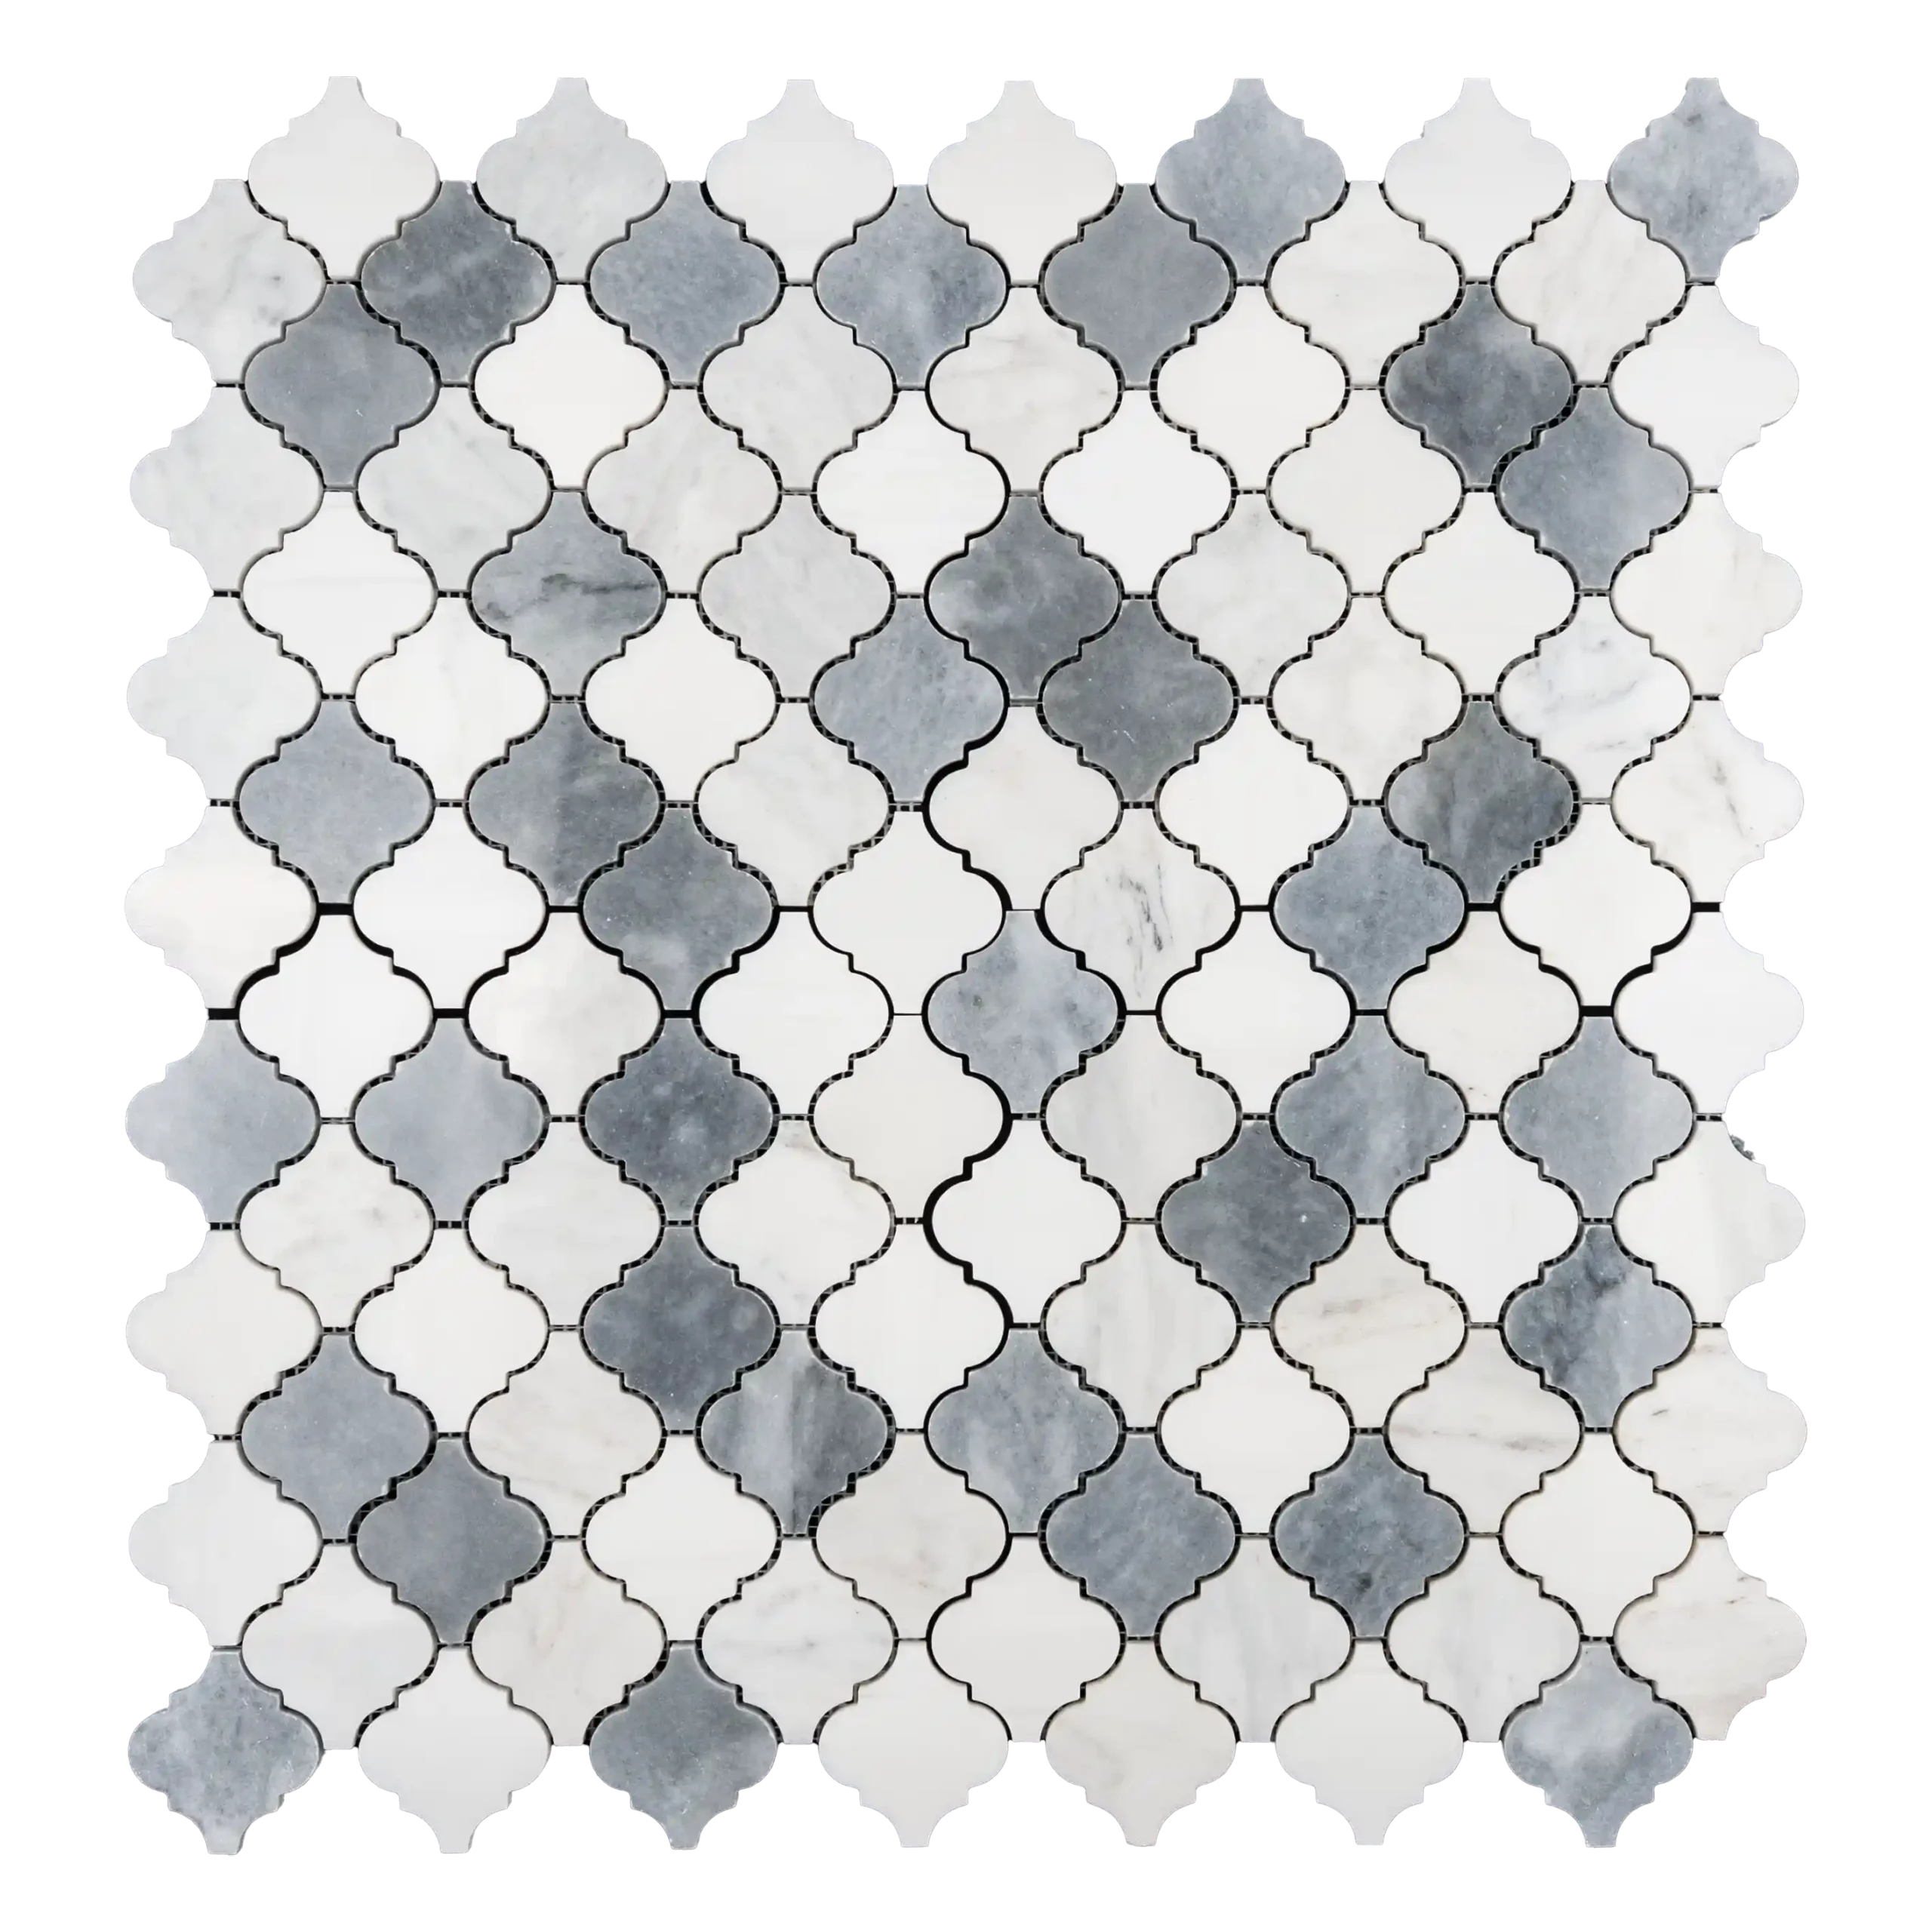
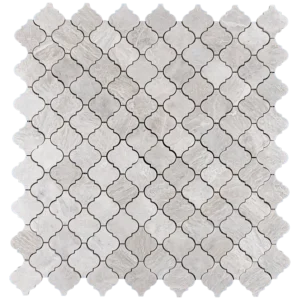
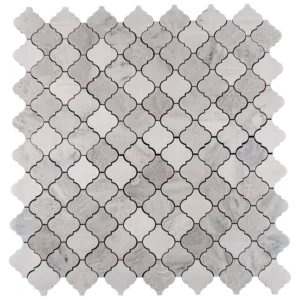
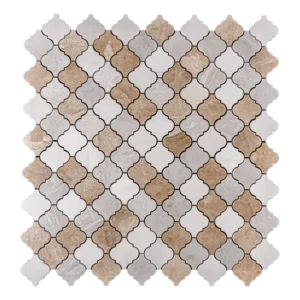
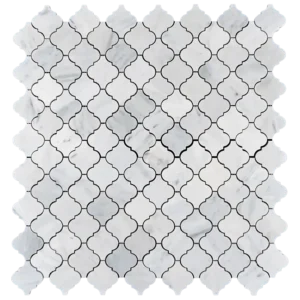
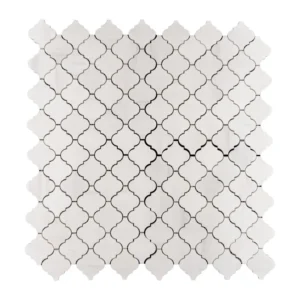
Arabesque Polished Marble Mosaic Tile – Dolomite, Bardiglio, Imperial White
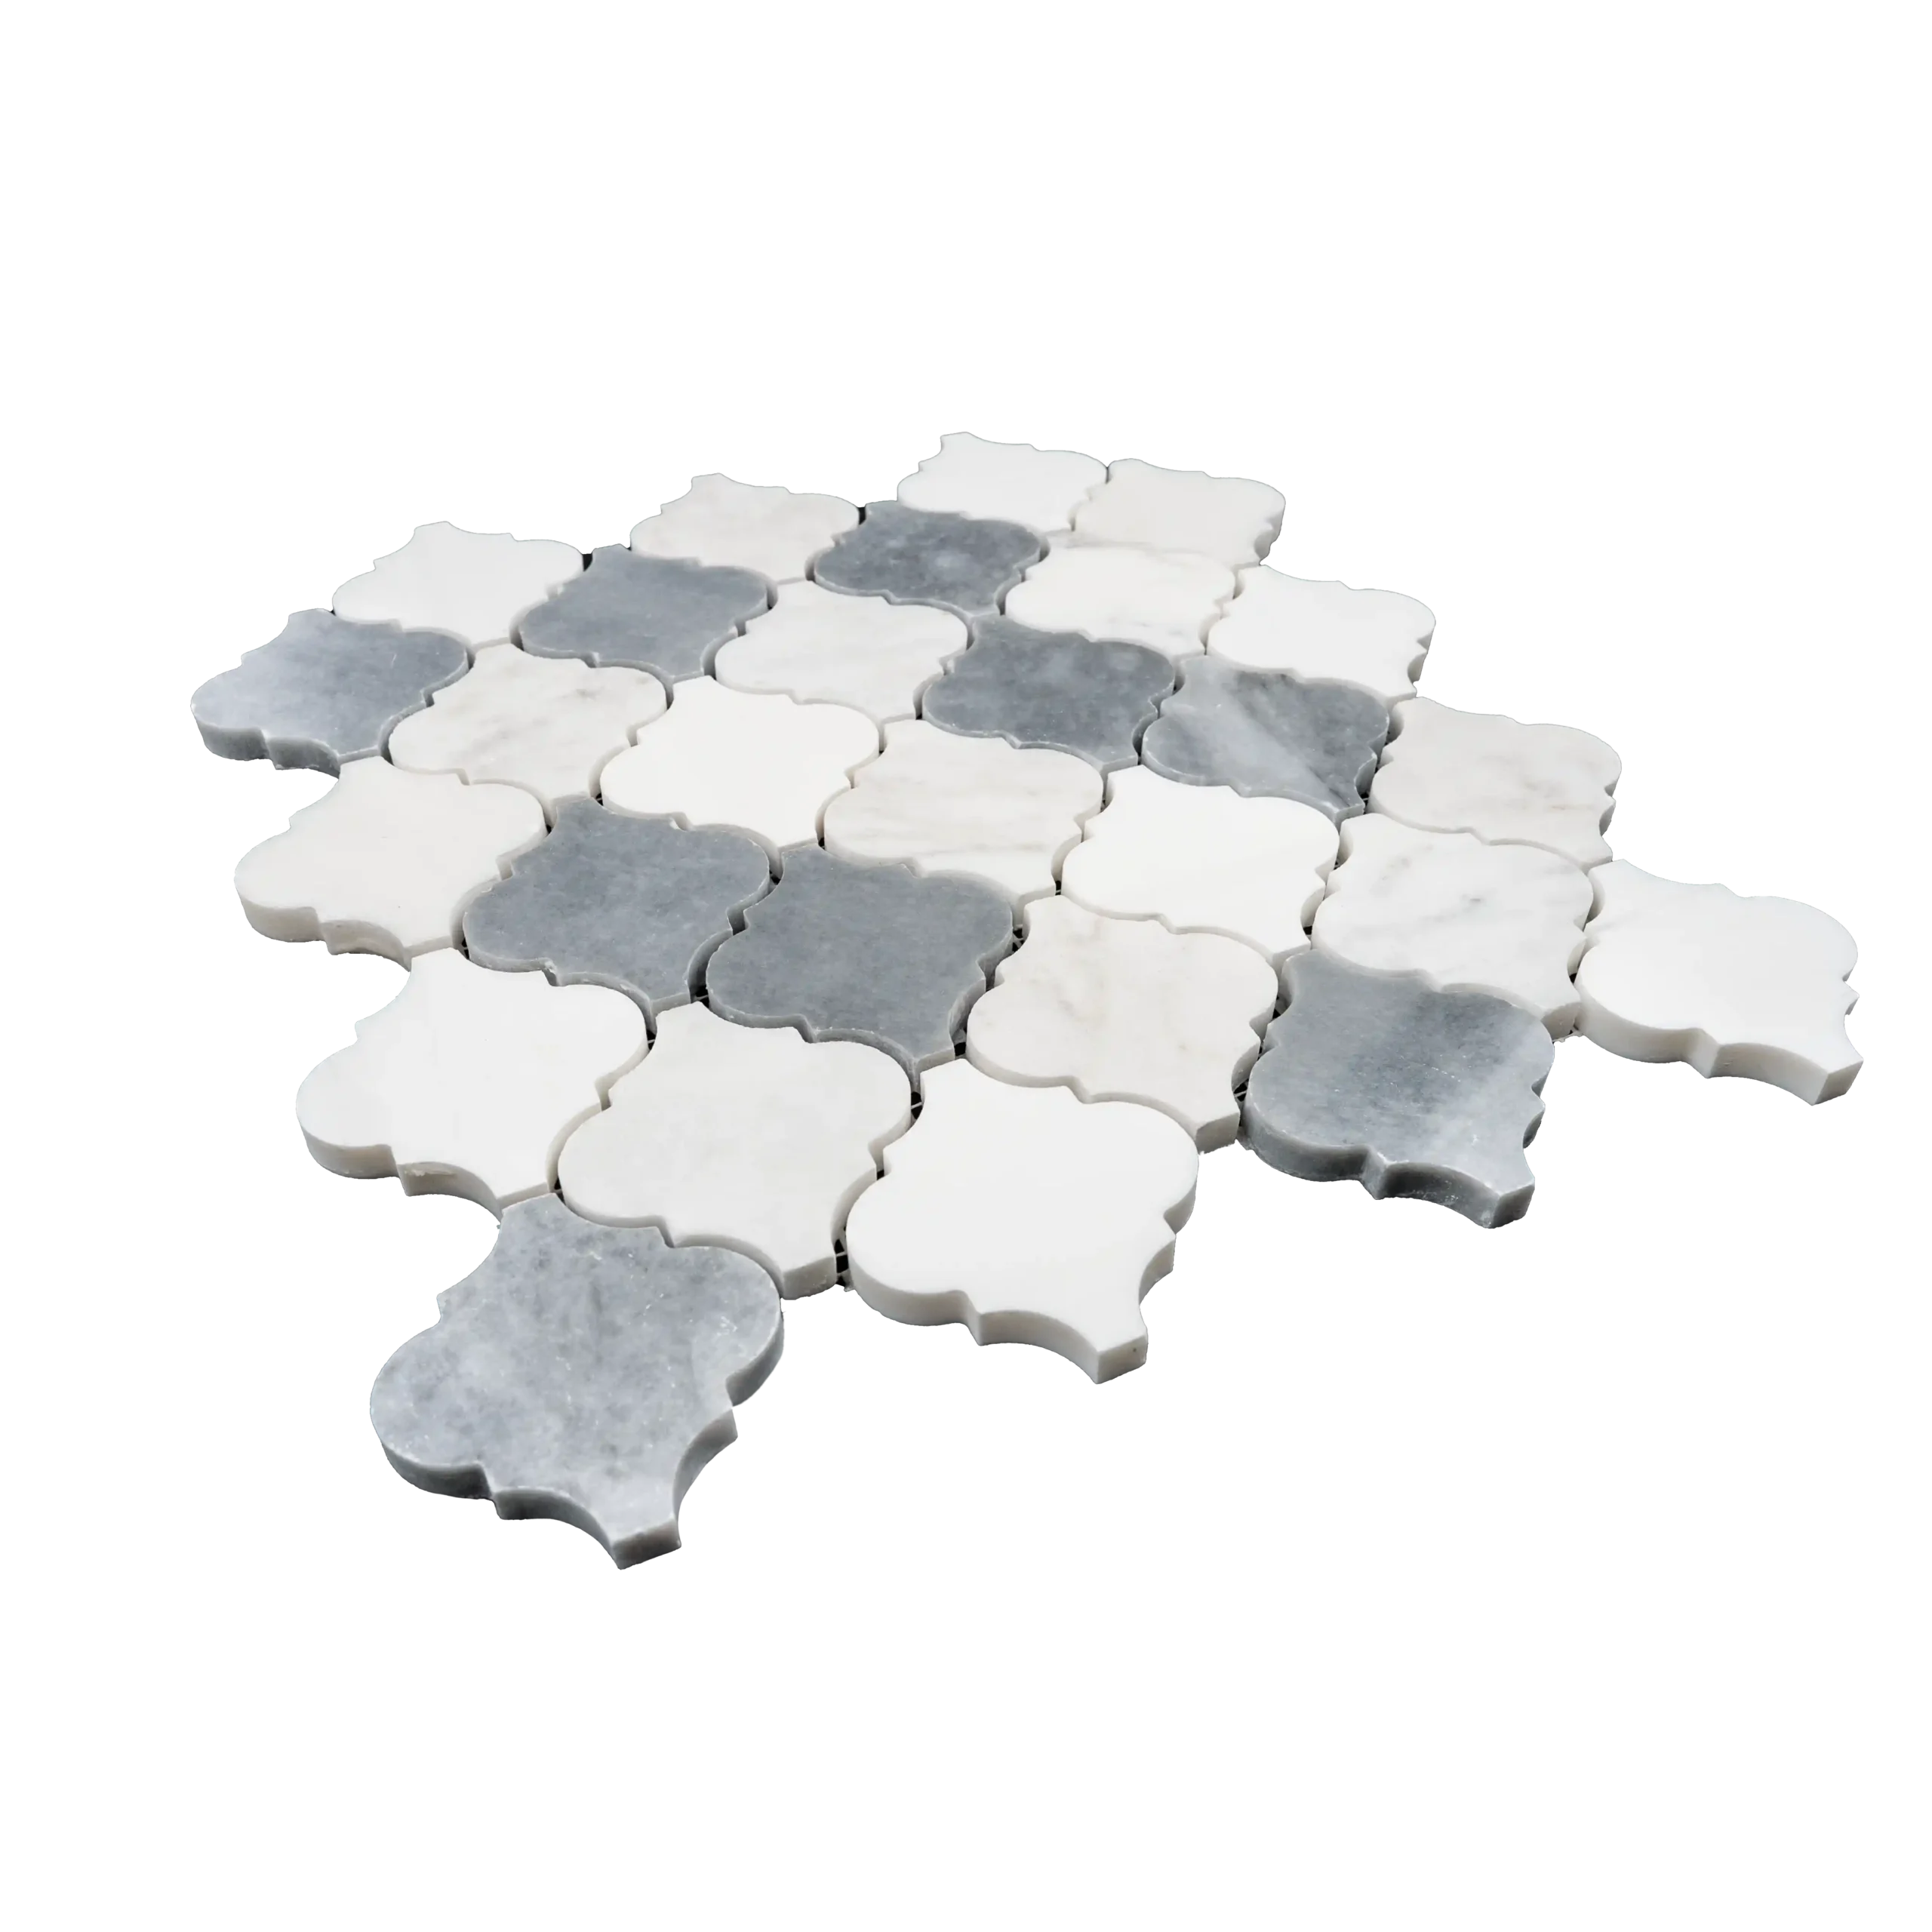
Transform your interiors with the timeless beauty of our Arabesque Polished Marble Mosaic Tile. This premium mosaic features a captivating mix of Dolomite, Bardiglio, and Imperial White marbles, blending soft whites, elegant grays, and subtle taupe tones. Its polished finish enhances the natural veining and brings a luxurious shine to any wall application.
Why Choose Our Arabesque Mosaic Tile?
This stunning mosaic tile combines classic elegance with modern versatility. Moreover, the arabesque shape creates visual interest, making it a perfect choice for adding sophistication to any space. Whether you’re refreshing a kitchen, designing a spa-inspired bathroom, or creating an eye-catching accent wall, this tile delivers both style and quality.
Key Features
- Material: Premium Natural Stone (Dolomite, Bardiglio, Imperial White)
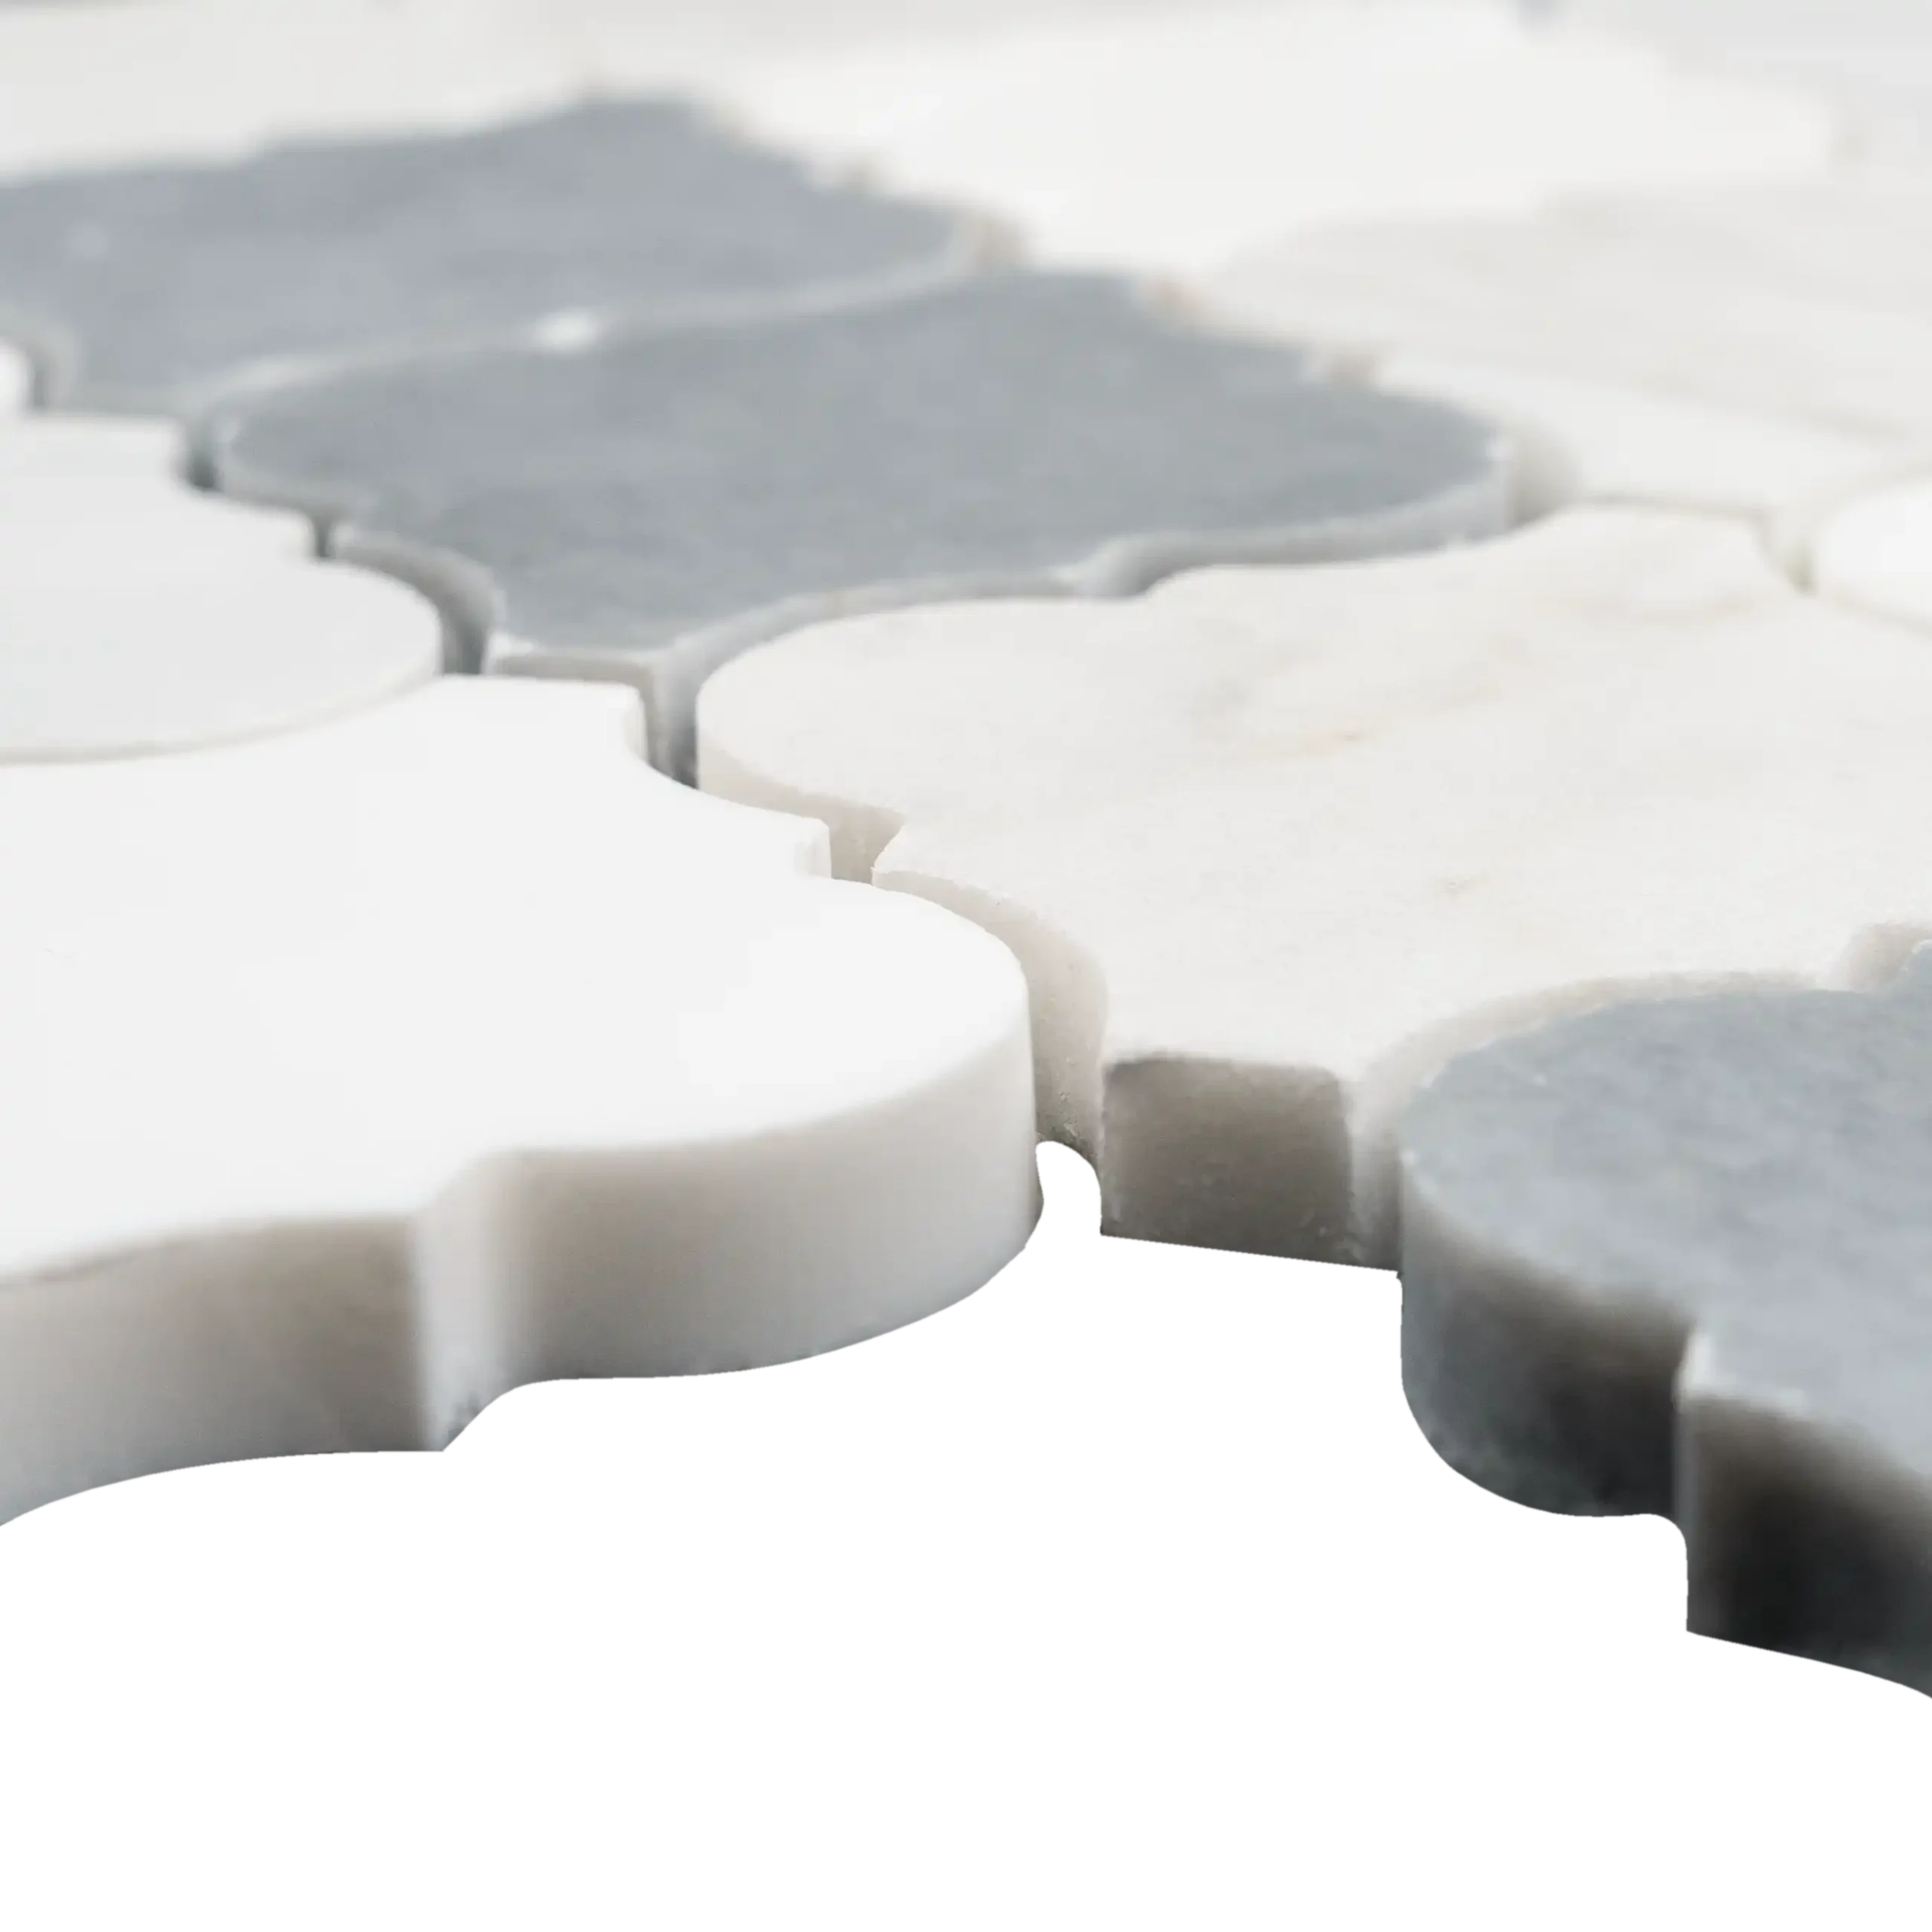
- Finish: Polished for a glossy, light-reflective surface
- Color Palette: Soft white, elegant gray, and light taupe tones
- Shape: Arabesque pattern for a classic yet modern look
- Sheet Size: 12″ x 12.4″ (30.5 x 31.5 cm)
- Coverage: Approximately 1.03 sq. ft. per sheet
- Packaging: 5 sheets per box (approx. 5.15 sq. ft.)
- Usage: Indoor wall applications, suitable for wet and dry areas
Benefits of This Mosaic Tile
- Hand-Selected Natural Stone: Each tile is carefully chosen for its quality and character.
- Polished Finish: Enhances the stone’s natural veining and color variation.
- Elegant Arabesque Shape: Adds a unique, sophisticated touch to any design.
- Mesh-Backed Sheets: Simplify installation, saving time and effort.
- Versatile Design: Perfect for residential and light commercial use.
Recommended Applications
- Kitchen backsplashes – Elevate your culinary space with timeless charm.
- Bathroom feature walls – Create a spa-like retreat with luxurious marble details.
- Fireplace surrounds – Add warmth and sophistication to living areas.
- Shower floors and niches – Durable and water-resistant for wet areas.
- Decorative accent strips – Enhance any wall with subtle elegance.
Order Your Arabesque Polished Marble Mosaic Tile Today! Upgrade your home or commercial space with the enduring beauty of Dolomite, Bardiglio, and Imperial White marbles. Additionally, our experts are available to assist with design ideas and project planning.
Installation Guide – Arabesque Polished Marble Mosaic Tile
Step 1: Surface Preparation – A Clean and Even Base
- Ensure the installation surface is clean, dry, and free of dust, grease, and debris.
- Confirm that the substrate is level, stable, and free of cracks or damage.
- Apply a waterproofing membrane in wet areas like showers to protect the surface.
- Remove any baseboards, fixtures, or outlet covers that may obstruct installation.
- If needed, use a leveling compound to achieve a smooth, even surface.
Step 2: Layout Planning – Visualize the Pattern
- Mark the center of the wall or surface to establish a symmetrical layout.
- Dry-lay the Arabesque Polished Marble Mosaic Tile sheets to preview color distribution and veining across Dolomite, Bardiglio, and Imperial White.
- Adjust sheet placement for an aesthetically balanced design and avoid small or uneven cuts along edges.
- Use 1.5–3 mm spacers between sheets to ensure uniform grout lines.
- Ensure the arabesque pattern aligns seamlessly from sheet to sheet.
Step 3: Adhesive Application – Choose Quality Thin-Set
Recommended Thin-Set Brands:
Instructions:
- Mix only small batches of thin-set to prevent premature drying.
- Use the flat side of a 1/4″ notched trowel to apply a thin, even layer.
- Comb the adhesive at a 45° angle using the notched side for full coverage.
- Back-butter each sheet lightly to enhance bonding and reduce voids.
- Work in manageable sections to maintain the adhesive’s workability.
Special Note for Dolomite, Bardiglio & Imperial White:
- These marbles vary slightly in porosity and veining—handle sheets carefully to avoid chipping the delicate edges.
- Apply a pre-sealer before installation to reduce the risk of staining during grouting, particularly on the lighter Dolomite and Imperial White sections.
- Arrange sheets thoughtfully to highlight natural color variations for the best aesthetic impact.
Step 4: Cutting & Fitting – Precision Matters
- Use a wet saw with a high-quality diamond blade for clean, precise cuts.
- Mark cut lines clearly with a pencil or wax marker before cutting.
- Smooth sharp edges gently using a rubbing stone or fine sandpaper.
- Dry-fit all pieces to ensure proper alignment and pattern flow.
Step 5: Setting the Tiles – Keep the Pattern Consistent
- Start tiling from the center point and work outward to maintain balance.
- Press each mesh-backed sheet firmly into the thin-set using a slight twisting motion.
- Avoid shifting the sheets once placed to keep the pattern alignment intact.
- Use spacers between sheets to maintain even grout lines.
- Tap gently with a rubber mallet to ensure the tiles are level.
- Immediately wipe away any excess thin-set with a damp sponge to prevent residue.
- Allow the adhesive to cure for at least 24 hours before grouting.
Step 6: Grouting & Sealing – Protect Your Mosaic
- Remove spacers and prepare unsanded grout to avoid scratching the polished surface.
- Apply grout diagonally using a rubber float to fill the joints completely.
- Clean excess grout promptly with a damp sponge while working in sections.
- After 15–20 minutes, buff the surface with a soft cloth to remove any remaining haze.
- Allow grout to cure for 72 hours before applying a penetrating marble sealer to protect against stains.
- For regular maintenance, use a pH-neutral, stone-safe cleaner to preserve the polished finish and prevent etching.
Important Note
Professional installation is strongly recommended. Always use high-quality setting materials and sealers to ensure a beautiful, lasting result. Stonemarket USA is not responsible for improper installation.