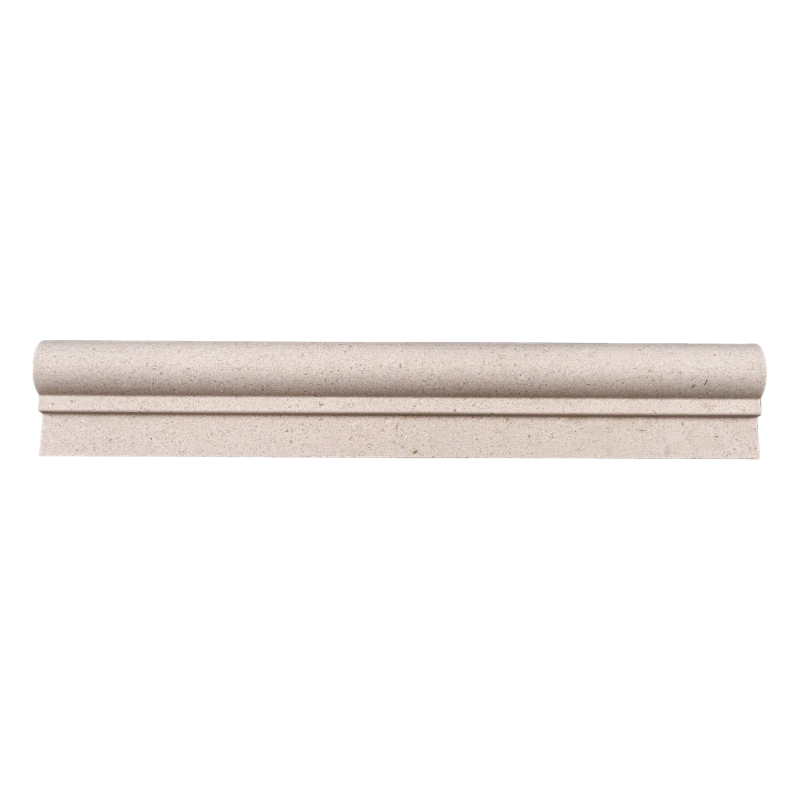
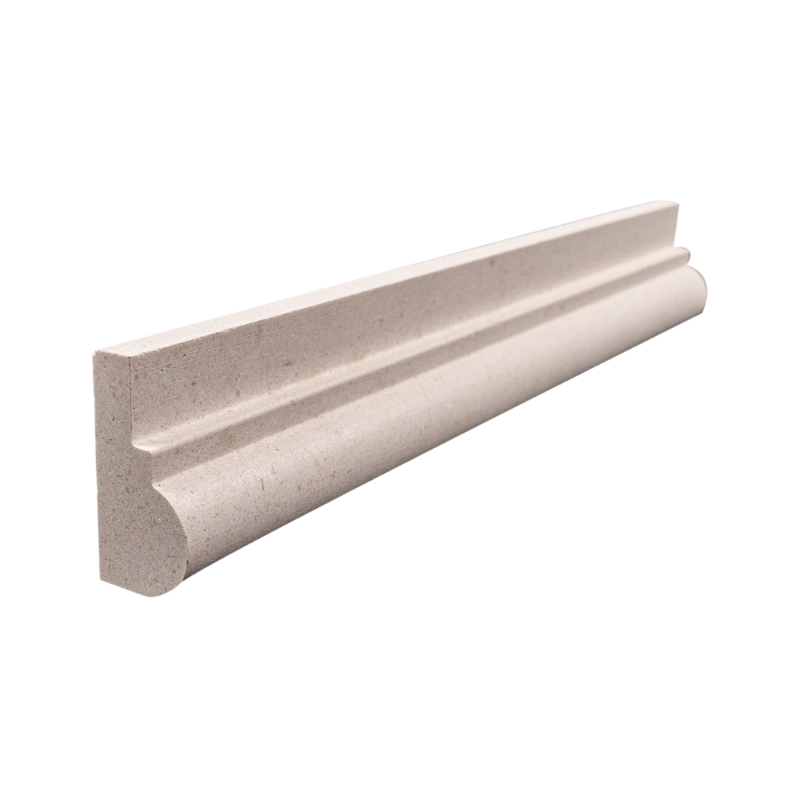
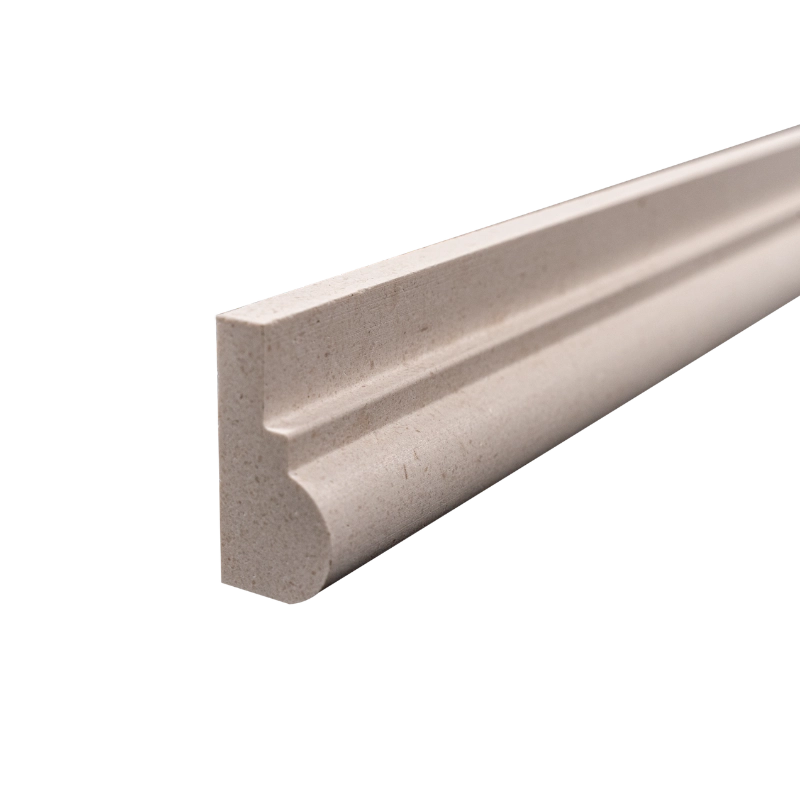
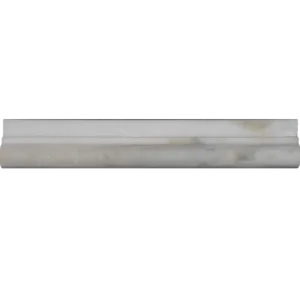
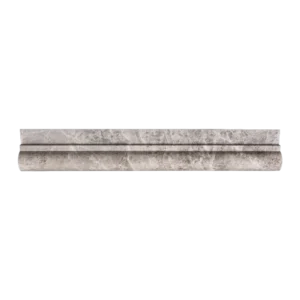
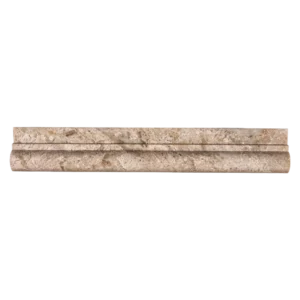
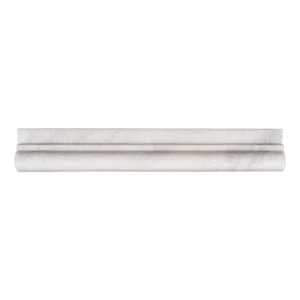
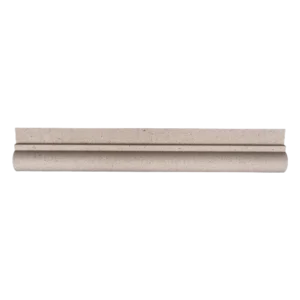
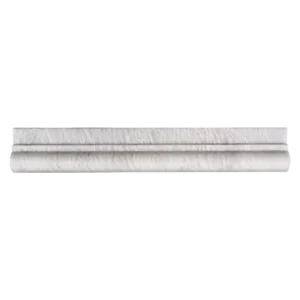
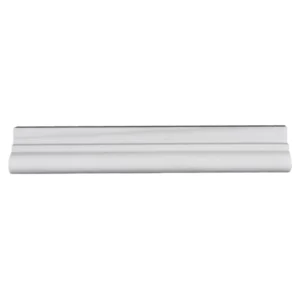
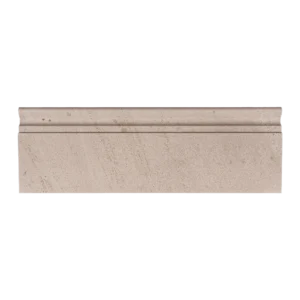
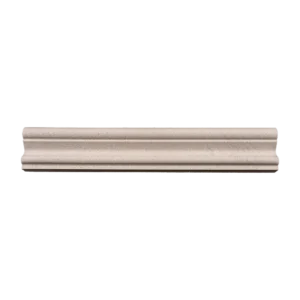
Limestone Chair Rail Trim 2″x12″ Honed – Soft Beige Architectural Accent
Add refined visual separation to your wall layouts with our 2″x12″ Limestone Chair Rail Trim in a honed finish. Crafted from natural beige limestone, this trim piece provides both decorative and functional value, defining transitions between wall surfaces while enhancing your interior with warm, earthy tones.
The honed surface softens the stone’s appearance and offers a matte texture that complements a wide variety of design styles—from classic to transitional. Ideal for bathrooms, wainscoting, and tiled backsplashes, this trim serves as a subtle detail that pulls the entire room together with architectural coherence.
Key Features
- Material: Natural beige limestone
- Finish: Honed – smooth and non-glossy
- Size: 2″ x 12″ (5.1 cm x 30.5 cm)
- Type: Chair rail molding for decorative transitions
- Edge: Straight cut for precise installation
Elevate your walls with this elegant limestone chair rail trim — a minimalist solution with lasting appeal.
Installation Guide – Limestone Chair Rail Trim (2″x12″ Honed)
Step 1: Surface Preparation – Clean and Prime
- Ensure the wall surface is clean, dry, flat, and structurally sound.
- Mark a level horizontal line on the wall where the chair rail trim will be installed.
- Complete all lower field tile installation prior to placing the chair rail.
Step 2: Dry Layout – Align and Preview
- Dry-lay trim pieces along the guideline to inspect veining and tone consistency.
- Use a wet saw with a diamond blade to make straight or mitered cuts as needed.
- Ensure accurate fit around corners and any fixtures.
Step 3: Adhesive Application – Set the Trim
Recommended Thin-Set:
- Laticrete 254 Platinum White
- Mapei Ultralite Mortar (non-sag, white)
Instructions:
- Apply thin-set mortar using a margin trowel to the back of each chair rail piece.
- Back-butter to ensure full contact and press trim firmly into place along the guideline.
- Use painter’s tape to hold trim in place while the mortar cures (minimum 24 hours).
Step 4: Grouting – Fill the Joints
- Use unsanded grout to prevent scratches on the honed surface.
- Apply grout between trim joints and wipe clean with a damp sponge immediately.
- Buff away grout haze after 30–45 minutes with a soft cloth.
Step 5: Sealing – Protect the Stone
- After grout cures (typically 72 hours), apply a penetrating sealer suitable for honed limestone.
- Reapply sealer as needed, especially in wet areas or high-traffic zones.
Maintenance Tips
- Use only pH-neutral stone cleaners to avoid damage.
- Avoid acidic or abrasive cleaners.
- Dust or wipe regularly with a soft cloth to maintain the natural honed look.
Important Note
Limestone is a natural product with inherent variations in tone and veining. Always dry-lay and inspect all pieces prior to installation. Stonemarket USA is not responsible for installation issues or natural stone variation.