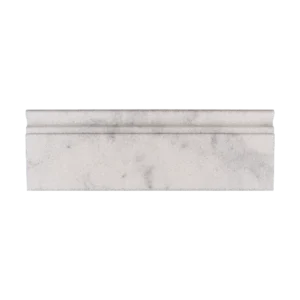
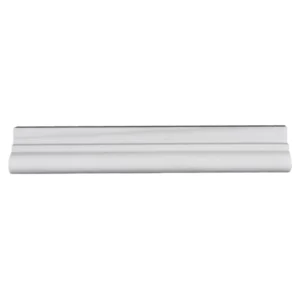
Minimalist Finishing Touch with Natural White Dolomite
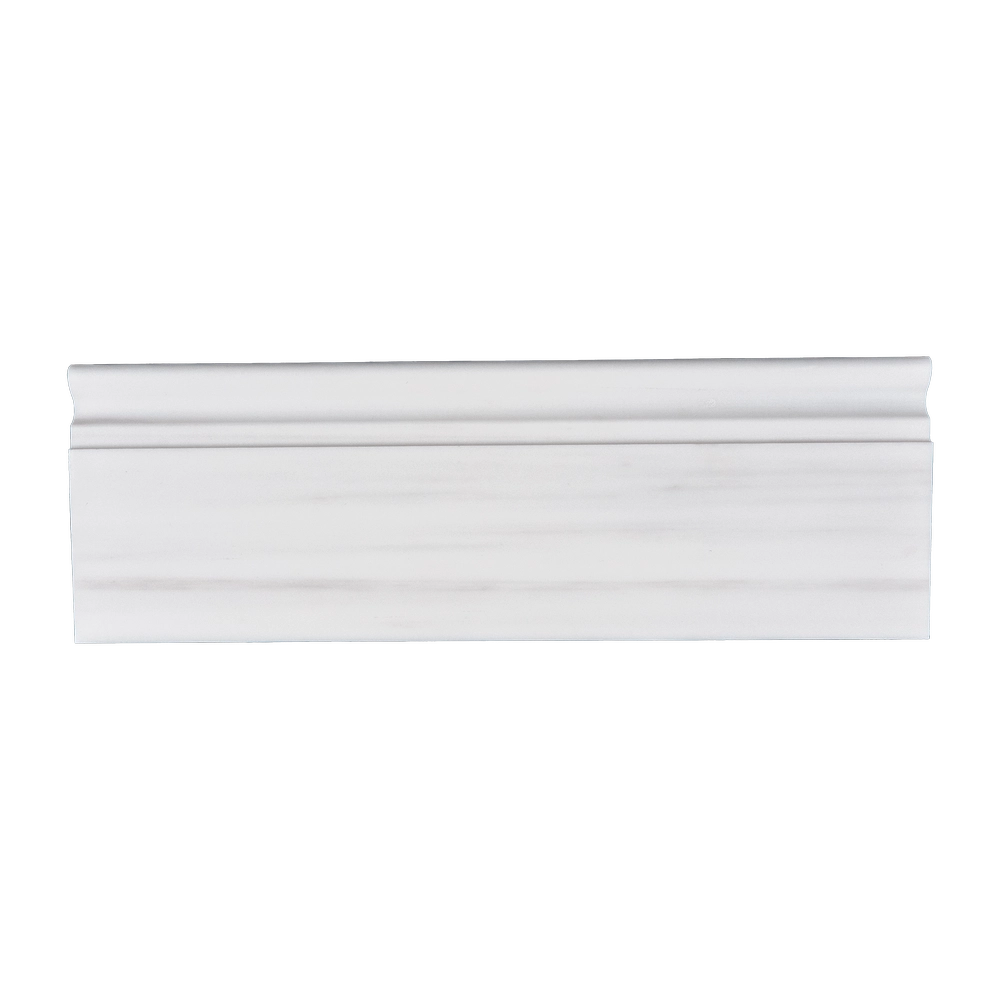
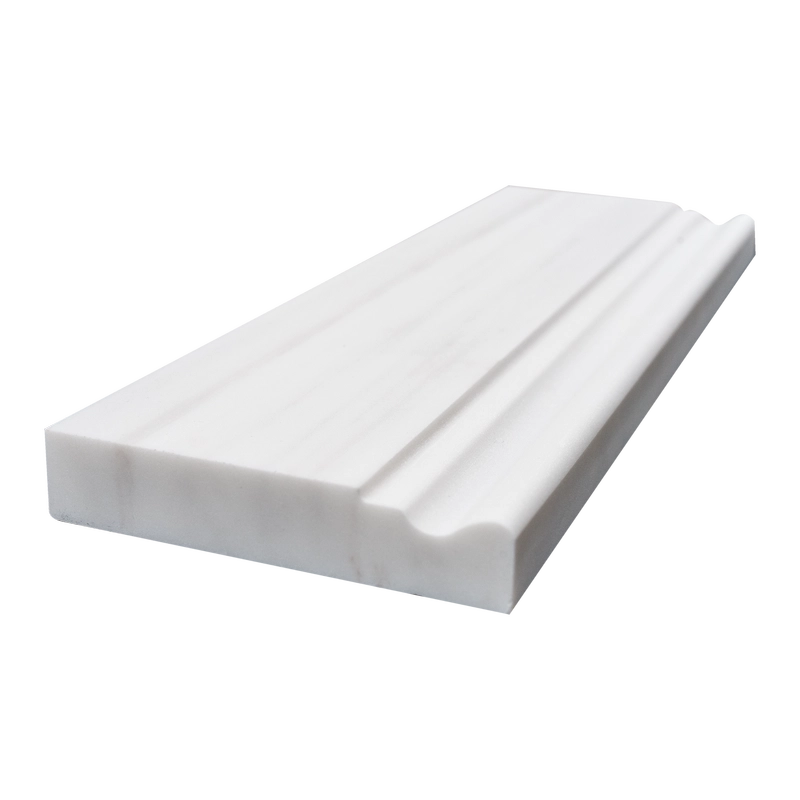
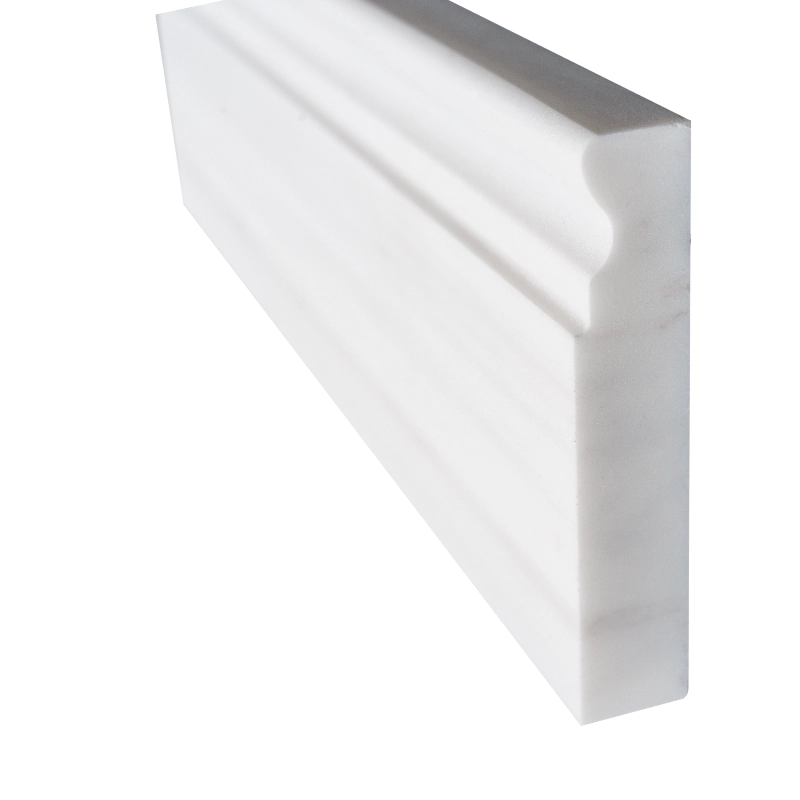
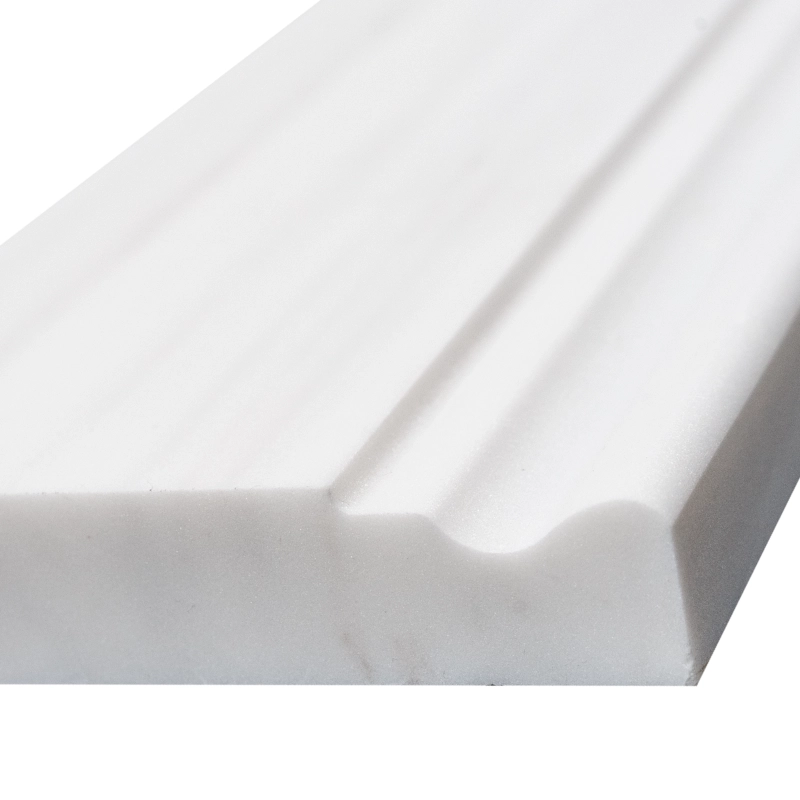
The Dolomite Baseboard Trim Piece 4″x12″ Honed offers a clean and elegant way to complete your interior wall installations. Crafted from premium white Dolomite marble, this baseboard showcases a soft matte finish and subtle veining, delivering a timeless foundation for both modern and classic spaces.
Its 4″x12″ size provides balanced proportions, making it suitable for use along walls, cabinetry bases, or tiled wainscoting transitions. The honed surface offers a velvety texture that pairs beautifully with honed marble wall tiles, especially in bathrooms, hallways, or powder rooms where understated elegance is key.
Key Features
- Material: Natural White Dolomite Marble
- Finish: Honed – smooth and matte
- Size: 4″ x 12″ (10.2 x 30.5 cm)
- Color: Crisp white with subtle natural veining
- Edge Style: Straight edge for a seamless alignment
- Ideal For: Interior baseboards, tile-to-wall transitions, cabinetry bases
Design Benefits
This honed baseboard trim piece helps establish a polished transition between wall and floor while maintaining a soft, cohesive look. Perfect for high-end residential and commercial interiors, it complements Dolomite and other white marble tiles effortlessly. Its simplicity allows designers to focus on architectural form while anchoring the space in natural stone detail.
Installation Guide – Dolomite Honed Marble Baseboard Trim (4″x12″)
Step 1: Surface Preparation – Clean and Level Wall Base
- Install flooring first before applying baseboard trim.
- Ensure the wall surface is clean, smooth, and dry at the base area (typically the bottom 6 inches).
- Remove any debris, adhesive, or dust that might interfere with bonding.
Step 2: Dry Layout – Visual Alignment and Cutting
- Dry-lay trim pieces to preview layout, length, and veining consistency.
- Use a level to mark a straight horizontal line just above the flooring to guide placement.
- Cut pieces as needed using a wet saw with a fine diamond blade.
Step 3: Adhesive Application – Mounting the Trim
Recommended Adhesives:
- Laticrete 254 Platinum White
- Mapei Ultralite Mortar (white, non-sag)
Instructions:
- Apply white thin-set mortar to the back of the trim with a small notched or margin trowel.
- Back-butter each piece to ensure complete contact with the wall.
- Press firmly along the guideline, directly above the finished floor surface.
- If necessary, support pieces with painter’s tape until fully cured.
Step 4: Grouting – Finishing the Joint Lines
- After 24 hours, fill any visible joints between trim pieces with non-sanded grout.
- Clean excess grout immediately with a damp sponge to avoid residue buildup on the honed surface.
- After 30–45 minutes, buff with a soft cloth to remove haze.
Step 5: Sealing – Stone Preservation
- Once the grout cures (72 hours), apply a penetrating marble-safe sealer suitable for honed finishes.
- Reseal periodically based on environmental conditions and exposure to moisture or cleaning agents.
Maintenance Tips
- Use only pH-neutral, marble-safe cleaners for regular maintenance.
- Avoid acidic or abrasive products which can damage honed marble.
- Inspect and maintain grout lines to prevent moisture penetration over time.
Important Note
Dolomite marble is a natural material and will exhibit slight variations in tone and veining. Always dry-lay and inspect before installation. Stonemarket USA is not responsible for natural variation or installation errors.