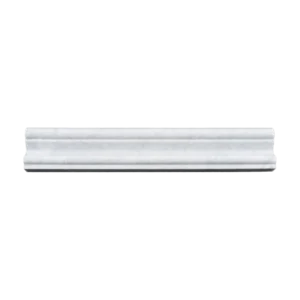
Elegant Architectural Detail with Classic Carrara Marble
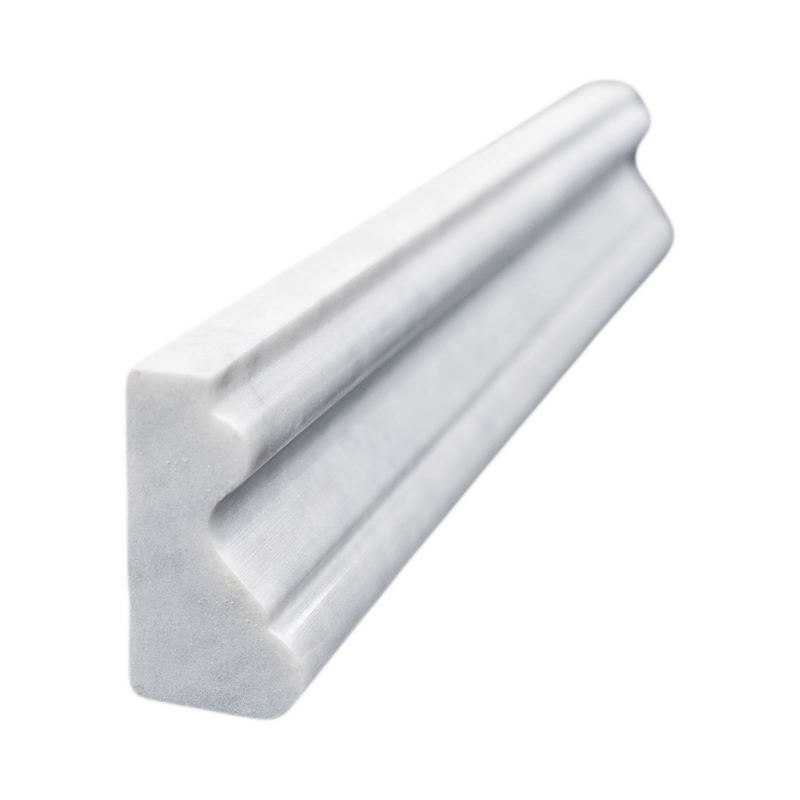
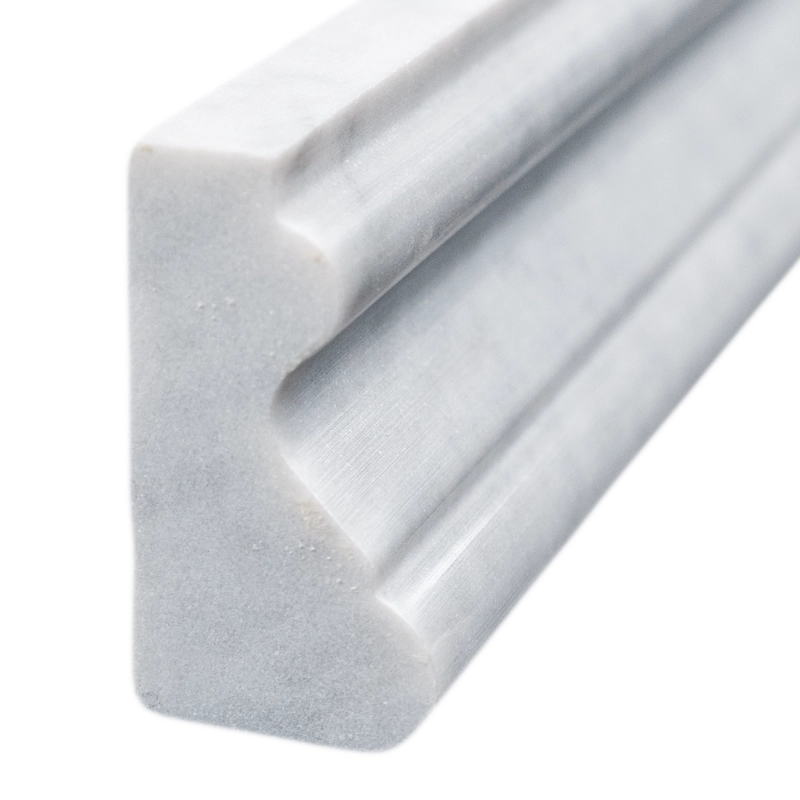
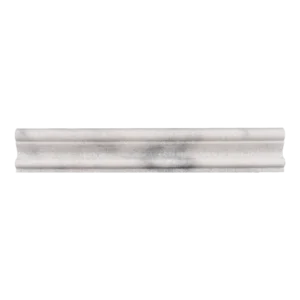
The Carrara White Crown Molding 2″x12″ Polished is the perfect finishing piece for elevating your interior design. Crafted from premium Carrara marble, this crown molding showcases soft white tones with subtle gray veining, adding refined sophistication to any wall or ceiling transition.
Its polished finish delivers a smooth, light-reflective surface that enhances the brightness and openness of your space. The 2″x12″ dimensions provide just the right scale for decorative trim without overwhelming the room. Whether used in bathrooms, kitchens, or living areas, this marble molding creates a luxurious transition between wall and ceiling or cabinetry and walls.
Product Details
- Stone: Carrara White Marble
- Finish: Polished – high-gloss, smooth surface
- Size: 2″ x 12″ (5.1 x 30.5 cm)
- Color: White with soft gray veining
- Application: Indoor use – crown molding transitions, cabinetry edges, accent trim
- Edge: Sculpted crown profile for refined visual flow
Why Choose Carrara White Crown Molding?
This molding adds visual height and architectural beauty to interiors while blending easily with a variety of wall tiles and paint finishes. It is ideal for creating a cohesive, finished look in both traditional and contemporary spaces. Moreover, its durable natural stone composition ensures long-lasting quality and elegance.
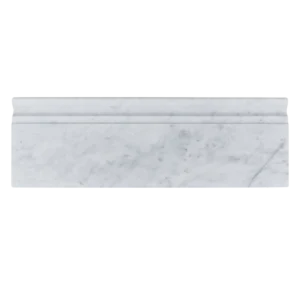
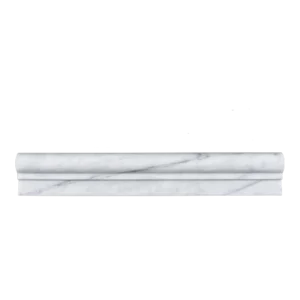
Modern or Classic? The Right Molding Defines the Style
Sleek pencil liners work beautifully in modern interiors, while decorative chair rails and base moldings complement traditional spaces. Browse our curated collection of tile moldings to complete your design with intention.
Installation Guide – Carrara White Polished Marble Crown Molding (2″x12″)
Step 1: Surface Preparation – Set the Foundation
- Ensure that the wall is flat, dry, and free from dust or contaminants.
- Complete installation of all lower tile sections before placing the crown molding.
- Mark a level guide line at the top of the tile installation or where the wall meets the ceiling to align the molding.
Step 2: Dry Layout – Plan the Aesthetic Flow
- Dry-lay all crown molding pieces along the top of the tiled wall for pre-fit and veining consistency.
- Use a wet saw with a fine diamond blade to cut and miter pieces as needed for corners and transitions.
- Double-check alignment before applying adhesive, especially at corner connections.
Step 3: Adhesive Application – Bond with Care
Recommended Thin-Set Mortars:
- Laticrete 254 Platinum (White)
- Mapei Ultralite Mortar (Non-Sag, White)
Instructions:
- Apply mortar to the back of the crown molding using a margin or V-notch trowel.
- Back-butter for full coverage to avoid voids behind the molding.
- Press the molding gently but firmly along the guide line. Use light pressure to avoid damaging the polished surface.
- Support the molding with painter’s tape while curing to prevent slippage due to weight.
Step 4: Grouting – Seamless Finish
- Allow 24 hours for adhesive to cure before grouting.
- Use non-sanded grout to protect the polished marble from scratches.
- Fill joints evenly and wipe away excess with a damp sponge immediately.
- Buff with a soft cloth to remove any haze after 30–45 minutes.
Step 5: Sealing – Preserve the Surface
- Apply a penetrating sealer formulated for polished marble after grout has fully cured (72 hours).
- Reapply sealer periodically depending on location and use—especially in wet or steamy environments.
Maintenance Tips
- Clean using pH-neutral stone-safe cleaners only.
- Avoid vinegar, bleach, or abrasive materials that can damage the finish.
- Dust or gently wipe as part of regular cleaning to maintain shine and integrity.
Important Note
Carrara marble is a natural material and may vary in tone and veining. Always inspect and dry-lay before installation to ensure visual harmony. Stonemarket USA is not responsible for natural stone variation or installation errors.