Silver Beige Diamond Mosaic – Elegant Geometric Marble Tile for Modern Interiors
Enhance your interior spaces with the refined artistry of our
Silver Beige Diamond Mosaic, featuring a sophisticated geometric pattern crafted from premium beige-toned marble. With its soft silver-beige hues and polished surface, this mosaic adds a touch of elegance and balanced symmetry to any room.
Perfect for kitchen backsplashes, bathroom walls, shower accents, and decorative feature areas, this diamond-shaped mosaic combines timeless natural stone texture with a modern, upscale look. Its subtle color variation and clean geometric layout bring depth, movement, and high-end style to contemporary and classic designs alike.
Key Features
- Material: Natural Silver Beige marble with soft beige and silver undertones
- Finish: Polished for a smooth, reflective, and luxurious appearance
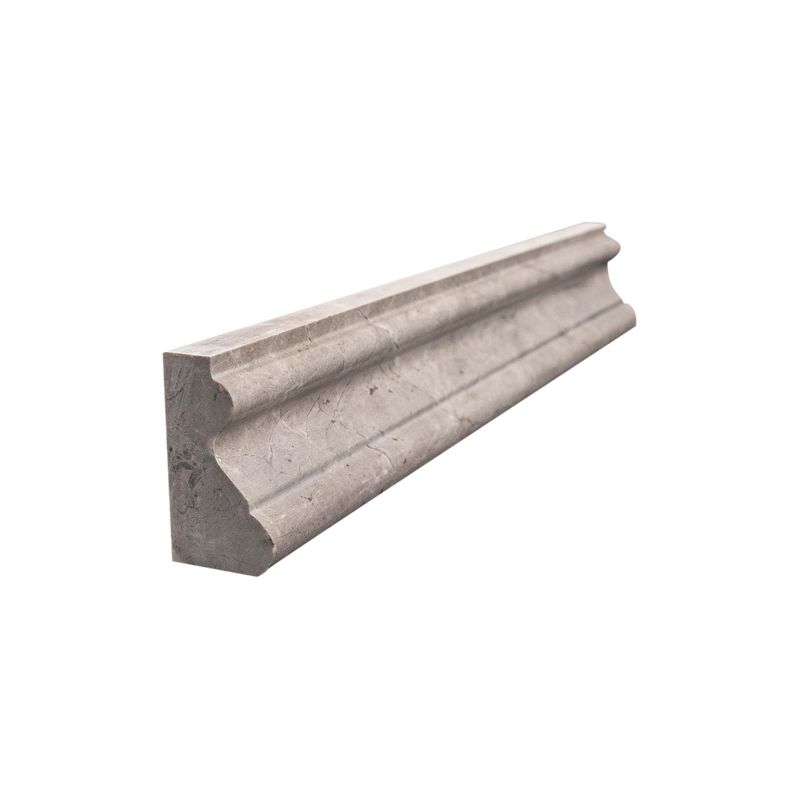
- Shape: Diamond mosaic pattern for elegant geometric texture
- Application: Ideal for kitchen backsplashes, bathrooms, showers, niches, and accent walls
- Style: Blends contemporary design with timeless natural stone beauty
Whether used in residential or commercial projects, this mosaic tile elevates any space with its understated elegance and premium craftsmanship.
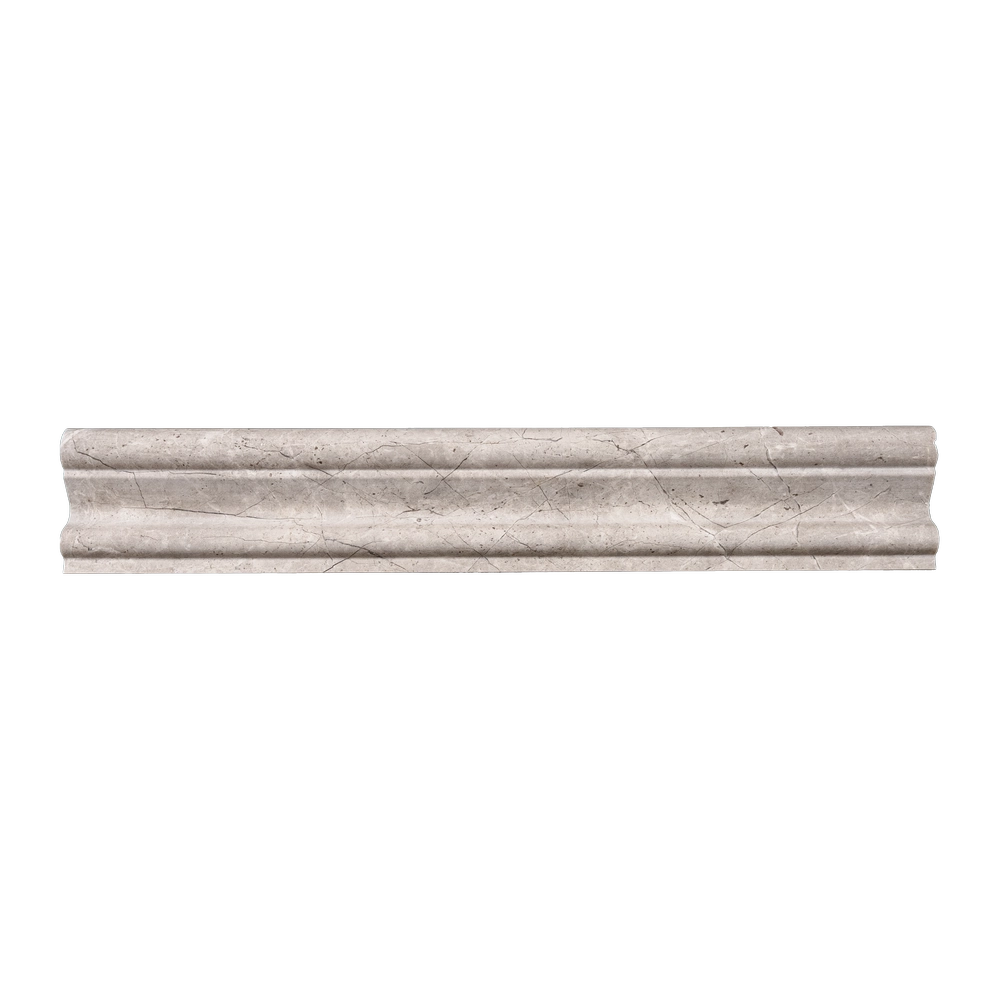
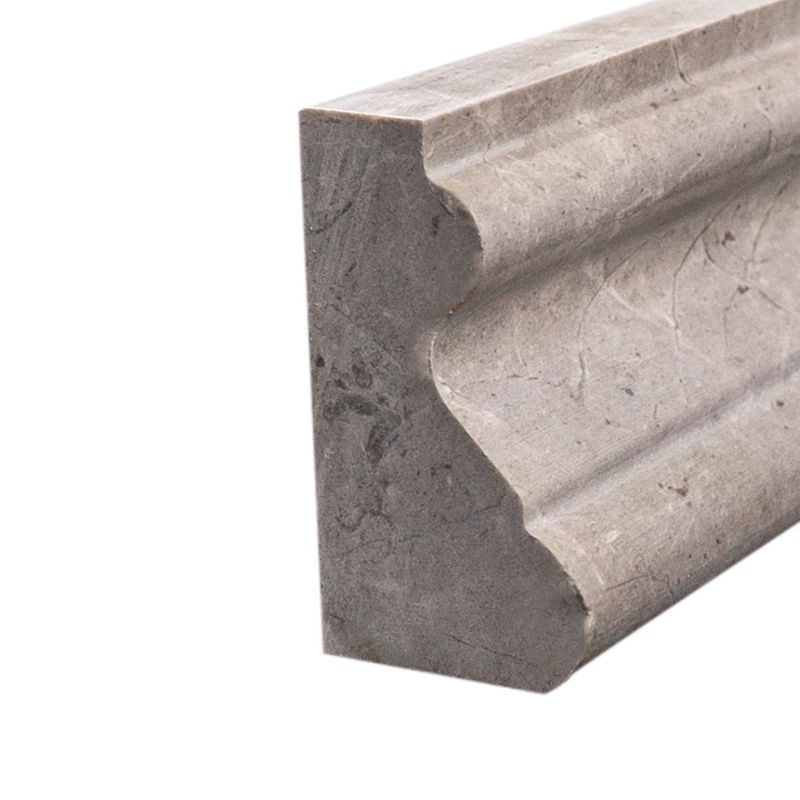
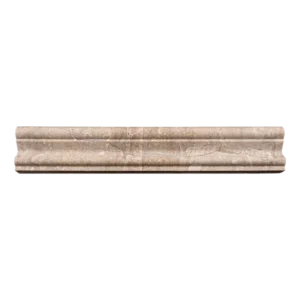
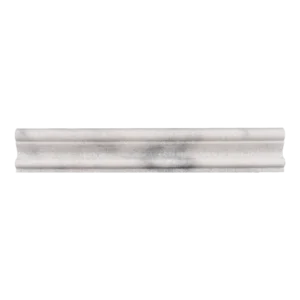
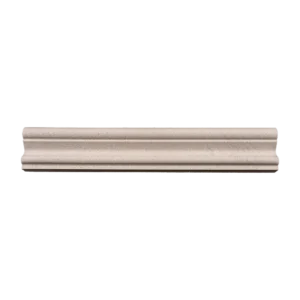
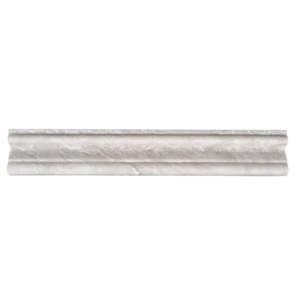
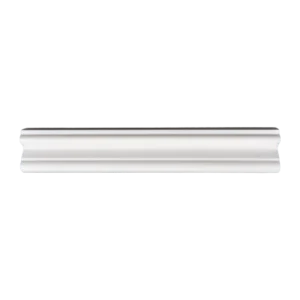
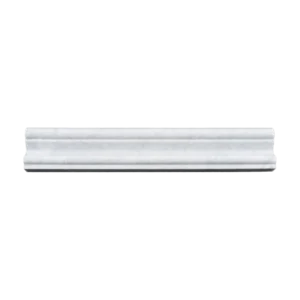
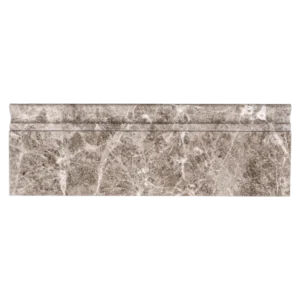
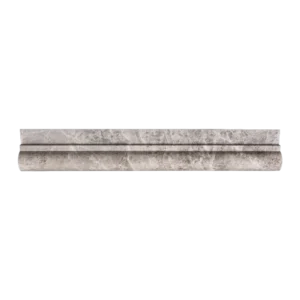
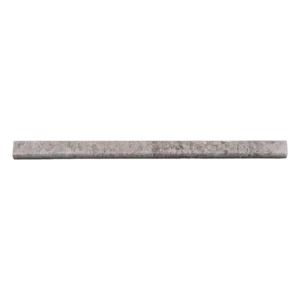
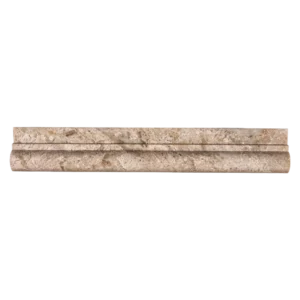
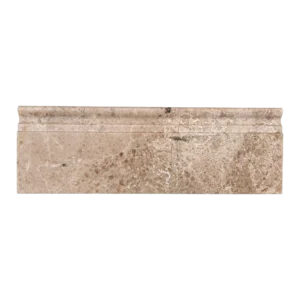
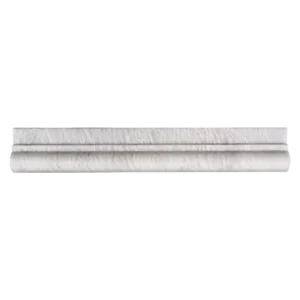
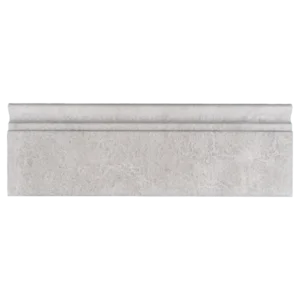
Installation Guide – Royal Beige Marble Crown Molding (2″x12″ Polished)
Step 1: Surface Preparation – Clean and Level Base
- Ensure the wall and ceiling surfaces are clean, dry, and smooth.
- Use a level to mark installation lines along the top of the wall.
- Complete all adjacent tile or wall finishes before crown molding installation.
Step 2: Dry Layout – Visual Alignment
- Dry-lay molding pieces to confirm veining consistency and color match.
- Measure and cut with a wet saw fitted with a fine diamond blade.
- Dry-fit each piece to ensure a snug fit before applying adhesive.
Step 3: Adhesive Application – Proper Support
Recommended Mortars:
- Laticrete 254 Platinum (White)
- Mapei Ultraflex LFT (White)
Instructions:
- Back-butter the back side of each molding piece for full contact.
- Firmly press each piece along the guideline at the wall-ceiling transition.
- Use painter’s tape or temporary supports while mortar sets (allow 24 hours).
Step 4: Grouting – Finish the Gaps
- After the adhesive has cured, apply unsanded grout to avoid scratching the polished marble surface.
- Wipe off any excess grout with a damp sponge.
- Buff away haze after 30–45 minutes using a clean, soft cloth.
Step 5: Sealing – Protect Your Finish
- Once grout has cured (typically 72 hours), apply a penetrating sealer for polished marble.
- Reapply sealer as needed depending on moisture and cleaning exposure.
Maintenance Tips
- Clean using pH-neutral stone-safe cleaners only.
- Avoid acidic or abrasive products that can damage the polished surface.
- Dust gently with a microfiber cloth to maintain sheen and clarity.
Important Note
Royal Beige marble features natural variations in tone and veining. Always inspect and dry-lay pieces before final installation. Stonemarket USA is not liable for installation issues or variations in natural stone.