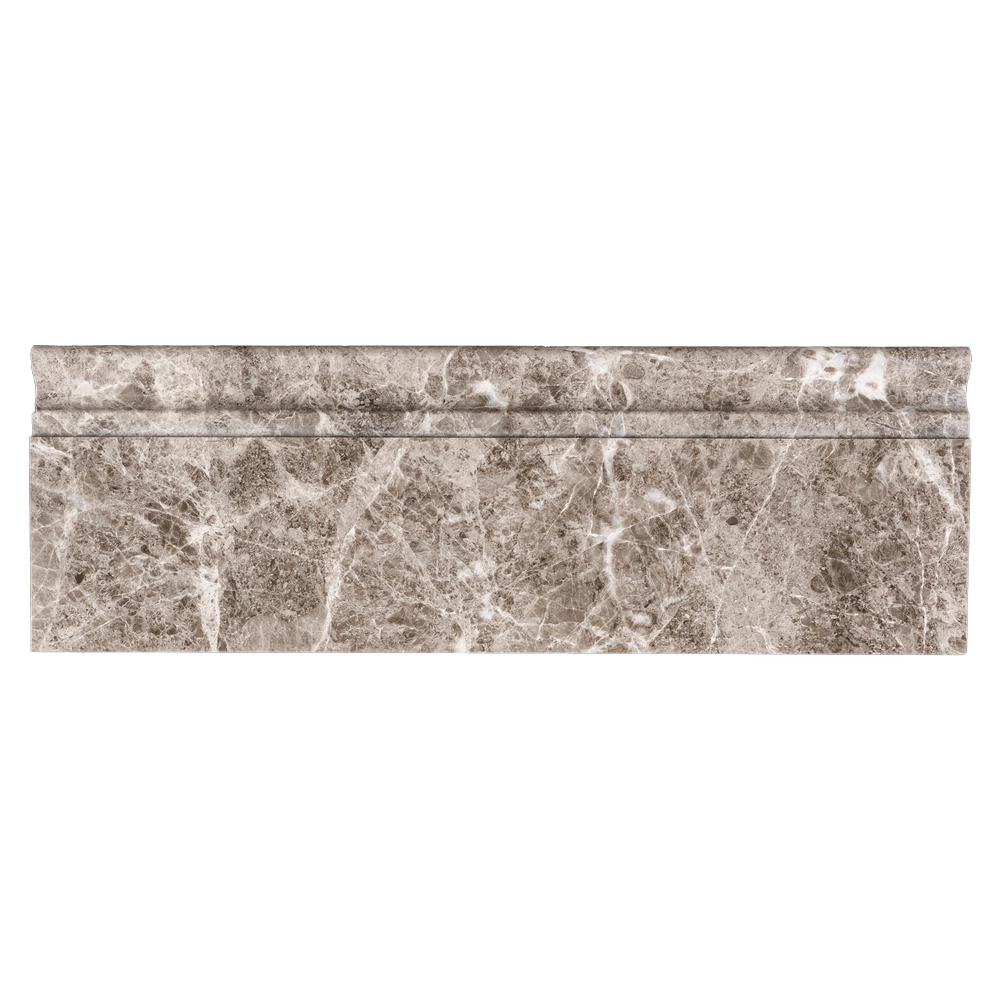
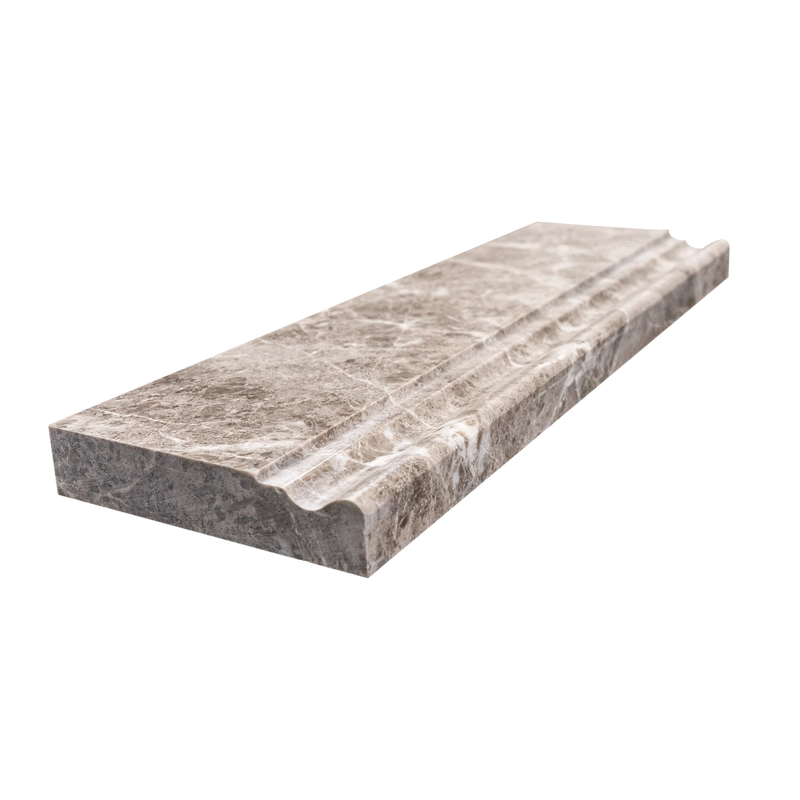
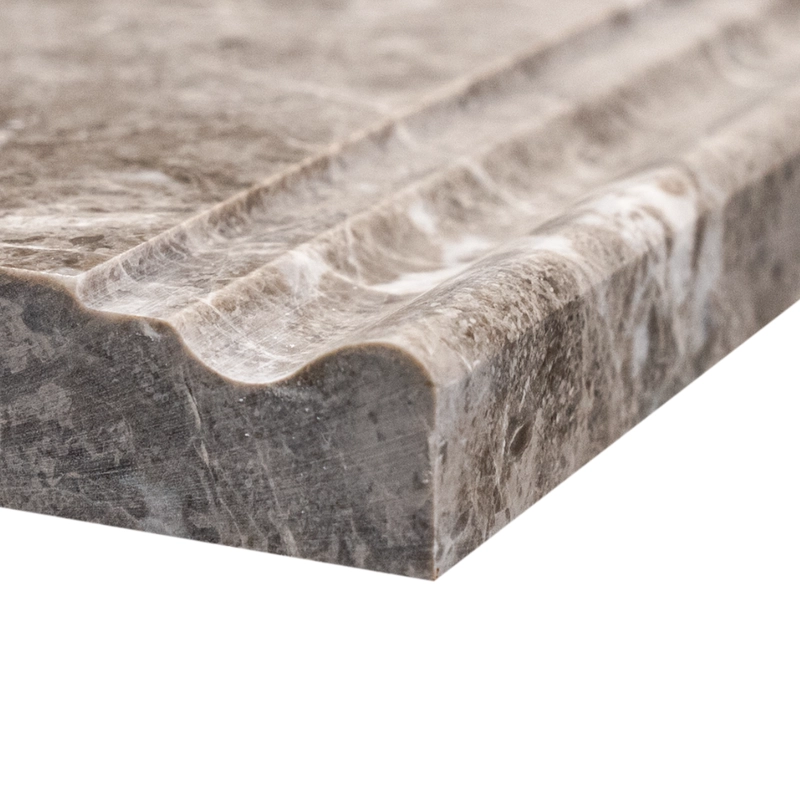
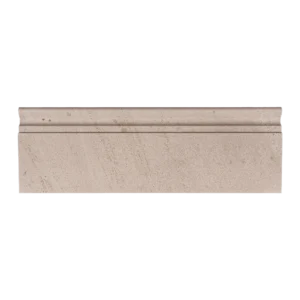
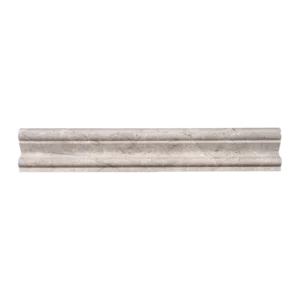
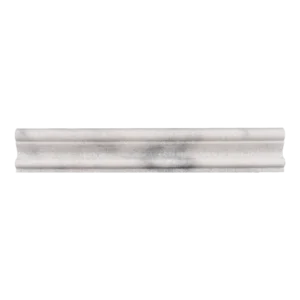
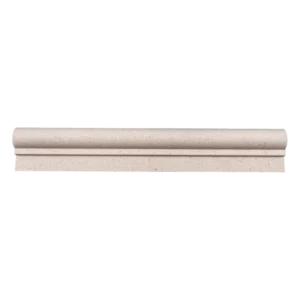
Silver Beige Diamond Polished Marble Baseboard Trim Piece 4″x12″
Introduce timeless elegance to your interior with the Silver Beige Diamond Polished Marble Baseboard Molding. Featuring warm cappuccino-beige tones and a refined polished finish, this 4″x12″ baseboard piece offers a luxurious foundation for your tile installations.
Crafted from premium Silver Beige Diamond marble, this trim is designed to seamlessly transition between your walls and floors. Its clean straight edge provides a contemporary touch, while the natural veining adds subtle depth and movement. Whether you’re designing a bathroom, hallway, or grand entry, this baseboard elevates the space with enduring charm.
Key Features
- Material: Silver Beige Diamond natural marble
- Finish: Polished for a smooth, glossy surface
- Size: 4″x12″ – ideal for clean, balanced floor-to-wall transitions
- Edge: Straight edge for a crisp, architectural line
- Color: Warm beige tones with natural marble veining
Pair it with matching Silver Beige Diamond tiles or contrasting marble mosaics for a sophisticated, cohesive finish in both residential and commercial interiors.
Installation Guide – Silver Beige Diamond Marble Baseboard Trim (4″x12″ Polished)
Step 1: Surface Preparation – Clean and Level Base
- Ensure the wall and floor surfaces are clean, dry, and free from debris or dust.
- Verify that the wall is flat and stable; use a level to mark a guide line 4″ above the floor.
- Complete floor tile installation before applying baseboard trim.
Step 2: Dry Layout – Pre-Installation Planning
- Dry-lay the trim pieces along the wall to confirm tone, veining, and alignment.
- Measure and miter cut ends as needed using a wet saw with a fine diamond blade.
- Ensure all cuts are clean and fit properly before proceeding.
Step 3: Adhesive Application – Proper Bonding
Recommended Thin-Set Mortars:
- Laticrete 254 Platinum (White)
- Mapei Ultraflex LFT (White)
Installation Instructions:
- Back-butter each piece with thin-set mortar for full contact coverage.
- Press trim pieces into place using the guideline for alignment.
- Use painter’s tape to secure pieces in position during curing (minimum 24 hours).
Step 4: Grouting – Clean Detailing
- Use unsanded grout to prevent scratching the polished marble surface.
- Clean off excess grout with a damp sponge and buff haze with a soft cloth after 30–45 minutes.
Step 5: Sealing – Long-Term Protection
- Allow grout to cure for 72 hours, then apply a penetrating marble-safe sealer.
- Re-seal periodically based on exposure and cleaning frequency.
Maintenance Tips
- Use pH-neutral, non-abrasive cleaners specifically formulated for natural stone.
- Avoid acidic or harsh chemicals that may etch polished marble.
- Wipe regularly with a soft cloth to maintain sheen and prevent buildup.
Important Note
Silver Beige Diamond is a natural marble product with inherent variation in veining and color. Always inspect and dry-lay material before final installation. Stonemarket USA is not responsible for installation errors or natural stone variation.