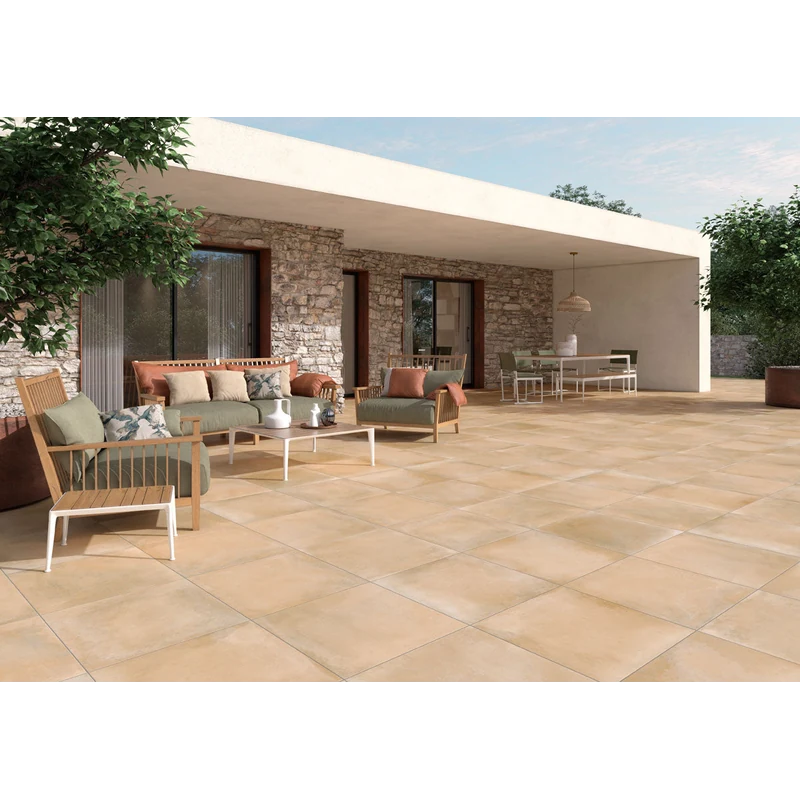
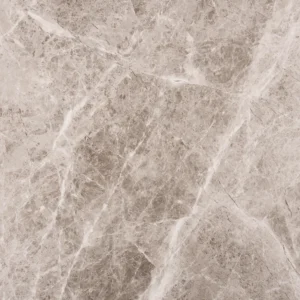
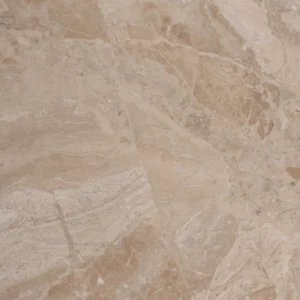
Tierra Beige 12×12 Natural Porcelain Tile
Tierra Beige 12×12 Natural Porcelain Tile brings a warm, versatile neutral to floors and walls. The matte natural finish offers a clean, contemporary look that pairs easily with a range of cabinetry, stones, and metals for cohesive interiors.
Made from durable porcelain with a practical 5/16" (8mm) thickness, this tile is designed for everyday performance and easy maintenance. Pressed edges deliver a classic grout joint aesthetic, while the 12×12 square format suits straightforward layouts and timeless grid patterns.
Engineered for reliability with a PEI 4 wear rating and a DCOF of 0.42, Tierra Beige supports busy living areas and light commercial interiors. As with all porcelain, subtle shade variation can occur—review and blend tiles from multiple boxes for a balanced installation.
Features
- Collection: Tierra by Happy Floors
- Color: Beige
- Size: 12×12
- Material: Porcelain
- Finish: Natural (matte)
- Edge Type: Pressed
- Thickness: 5/16" (8mm)
- PEI Rating: 4 (robust wear for heavy residential/light commercial)
- DCOF: 0.42
- Frost-resistant porcelain body
- Low maintenance and easy to clean
Recommended Applications
- Residential interior floors
- Residential interior walls and backsplashes
- Kitchen floors
- Bathroom floors and walls (non-submerged areas)
- Entryways and hallways
- Light commercial interior floors
- Commercial interior walls
- Feature walls and accent areas
Installation Guide – Tierra Beige 12×12 Natural Porcelain Tile
Important Advisory
Always follow the tile manufacturer’s instructions, ANSI A108/A118/A136 standards, and local building codes. Verify substrate suitability, movement accommodation, and waterproofing requirements where applicable before installation.
Step 1: Layout & Planning
- Confirm tile caliber, shade, and intended pattern before starting. Blend tiles from multiple boxes to distribute natural color tone variation.
- Establish control lines to center or balance the layout, minimizing small cuts at perimeters and focal areas.
- Plan movement joints per TCNA/ANSI guidelines and project conditions.
Step 2: Tile Installation
- Ensure substrates are clean, dry, flat, and structurally sound; correct irregularities with appropriate patching/leveling products.
- Use a high-quality polymer‑modified thin-set mortar rated for porcelain and the specific substrate (interior/exterior as applicable).
- Comb mortar in one direction and set tiles with a slight back-and-forth motion to achieve proper coverage; back-butter as needed.
- Maintain consistent grout joints appropriate for pressed edges and the grout manufacturer’s recommendations.
- Remove excess mortar from joints and surface before it cures; allow mortar to cure as directed before grouting or traffic.
Step 3: Cutting
- Use a wet saw with a porcelain-rated diamond blade for clean, accurate cuts.
- Dry-fit pieces to confirm alignment and sizing before setting.
- Use appropriate diamond hole saws or core bits for penetrations and detailed cuts.
Step 4: Joint Filling
- Select grout suitable for porcelain tile and the chosen joint width; follow manufacturer instructions for mixing and application.
- Pack joints fully and strike off excess with a rubber float; clean with a damp sponge before haze hardens.
- After curing, seal grout if required by the grout manufacturer; porcelain tile typically does not require sealing.
Step 5: Cleaning & Maintenance
- Sweep or vacuum regularly to remove abrasive grit.
- Clean with a pH‑neutral cleaner approved for porcelain tile; rinse thoroughly.
- Address spills promptly; avoid harsh acids, oil‑based soaps, and abrasive pads.
- Use protective glides under furniture and entry mats to reduce wear.
Disclaimer
Jobsite conditions vary. Verify actual product dimensions, lot characteristics, and suitability prior to installation. Stone Market USA is not responsible for installation errors, improper use, or material installed without prior inspection.