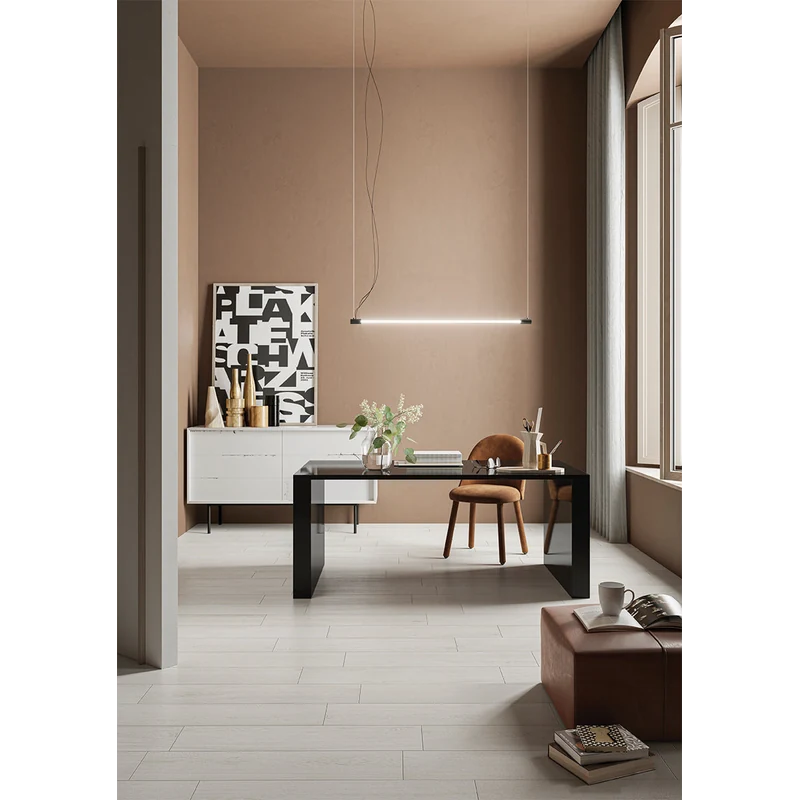
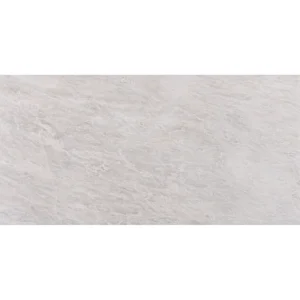
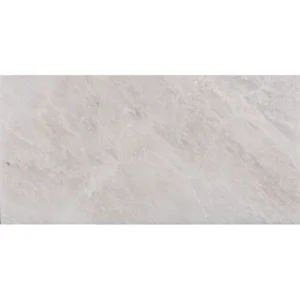
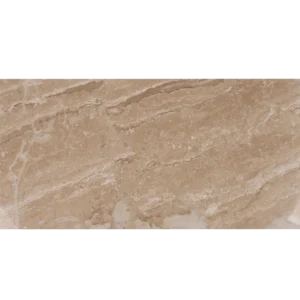
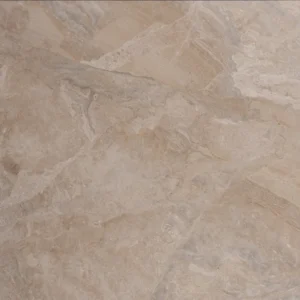
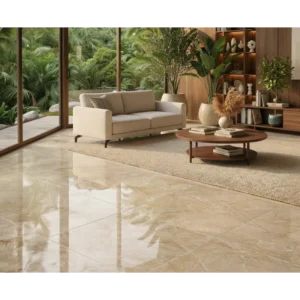
Acorn Bianco 9×36 Natural Wood Look Porcelain Tile
Bright, airy, and warmly modern, Acorn Bianco brings the look of light, weathered wood to your walls with the durability of porcelain. The 9×36 plank format highlights gentle grain movement for a clean, linear effect that elevates backsplashes, feature walls, and shower surrounds.
A natural matte finish softens the wood-look detail, while precise rectified edges support crisp lines and tight grout joints. Crafted in porcelain and frost resistant, Acorn Bianco offers low-maintenance style that stands up to everyday life in busy interiors.
Note: This material carries a PEI 0 rating and is intended for wall applications. Consult project requirements and manufacturer guidance before considering any floor use.
Features
- Collection: Acorn
- Color: Bianco
- Material: Porcelain
- Size: 9×36 plank
- Finish: Natural (matte)
- Edge Type: Rectified for tighter grout joints and cleaner lines
- Wood-look design with soft, light-toned grain character
- DCOF: >0.42 (laboratory slip coefficient; verify suitability per project)
- Frost resistant porcelain body
- Coverage per box: approximately 13.08 sq ft
- PEI Rating: 0 (wall use only; not rated for residential floors)
Recommended Applications
- Residential interior walls
- Backsplashes
- Bathroom walls and powder rooms
- Shower surrounds (follow waterproofing best practices)
- Accent and feature walls
- Fireplace surrounds when installed per local code and heat tolerance requirements
Installation Guide – Acorn Bianco 9×36 Natural Wood Look Porcelain Tile
Important Advisory
Always follow the tile manufacturer’s instructions, ANSI A108/TCNA guidelines, and local building codes. Verify substrate suitability, movement joints, and waterproofing in wet areas. This product is PEI 0 and intended for wall applications; confirm any alternate use with a qualified professional before installation.
Step 1: Layout & Planning
- Confirm substrate is plumb, flat, clean, and dry. Large-format 9×36 planks require a very flat surface.
- Plan a balanced layout with chalk lines; dry-lay several pieces to blend shade and wood-grain variation.
- Stagger joints thoughtfully; many manufacturers recommend a maximum 33% offset for long planks to help minimize lippage.
- Blend tiles from multiple boxes to distribute pattern variation evenly across the installation.
Step 2: Tile Installation
- Use a polymer-modified, large-and-heavy-tile (LHT/LFT) mortar approved for porcelain and for wall applications.
- Trowel mortar in straight, parallel ridges; back-butter planks as needed to ensure proper coverage and bond.
- Set each tile with a slight slide perpendicular to the trowel ridges to collapse mortar lines and improve contact.
- Use appropriate spacers and, where helpful, a leveling system to reduce lippage on long planks.
- Respect movement joint requirements per TCNA EJ171. Allow mortar to cure per manufacturer instructions before grouting.
Step 3: Cutting
- Use a professional wet saw with a high-quality diamond blade rated for porcelain.
- Measure carefully and dry-fit cuts before setting. Support long, narrow cuts to prevent chipping.
- Ease exposed cuts with a suitable diamond pad if needed for a finished edge.
Step 4: Joint Filling
- Select a grout compatible with porcelain and the chosen joint width; follow grout manufacturer directions.
- Choose a grout color that complements the tile’s light Bianco tone and desired design effect.
- Apply grout diagonally across joints with a rubber float; clean residue with a damp sponge and change water frequently.
- Allow grout to cure fully before routine cleaning or exposure to moisture.
Step 5: Cleaning & Maintenance
- Sweep or vacuum regularly to remove dust and abrasive debris.
- Clean with a pH-neutral cleaner approved for porcelain; avoid harsh acids or abrasive pads.
- Promptly wipe spills and soap residues in wet areas to minimize buildup.
- Use protective pads on accessories or décor that contact the tiled surface.
- Porcelain generally does not require sealing; seal cementitious grout if recommended by the grout manufacturer.
Disclaimer
Always confirm dye lots, caliber, and intended use before installation. Natural-looking shade and pattern variation are inherent to wood-look designs; open and blend multiple boxes. Stone Market USA is not responsible for installation practices, substrate conditions, or improper product selection.