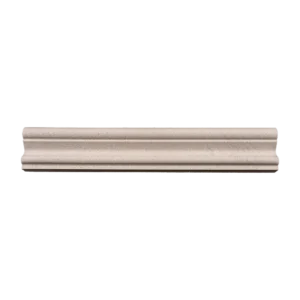
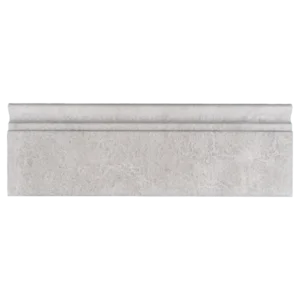
Polished Bardiglio Crown Molding – Architectural Detail in Elegant Gray
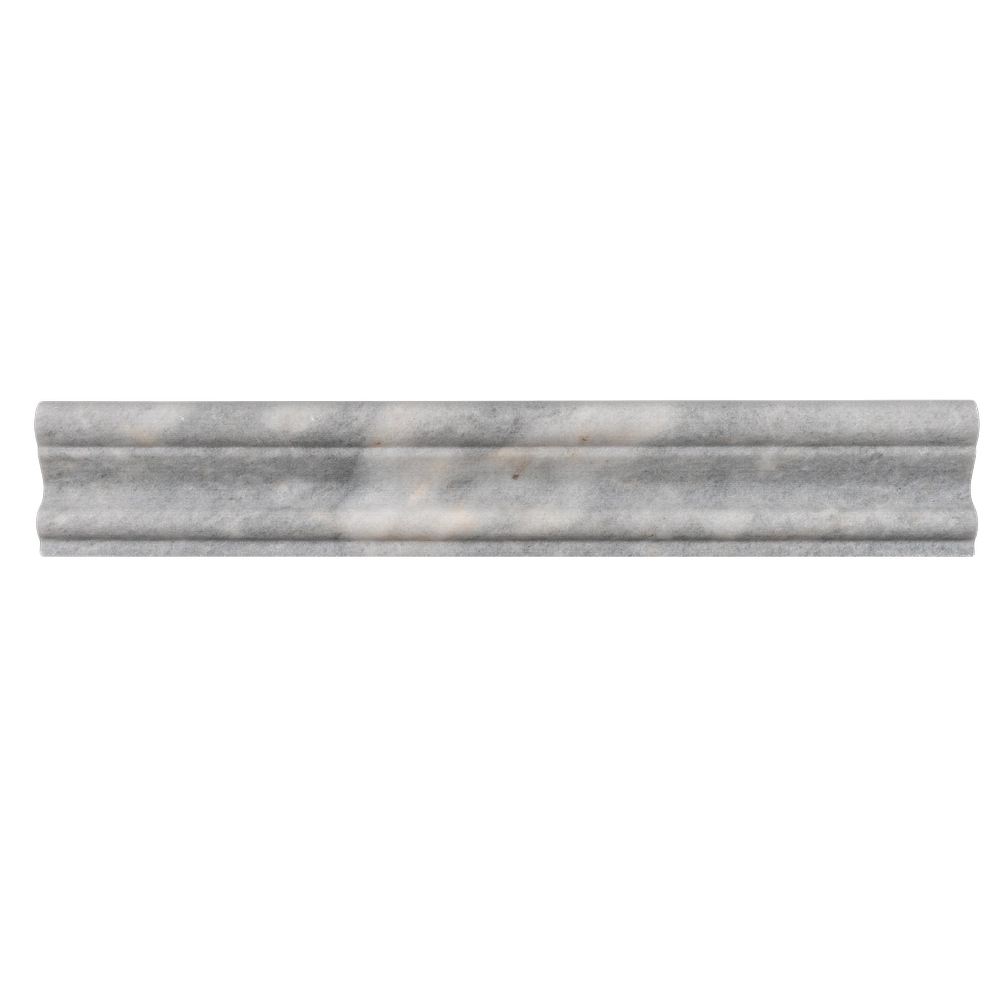
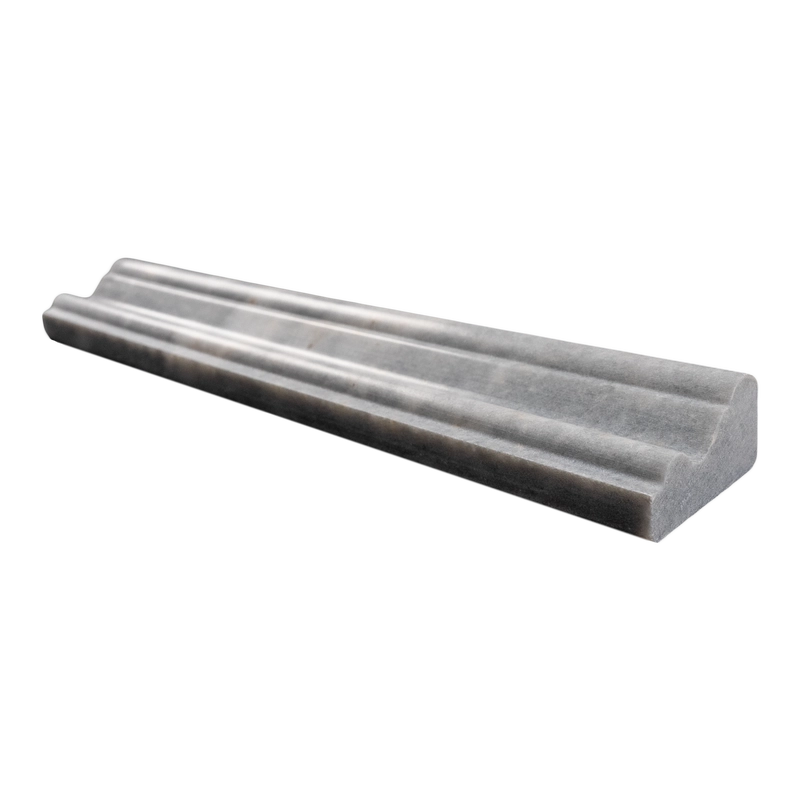
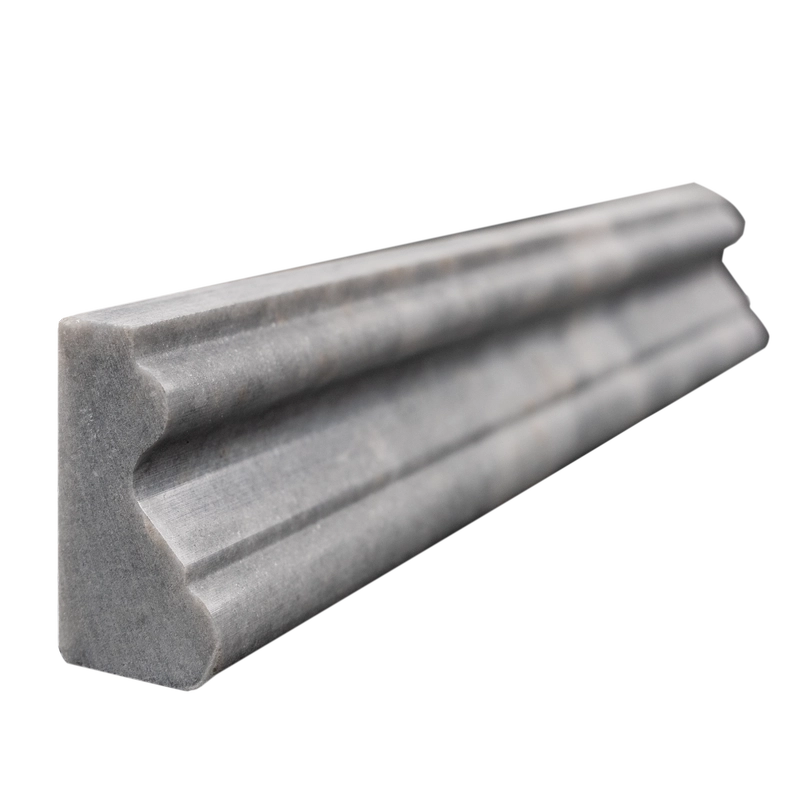
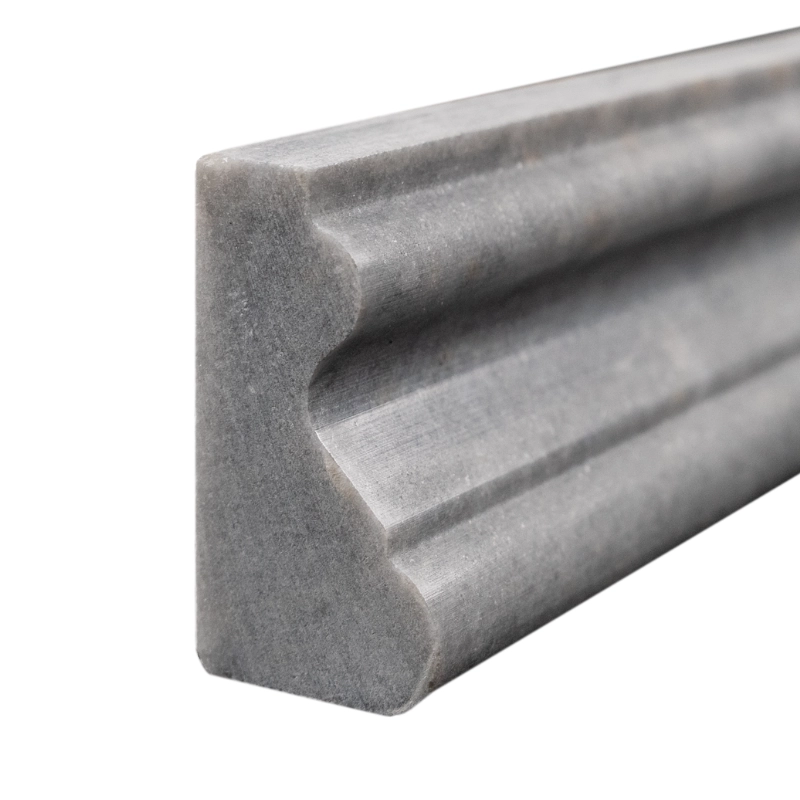
The Bardiglio Crown Molding 2″x12″ Polished adds timeless sophistication to any space. Carved from natural Bardiglio marble, this elegant crown molding features rich gray tones with graceful, smoky veining. Its polished finish reflects light, creating a luxurious frame for walls, ceilings, cabinetry, or feature installations.
With its compact 2″ profile, this molding is ideal for adding classic architectural interest to smaller spaces or modern interiors. Whether you’re outlining a shower niche, framing a fireplace, or adding character to cabinetry, Bardiglio crown molding delivers depth and elegance without overwhelming the design. Furthermore, its durable marble construction ensures it performs beautifully in both residential and commercial spaces.
Product Details
- Stone: Bardiglio Marble
- Color: Deep gray with natural veining
- Finish: Polished – smooth and reflective surface
- Dimensions: 2″ x 12″ (5.08 x 30.5 cm)
- Edge Detail: Crown profile
- Recommended Use: Wall accents, trim transitions, cabinetry, and ceiling details
Why Choose Bardiglio Crown Molding?
This molding piece not only provides a refined finishing touch but also bridges transitions between surfaces in a seamless and luxurious way. Its polished gray marble complements a wide variety of interior palettes, from crisp whites to bold, contemporary tones.
Installation Guide – Bardiglio Polished Marble Crown Molding
Step 1: Surface Preparation – Clean and Ready Wall Surface
- Ensure the wall is clean, smooth, and dry.
- Complete installation of all field tiles or surrounding finishes before mounting the crown molding.
- Mark a level guideline near the top of the tile area or wall where the molding will be placed.
Step 2: Dry Layout – Plan the Top Edge Transition
- Dry-lay molding pieces along the upper edge of the tiled area to preview fit and flow of veining.
- Cut to size as needed using a wet saw with a fine diamond blade.
- Ensure seamless inside and outside corner cuts where necessary.
Step 3: Adhesive Application – Bond to Vertical Surface
Recommended Adhesives:
- Laticrete 254 Platinum White
- Mapei Ultralite White Mortar
Instructions:
- Apply adhesive to the back of the molding using a margin trowel or small notched trowel (1/4″ V-notch).
- Back-butter the molding for full contact.
- Press into place gently but firmly, following your level guideline.
- Use masking tape to support the molding until the adhesive sets if gravity causes slippage.
Step 4: Grouting – Finishing the Details
- Once the adhesive has cured (24 hours), apply non-sanded grout to any joints between molding pieces.
- Use a rubber float or grout bag and avoid scratching the polished surface.
- Wipe excess grout immediately with a damp sponge and buff haze with a dry cloth after 30–45 minutes.
Step 5: Sealing – Protect the Stone
- Seal the polished Bardiglio marble with a penetrating sealer designed for natural stone.
- Re-seal periodically, especially in high-humidity areas like bathrooms.
Maintenance Tips
- Use pH-neutral, marble-safe cleaners only.
- Avoid acidic or abrasive products that can dull or etch the polished surface.
- Wipe with a soft cloth during routine cleaning to maintain its luster.
Important Note
Natural Bardiglio marble may have inherent color and veining variation. Always inspect and dry-lay pieces before installation. Stonemarket USA is not responsible for color inconsistencies or installation errors.


