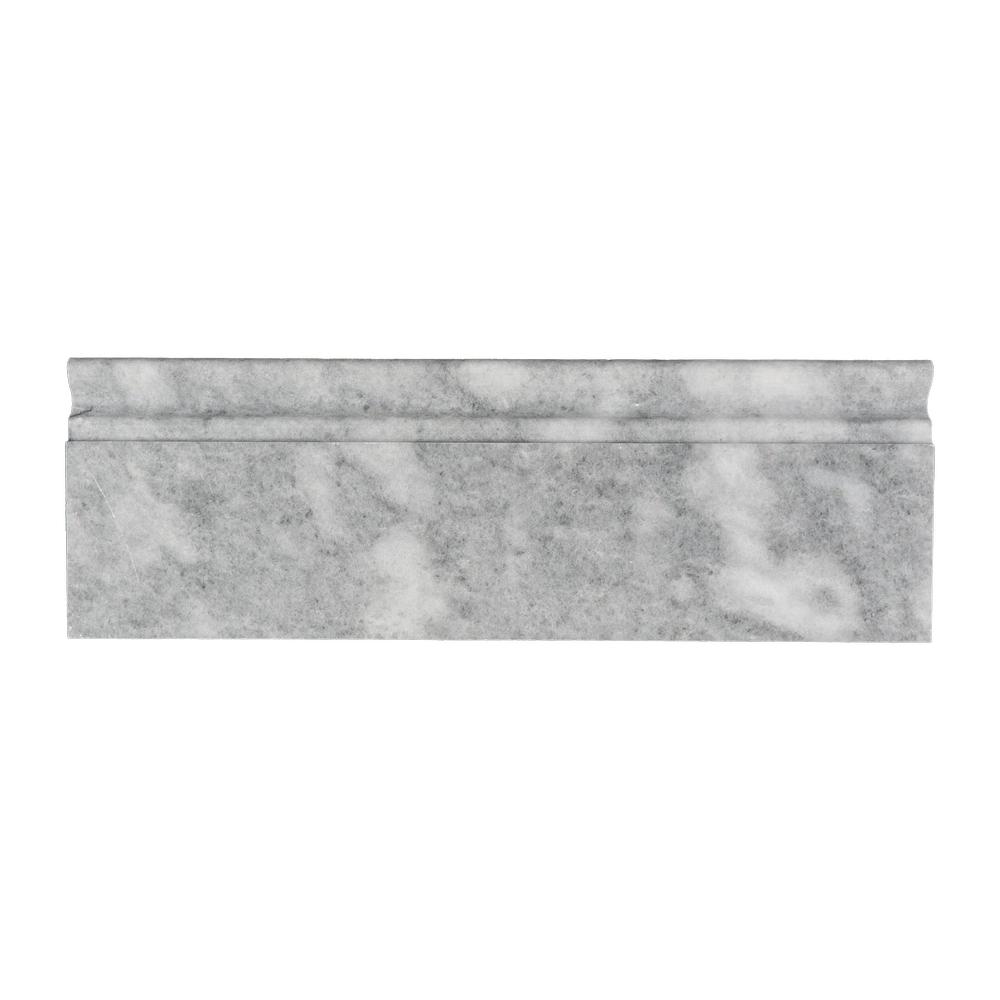
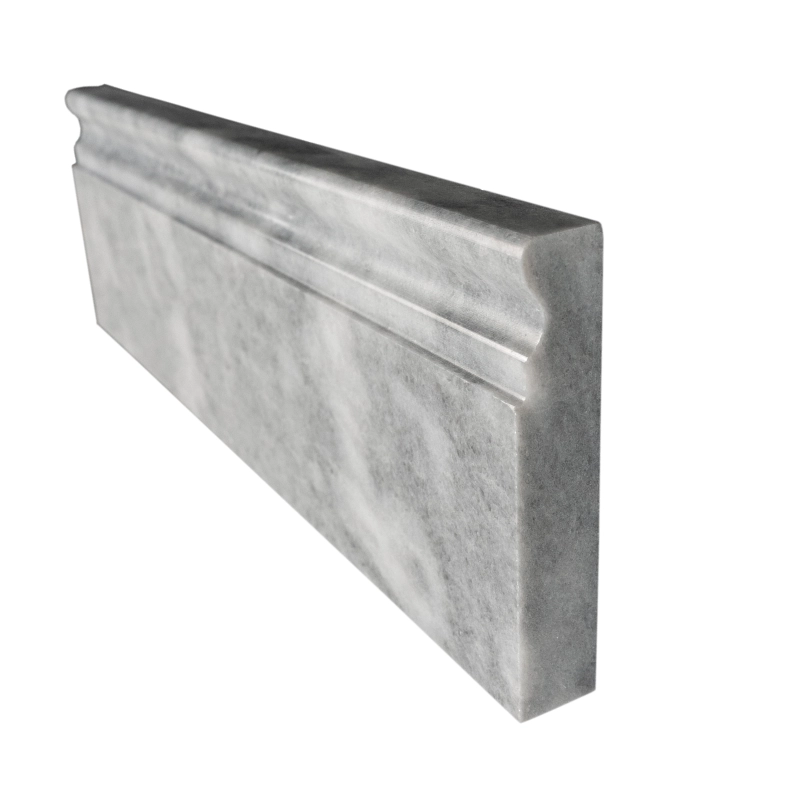
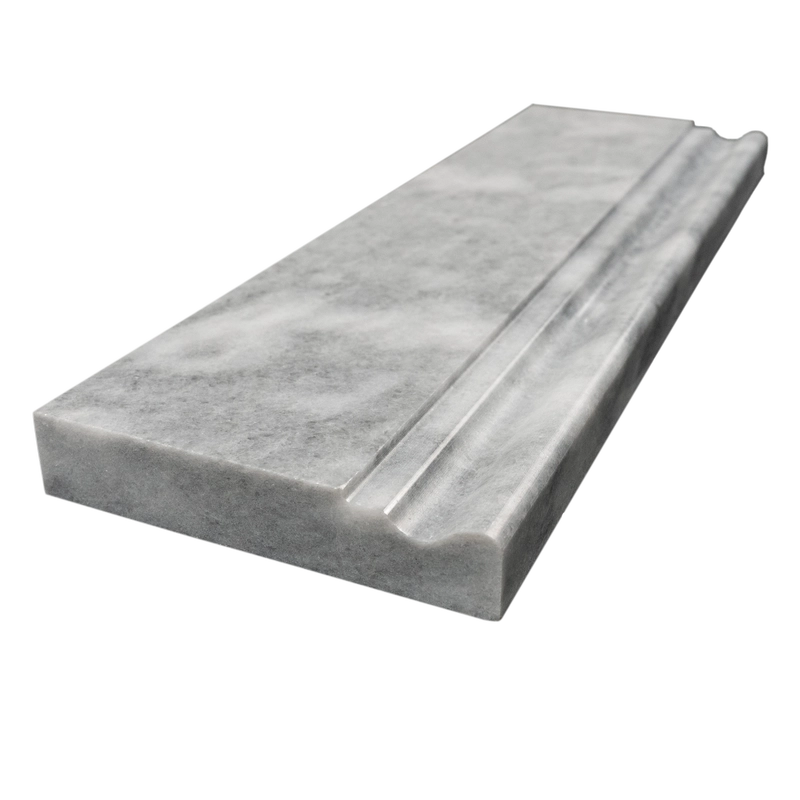
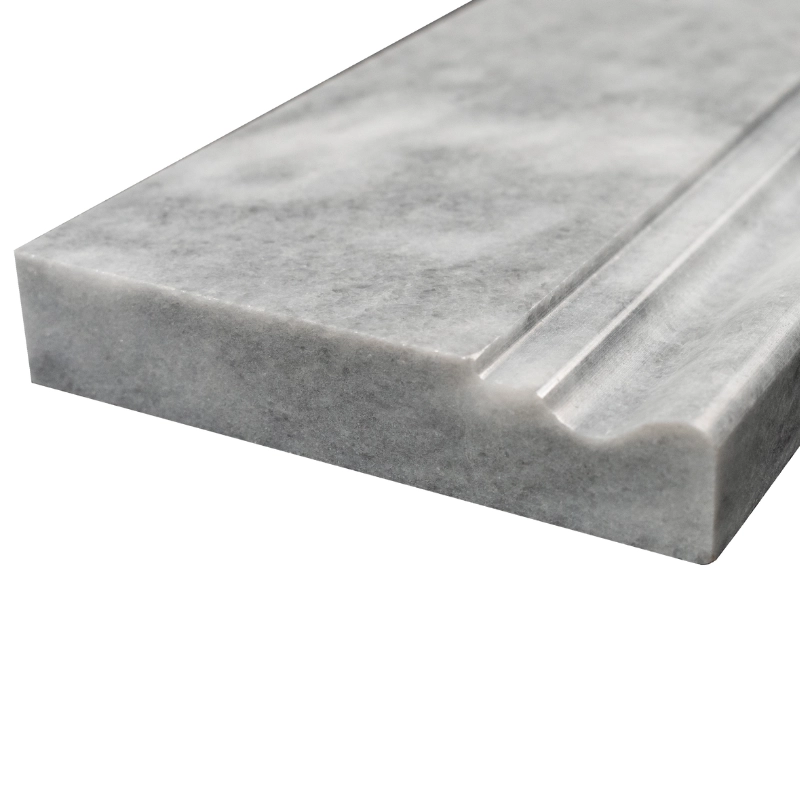
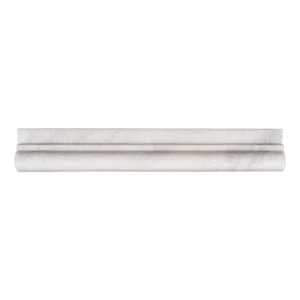
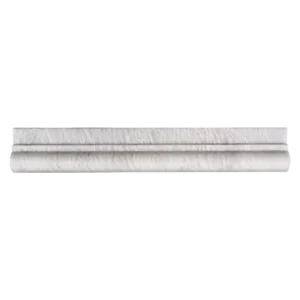
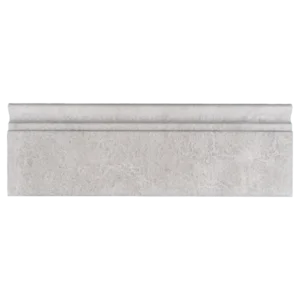
Polished Bardiglio Baseboard Trim 4″x12″ – Marble Molding with Elegant Finish
Crafted from refined Bardiglio marble, the Polished Bardiglio Baseboard Trim 4″x12″ offers a sleek and stylish way to complete your wall installations. With its cool grey tones and polished surface, this trim piece adds a subtle contrast while enhancing the overall sophistication of your design.
Because of its standard size and clean straight edge, this molding works perfectly in transitional areas between wall and floor surfaces. Moreover, its durable structure and polished sheen make it ideal for both residential and commercial spaces where you want to elevate the detail without overwhelming the layout.
Key Features:
- Stone: Bardiglio Marble
- Finish: Polished for a glossy, reflective surface
- Color: Cool grey with soft veining
- Size: 4″x12″ – versatile and easy to install
- Edge: Straight edge for seamless alignment
- Recommended Use: Wall base, transition borders, and trim accents
Why Choose This Marble Trim?
This baseboard trim doesn’t just serve a functional purpose—it also adds architectural elegance to your walls and floors. Furthermore, it pairs beautifully with matching Bardiglio marble tiles or contrasting stones like Carrara or Dolomite for a curated, high-end look. Whether you’re completing a shower wall, hallway, or kitchen backsplash, this molding helps you achieve a finished, professional design.
Installation Guide – Bardiglio Polished Marble Skirting Trim
Step 1: Wall Surface Preparation – Clean and Flush
- Ensure the wall is flat, clean, and dry—especially along the bottom 4–6 inches.
- Make sure the adjacent floor tile installation is already complete.
- Remove any existing dust, paint, or residue that may hinder bonding.
Step 2: Layout Planning – Consistent Alignment
- Mark a horizontal guideline slightly above the floor tile for level placement of the trim.
- Dry-lay the Bardiglio skirting trim pieces along the base of the wall to check fit and alignment.
- Trim any pieces to size using a wet saw with a fine diamond blade.
Step 3: Adhesive Application – Vertical Bonding
Recommended Adhesives:
- Laticrete 254 Platinum White (non-sag mortar)
- Mapei Ultralite Mortar or equivalent wall tile adhesive
Instructions:
- Apply white adhesive using a 1/4″ V-notch or square-notch trowel to the wall where the trim will mount.
- Back-butter the skirting trim for full surface contact.
- Firmly press the piece into position just above the floor tile with light pressure.
- Use spacers to maintain even vertical joints between trim pieces if applicable.
Step 4: Grouting – Seamless Finish
- Once adhesive cures (typically 24 hours), use non-sanded grout to fill any joints between trim pieces.
- Clean immediately with a damp sponge to protect the polished surface.
- Buff off haze with a soft cloth after 30 minutes.
Step 5: Sealing – Final Protection
- Apply a penetrating sealer suitable for polished marble after grout curing (around 72 hours).
- Reapply sealer periodically for long-term stain protection.
Maintenance Tips
- Use pH-neutral stone-safe cleaners only—avoid acidic or abrasive substances.
- Wipe gently with a microfiber cloth to maintain shine.
- Clean scuff marks from mops or vacuums as part of routine upkeep.
Important Note
This Bardiglio marble skirting trim is a natural product with unique veining. Always inspect pieces before installation and dry-lay for consistent color. Stonemarket USA is not responsible for installer error or natural variation.


