Loading... (Warehouse Local Time)
Mon–Fri: 9:00 AM – 6:00 PM |

Lymra Limestone Mosaic Tile – 1×3 Herringbone Honed Beige

Elevate your interiors with the warm and natural beauty of 1×3 Herringbone Limestone Lymra Honed Mosaic Tile. Featuring a smooth, honed finish and a refined herringbone pattern, this tile is perfect for backsplashes, shower walls, and accent features. Its soft beige tones bring a sophisticated yet inviting feel to any space.

Item Code: ML113-10444 Category

720 Pieces in stock

Est. Coverage: 1.01 sq. ft. per piece   |   5.05 sq. ft. per box   |   360 sq. ft. per crate   | Request Info
Note on Samples:
Sample pieces are small cut sizes, approximately 3" x 3" to 8" x 8", and intended for color and finish reference only.
If you need a full-size sample, please contact us.

Request Custom Pricing for Large Orders

Planning a large project? Orders over 500 sq. ft., full crates, or commercial applications may qualify for exclusive volume pricing. Reach out today and let us provide a custom quote tailored to your needs.

Request Volume Quote
  • Volume pricing available for qualified bulk orders.
  • We offer custom sizes, finishes, and crate-based shipments.

Alternative Stones in the Same Size

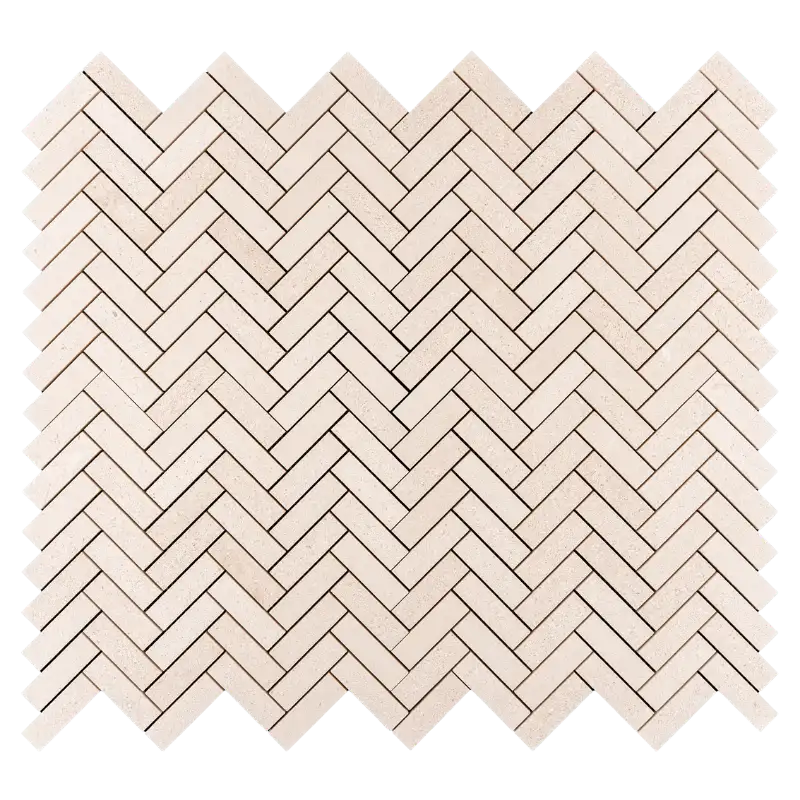
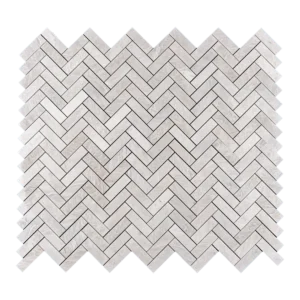
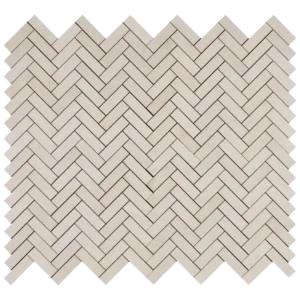
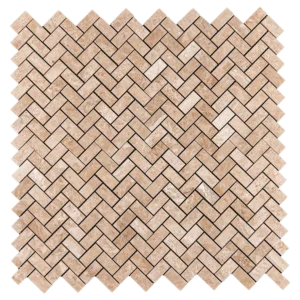
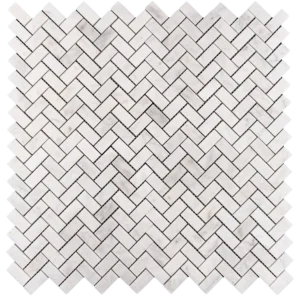
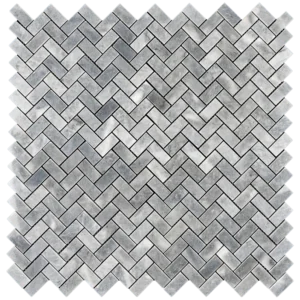
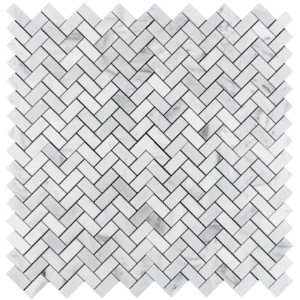
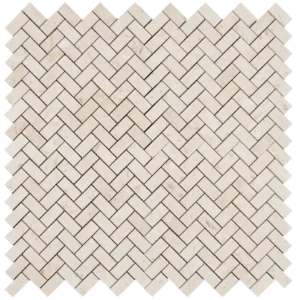
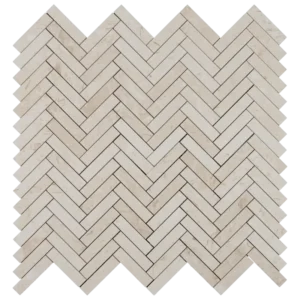
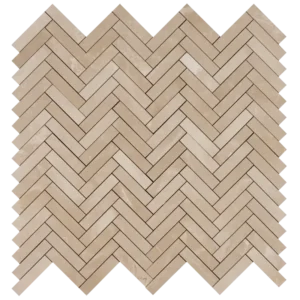
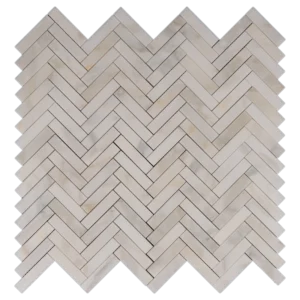
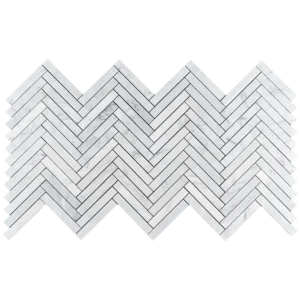
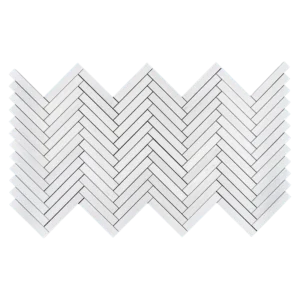
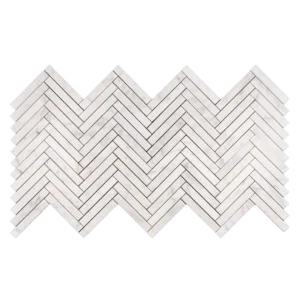
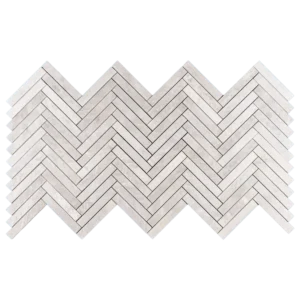
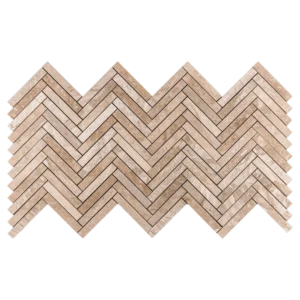
Enhance your home with the 1×3 Herringbone Limestone Honed Mosaic Tile, a luxurious and versatile option for modern and classic interiors. Crafted from premium natural limestone, this mosaic features a smooth honed finish that delivers a refined, matte appearance with subtle texture. Its soft beige tones and natural variation create a warm, elegant look suitable for both residential and light-commercial spaces.

As part of our carefully curated

Lymra Limestone Collection
,
this mosaic is designed to coordinate seamlessly with matching limestone tiles, moldings, and decorative pieces—making it easy to achieve a cohesive and timeless design throughout your space.

Key Features:

  • Material: Natural Limestone
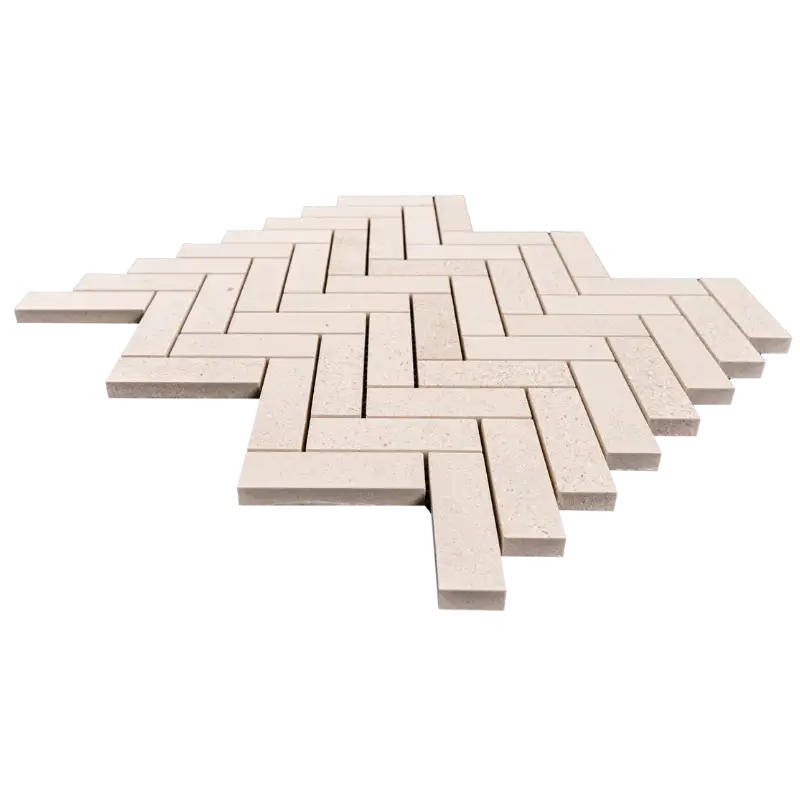
  • Pattern: Herringbone
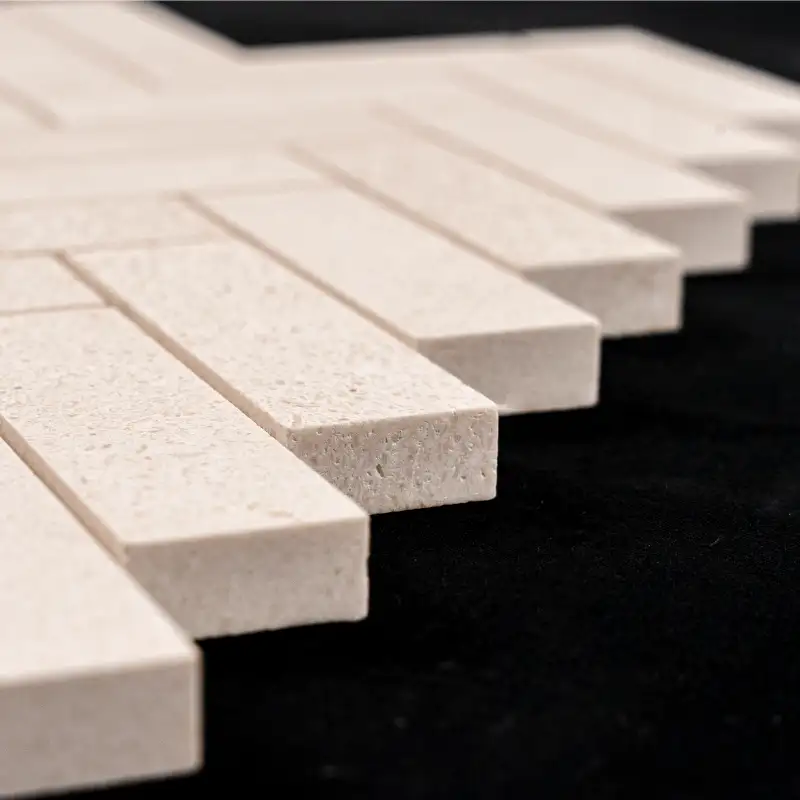
  • Finish: Honed (matte, smooth surface)
  • Color: Soft beige with natural variation
  • Sheet Size: 11.2” x 13” (28.5 x 33 cm)
  • Tile Size: 1” x 3”
  • Thickness: 1 cm

Perfect For:

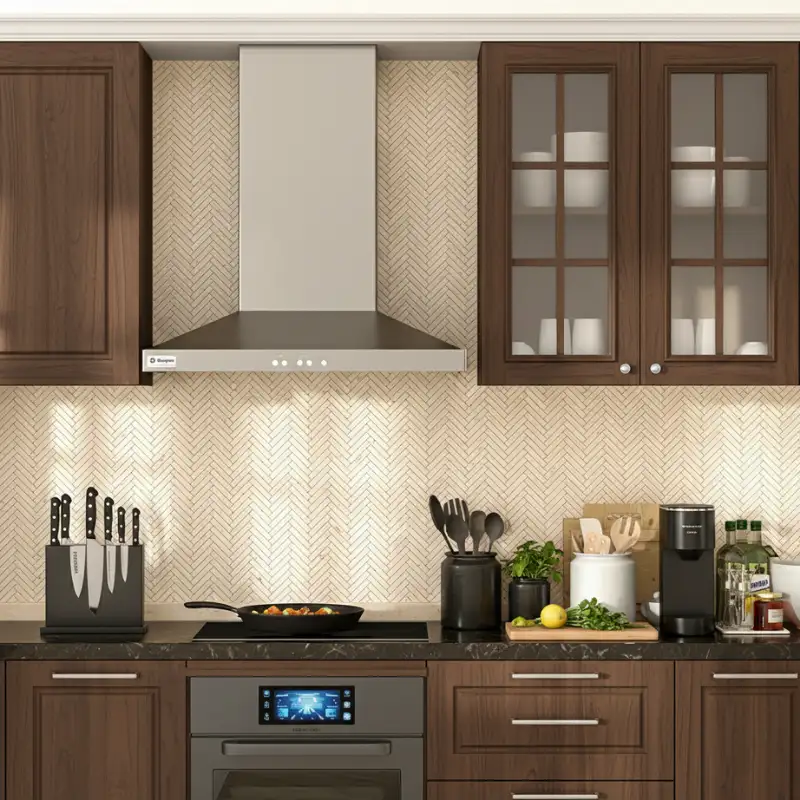
  • Kitchen backsplashes – Adds depth and natural elegance
  • Bathroom walls & floors – Ideal for bright, spa-inspired designs
  • Shower walls – Timeless look with excellent moisture performance
  • Feature walls & fireplace surrounds – Creates a sophisticated focal point

Why Choose 1×3 Herringbone Limestone Mosaic?

  • Timeless natural beauty – Warm limestone tones never go out of style
  • Premium quality stone – Durable, long-lasting, and naturally elegant
  • Honed finish – Smooth, matte texture for a refined look
  • Design versatility – Complements both modern and classic interiors


Upgrade your space with the refined character of limestone and explore the full range of coordinating pieces in our Lymra Collection for a truly unified design.

Weight5.80 lbs
Dimensions11.22 × 12.99 × 0.40 in
Color

Finish

Size (inches)

Thickness

Chip Size (Inches)

Collection

Lymra Collection

Design

Herringbone

Material

Usage Area

Backsplash, Commercial Interior Walls, Outdoor Walls, Residential Interior Floors, Residential Interior Walls, Shower Floors, Shower Walls

1×3 Herringbone Limestone Honed Mosaic Tile

(For Backsplashes, Walls, and Floors)

🔹 Required Tools & Materials

1×3 Herringbone Limestone Honed Mosaic Tiles
✅ Tile Adhesive (Thin-set Mortar)
✅ Notched Trowel (1/4” recommended)
✅ Tile Spacers (if needed)
✅ Level & Measuring Tape
✅ Tile Cutter or Wet Saw
✅ Rubber Grout Float
✅ Grout (Non-sanded for honed finish)
✅ Sponge & Clean Cloth
✅ Sealer (for natural stone protection)

🔹 Step-by-Step Installation

1. Surface Preparation

Ensure the surface is clean, dry, and level before starting.

For walls, use cement board or primed drywall.

For floors, make sure the subfloor is sturdy and well-supported.

2. Layout Planning

  • Dry the tiles on the floor to preview the pattern before applying Adhesive.
  • Ensure the herringbone pattern aligns properly and adjust if necessary.
  • Mark guidelines on the surface using a pencil and level for precise placement.

3. Applying Adhesive

  • Use a notched trowel to spread a thin layer of thin-set mortar evenly over a small area (about 2-3 sq. ft. at a time).
  • Hold the trowel at a 45-degree angle to create ridges in the mortar for strong adhesion.

4. Placing the Tiles

  • Carefully place the mosaic tile sheets onto the mortar.
  • Press firmly with a rubber grout float to ensure full contact.
  • Use tile spacers (if needed) to maintain even gaps.
  • Continue until the entire area is covered, making necessary cuts with a wet saw or tile cutter.

5. Grouting the Tiles

  • Allow the Adhesive to dry for 24 hours before grouting.
  • Use non-sanded grout to prevent scratches on the honed surface.
  • Spread the grout using a rubber float, working at a 45-degree angle to fill the gaps.
  • Wipe excess grout with a damp sponge, rinsing frequently.
  • Let it dry for 24 hours, then polish it with a clean cloth.

6. Sealing the Limestone (Recommended for Longevity)

  • Apply a high-quality natural stone sealer to protect against stains and moisture.
  • Use a soft cloth or applicator pad, following the manufacturer’s instructions.
  • Re-seal every 6-12 months for best durability.

🔹 Maintenance Tips

  • Clean regularly with pH-neutral stone cleaner (avoid acidic cleaners).
  • Wipe spills immediately to prevent staining.
  • Use felt pads on furniture to avoid scratches.

✅ Your Space is Now Transformed!

Enjoy the timeless elegance of 1×3 Herringbone Limestone Honed Mosaic Tile in your home. If you have any questions, please get in touch with us for expert guidance.

Category
Category
Material
Material
Color
Color
Size
Size
Finish
Finish
Design
Design
Thickness
Thickness
Application
Usage Area
Request a Quote
Tell us briefly about your project, sq ft, and timing.