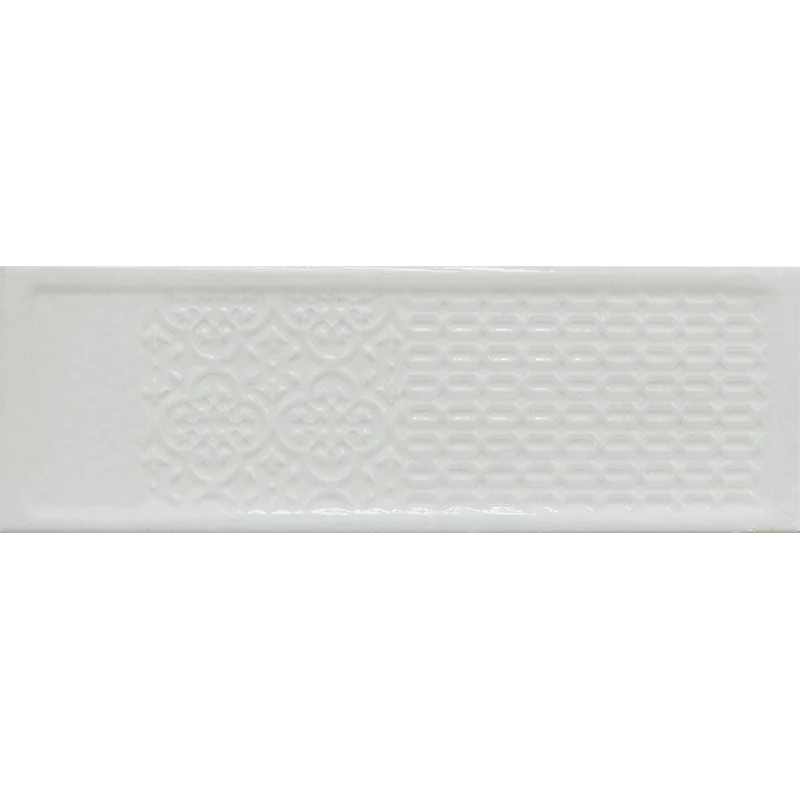
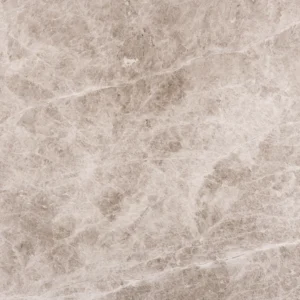
Titan Pearl Deco 4×12 Glossy Ceramic Tile
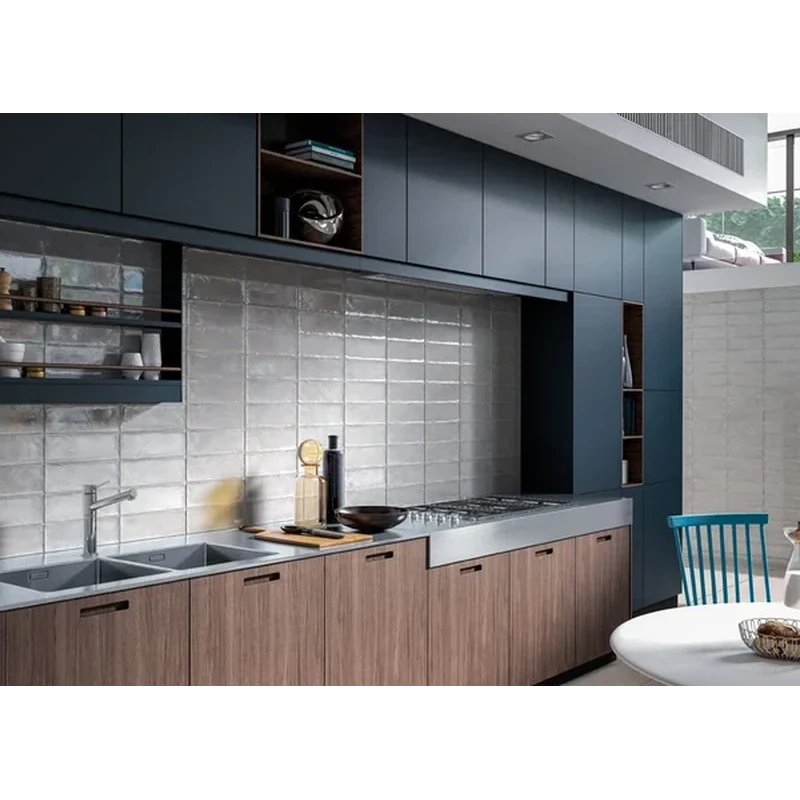
Titan Pearl Deco 4×12 Glossy Ceramic Tile brings a refined pearl-toned look and polished light reflection to interior and supported wall applications. Part of the Titan Collection by Happy Floors, this ceramic tile pairs a decorative Deco design with a practical 4×12 format for creating distinctive surface layouts.
The elongated shape can be arranged in horizontal, vertical, stacked, offset, or other decorative patterns. Its pressed edge supports the characteristic appearance of the tile, while the glossy finish adds visual brightness to backsplashes, bathrooms, kitchens, shower walls, and accent installations.
Blend tiles from multiple boxes before and during installation to distribute natural shade and surface variation throughout the finished design. Review the material before setting and confirm suitability for the intended installation environment.
Features
- Material: Ceramic
- Collection: Titan
- Color: Pearl
- Design: Deco
- Finish: Glossy
- Size: 4×12 inches
- Thickness: 3/8 inch (9 mm)
- Edge type: Pressed
- PEI rating: 3
- Coverage: Approximately 0.326 sq. ft. per piece
- Packaging: 33 pieces per box
- Coverage per box: 10.76 sq. ft.
Recommended Applications
- Residential interior walls
- Commercial interior walls
- Kitchen backsplashes
- Bathroom walls
- Shower walls with suitable substrate and waterproofing coordination
- Supported outdoor wall applications when approved for the specific environment
Installation Guide – Titan Pearl Deco 4×12 Glossy Ceramic Tile
Important Advisory
Inspect all tiles before installation, including color, shade variation, finish, dimensions, and possible damage. Confirm that the product is suitable for the intended application and follow Happy Floors installation instructions, mortar and grout manufacturer requirements, applicable local building codes, and recognized tile-industry standards.
Step 1: Layout & Planning
- Confirm the substrate is appropriate for ceramic tile and plan the layout before setting material. Establish reference lines to maintain consistent alignment.
- Dry-lay tiles to review the Pearl color and Deco design before installation. Blend tiles from multiple boxes to create a balanced distribution of shade and surface variation.
- Plan around corners, openings, fixtures, and changes of plane. The 4×12 format may be arranged in horizontal, vertical, stacked, offset, or other planned patterns.
- Select grout joints, movement accommodation, and transition details in accordance with applicable industry standards and the recommendations of the tile, mortar, and grout manufacturers.
Step 2: Tile Installation
- Prepare a clean, dry, flat, stable, and structurally sound substrate. Remove dust, grease, paint, and other materials that could interfere with adhesion, and correct cracks or uneven areas before setting tile.
- Use a quality setting material suitable for ceramic tile and the specific substrate and application. Where the installation is exposed to moisture, coordinate the substrate and waterproofing system according to project requirements and manufacturer instructions.
- Apply mortar consistently within the manufacturer’s open time, then press each tile firmly into place to achieve proper contact. Periodically remove a tile to verify adequate mortar transfer and coverage.
- Set tiles along the planned reference lines and use spacers as appropriate to maintain consistent joints. Check alignment frequently, especially in stacked, vertical, and offset layouts.
- Remove excess mortar from the tile surface and joints before it hardens. Allow the setting material to cure as directed by its manufacturer before grouting.
Step 3: Cutting
- Use a professional tile cutter, wet saw, or other tool with equipment suitable for glossy ceramic tile.
- Measure and dry-fit cut pieces before final placement. Handle cut edges carefully to minimize chipping of the glazed surface.
- Use suitable ceramic-tile tools for openings around outlets, plumbing, fixtures, and other detailed areas. Follow tool and safety instructions.
Step 4: Joint Filling
- Choose a grout compatible with glossy ceramic tile, the selected joint width, and the installation environment.
- Apply grout according to the grout manufacturer’s instructions, removing excess material from the tile surface before it hardens.
- Clean joints and the tile surface with a clean, damp sponge while avoiding excessive water. Allow grout to cure as directed, and seal grout only when recommended by its manufacturer.
Step 5: Cleaning & Maintenance
- Clean the glossy ceramic surface regularly with a mild, non-abrasive cleaner approved for ceramic tile.
- Avoid abrasive pads, harsh chemicals, and cleaning tools that may affect the finish.
- Wipe away grease, soap residue, splashes, and other buildup promptly. Maintain grout joints according to the grout manufacturer’s care recommendations.
Disclaimer
Installation conditions vary by project. Stone Market USA recommends professional installation and requires compliance with Happy Floors instructions, product manufacturer recommendations, local codes, waterproofing and drainage requirements where applicable, and recognized industry standards. Stone Market USA is not responsible for installation errors or material installed without prior inspection.