Installation Guide – Titan Aqua Edge 4×12 Ceramic Tile Glossy
Important Advisory
Inspect all tiles before installation and confirm that the product is appropriate for the intended environment. Follow current Happy Floors instructions, setting-material manufacturer requirements, applicable local codes, and recognized tile-industry standards. This product is not rated frost resistant and should not be specified for freeze-exposed conditions.
Step 1: Layout & Planning
- Verify the installation area and establish level, plumb reference lines before setting tile.
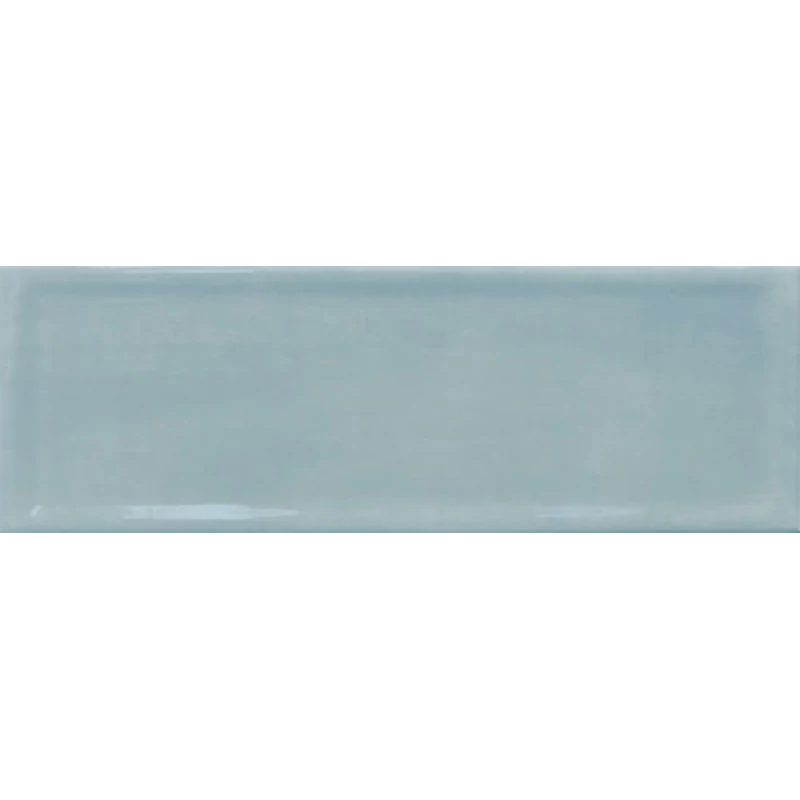
- Dry-lay representative pieces to evaluate the Aqua color, glossy finish, pressed edges, and Edge design before installation.
- Blend tiles from multiple cartons as needed to distribute natural visual differences throughout the installation.
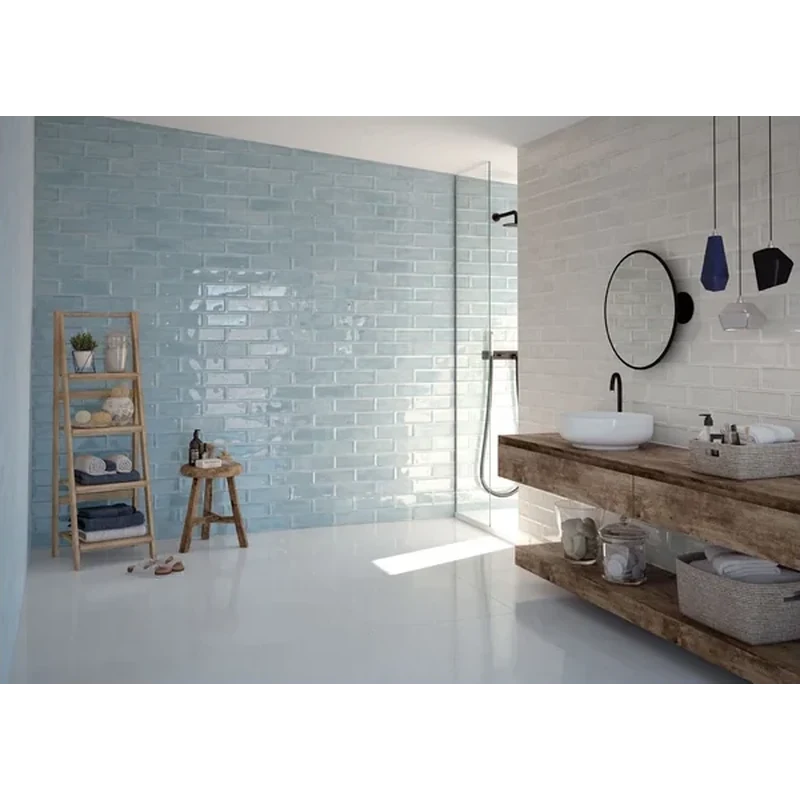
- Plan the 4×12 layout around focal points, corners, outlets, transitions, and visible cut locations. Horizontal, vertical, stacked, and offset patterns may be considered where appropriate for the space and substrate conditions.
Step 2: Tile Installation
- Install over a clean, dry, flat, stable, and structurally sound substrate that is suitable for ceramic tile.
- Repair cracks, uneven areas, or other substrate deficiencies before installation. Coordinate approved waterproofing and moisture-management systems wherever required by the installation environment.
- Use a mortar recommended for ceramic tile, the substrate, and the intended application. Follow the mortar manufacturer’s instructions for mixing, application, open time, and curing.
- Select a suitable trowel based on the tile, substrate, and mortar manufacturer’s guidance. Press tiles firmly into place and periodically verify adequate mortar transfer.
- Maintain consistent alignment and joints throughout the installation. Provide movement accommodation at perimeters, changes of plane, and other required locations in accordance with applicable standards.
Step 3: Cutting
- Use a professional tile cutter or wet saw with a blade appropriate for ceramic tile.
- Measure and dry-fit cut pieces before setting them, and handle the glossy surface and cut edges carefully to reduce chipping.
- Use suitable ceramic-tile tools for outlets, penetrations, corners, and other detailed cuts. Wear appropriate personal protective equipment and control cutting dust in accordance with safety requirements.
Step 4: Joint Filling
- Allow the setting material to cure as directed before grouting.
- Choose grout compatible with ceramic tile, the selected joint width, and the intended installation environment.
- Apply and clean grout according to the grout manufacturer’s instructions, taking care not to scratch or dull the glossy surface.
- Use an appropriate flexible sealant rather than grout at changes of plane and movement joints where required.
Step 5: Cleaning & Maintenance
- Remove mortar and grout residue promptly using methods approved for glossy ceramic tile.
- For routine care, use a mild, non-abrasive cleaner and a soft cloth, sponge, or mop.
- Avoid abrasive pads, harsh tools, and cleaners that could affect the glossy finish.
- Maintain grout and sealant joints according to their manufacturers’ recommendations.
Disclaimer
Installation conditions vary by project. Product suitability, substrate preparation, waterproofing, setting materials, grout, movement joints, and maintenance methods must be confirmed before installation. Final work should follow manufacturer instructions, applicable building codes, and recognized tile-industry standards.