Happy Floors Macaubas Pearl Natural 4×12 Porcelain Tile
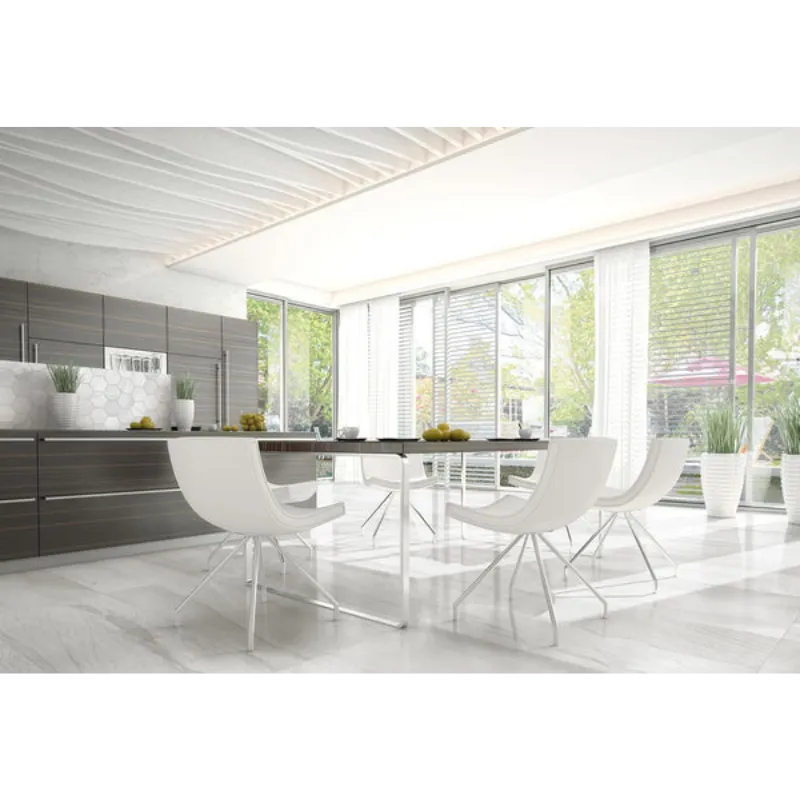
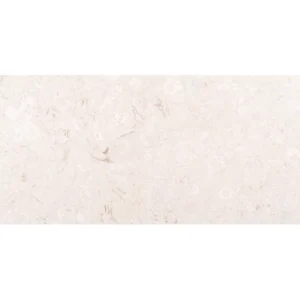
Happy Floors Macaubas Pearl Natural 4×12 Porcelain Tile brings a refined pearl-toned look to interior design with the dependable performance of porcelain. Its natural finish and rectified edges create a clean, tailored appearance suited to coordinated residential and commercial spaces.
The elongated 4×12 format offers flexible layout possibilities for walls, backsplashes, floors, and decorative installations. With a 3/8-inch thickness, PEI 4 rating, and frost-free construction, Macaubas Pearl provides a versatile foundation for projects where understated color and durable porcelain construction are important.
As a coverage-based product, this tile is packaged with 26 pieces per box and provides 8.40 square feet of coverage per box. Review the material before installation and blend tiles from multiple boxes when appropriate to create a balanced finished appearance.
Features
- Porcelain construction for a durable tile surface
- Macaubas collection in a Pearl color
- Natural finish with a subtle, understated appearance
- 4×12 tile format for flexible horizontal, vertical, stacked, or offset layouts
- 3/8-inch thickness, equivalent to approximately 10 mm
- Rectified edge for clean, precise-looking grout lines when properly installed
- PEI 4 rating
- Frost-free construction
- Approximately 0.323 square feet of coverage per piece
- 26 pieces per box
- 8.40 square feet of coverage per box
Recommended Applications
- Interior residential floors
- Interior residential walls
- Interior commercial floors and walls where the specified performance is appropriate
- Kitchen backsplashes
- Decorative accent installations
- Coordinated tile layouts using horizontal, vertical, stacked, or offset patterns
Installation Guide – Happy Floors Macaubas Pearl Natural 4×12 Porcelain Tile
Important Advisory
Inspect all tiles before installation to confirm color, finish, size, edge condition, and overall satisfaction. Plan the installation carefully and follow Happy Floors instructions, setting-material manufacturer requirements, applicable local building codes, and recognized tile-industry standards. Confirm that the selected substrate and installation environment are suitable for this porcelain tile.
Step 1: Layout & Planning
- Verify room dimensions and establish control lines before setting tile to create a balanced layout.
- Dry-lay tiles from multiple boxes to review the Pearl color and natural finish across the installation. Blend material from different boxes when appropriate.
- Plan the 4×12 format in the desired horizontal, vertical, stacked, offset, or other suitable pattern before applying mortar.
- Account for doors, cabinets, fixtures, penetrations, transitions, and perimeter movement joints during layout planning. Incorporate movement accommodation as required by the substrate, installation environment, and applicable standards.
Step 2: Tile Installation
- Prepare a clean, dry, flat, stable, and structurally sound substrate that is appropriate for porcelain tile installation. Remove dust, grease, paint, curing compounds, and other bond-inhibiting materials.
- Repair cracks, deflection, uneven areas, or damaged substrate conditions before beginning. In moisture-prone areas, coordinate any required waterproofing system with the substrate and installation design.
- Use a high-quality mortar approved for porcelain tile and suitable for the specific substrate and application. Follow the mortar manufacturer’s directions for mixing, application, open time, and curing.
- Apply mortar consistently with the recommended method and tool selected according to the substrate, tile format, and mortar manufacturer’s guidance. Periodically lift a tile to verify adequate mortar transfer and coverage.
- Press tiles firmly into the mortar while maintaining the planned alignment and grout joints. Use spacers or an appropriate leveling approach as needed for consistent placement, while allowing for the rectified edges and actual tile variation.
Step 3: Cutting
- Measure and dry-fit cut pieces before final placement.
- Use a professional tile cutter, wet saw, or other equipment with tooling suitable for porcelain tile.
- Wear appropriate personal protective equipment and control dust according to the tool manufacturer’s safety instructions.
- Make careful openings for outlets, plumbing, corners, and other penetrations. Position cut edges according to the layout and protect exposed edges with suitable trim or transitions where required.
Step 4: Joint Filling
- Allow the mortar to cure according to the mortar manufacturer’s instructions before grouting.
- Select a grout compatible with porcelain tile, the planned joint width, and the installation environment. Follow the grout manufacturer’s mixing and application directions.
- Apply grout thoroughly into the joints, remove excess from the tile surface, and clean with a clean, damp sponge without over-washing the joints.
- After the grout has cured, remove any remaining haze using a cleaning method approved for the tile and grout. Provide movement joints where required by the substrate, room configuration, and recognized installation standards.
Step 5: Cleaning & Maintenance
- Clean the porcelain surface regularly with a mild, non-abrasive cleaner and clean water.
- Avoid abrasive pads, harsh chemicals, and tools that may scratch or damage the finish.
- Remove spills, soil, and buildup promptly, especially along grout joints.
- Maintain grout and any sealant according to the respective manufacturer’s care recommendations. Porcelain tile sealing requirements, if any, should be confirmed for the selected grout and installation system.
Disclaimer
Stone Market USA recommends professional installation when appropriate. Product suitability depends on the project conditions, substrate, installation system, and applicable codes and standards. Do not install material with visible defects or without confirming that it meets the project’s requirements. Stone Market USA is not responsible for installation errors, improper maintenance, or material installed without prior inspection.