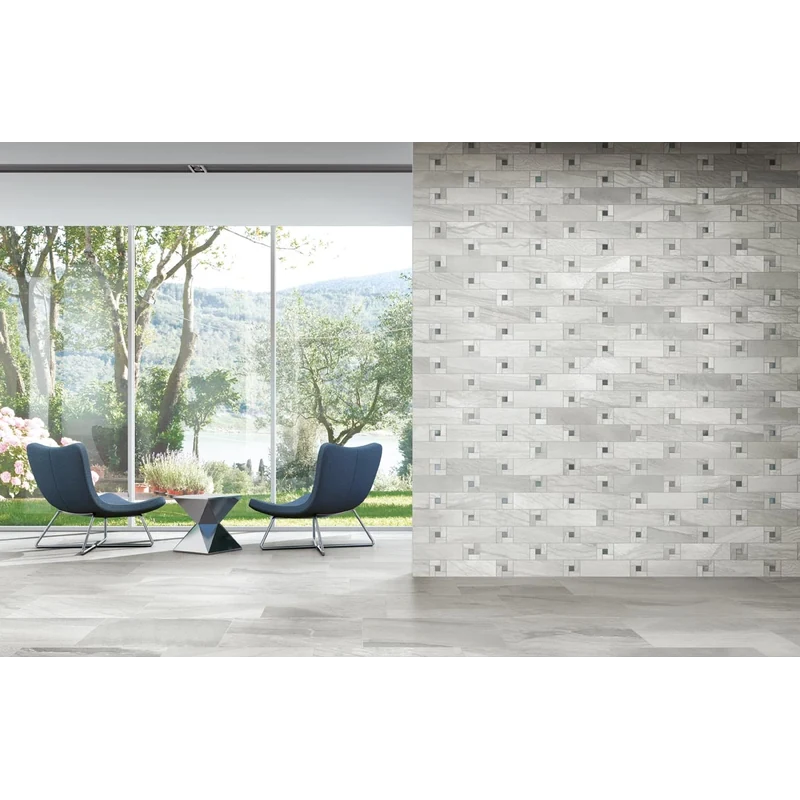
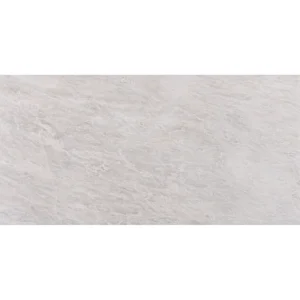
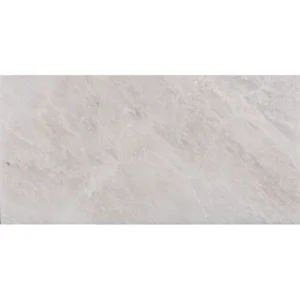
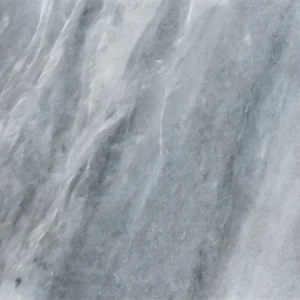
Installation Guide – Macaubas Pearl Anticato 4×12 Porcelain Tile
Important Advisory
Review the material before installation and follow Happy Floors’ product instructions, the setting-material manufacturers’ requirements, applicable local building codes, and recognized tile-industry standards. Confirm that the tile, substrate, waterproofing, drainage, movement accommodation, and other components are appropriate for the intended location.
Step 1: Layout & Planning
- Verify dimensions, color, finish, edge condition, and overall appearance before setting the tile. Do not install material that has not been inspected and approved.
- Measure the area and establish control lines to keep the layout balanced and aligned. Plan the placement of cuts, transitions, borders, and penetrations before applying mortar.
- Blend tiles from multiple boxes during installation to distribute any natural variation in color or surface appearance.
- Select grout-joint widths and movement joints according to the tile manufacturer’s guidance, applicable industry standards, and the recommendations of the mortar and grout manufacturers.
Step 2: Tile Installation
- Install over a clean, dry, flat, stable, and properly prepared substrate suitable for porcelain tile. Correct cracks, uneven areas, contamination, or structural issues before installation.
- Use a setting mortar approved for porcelain tile and compatible with the substrate and installation environment. Follow the mortar manufacturer’s mixing, application, open-time, and curing instructions.
- Apply mortar consistently and press each tile firmly into place to achieve the coverage recommended for the specific installation. Periodically lift a tile to verify contact and coverage.
- Use spacers or an appropriate layout method to maintain consistent joints. Check the 4×12 format frequently for alignment, especially in running-bond, stacked, vertical, or other planned patterns.
- Remove excess mortar from tile faces and joints before it hardens. Allow the setting material to cure as directed before grouting.
Step 3: Cutting
- Cut porcelain tile with professional equipment and a blade suitable for porcelain. Use wet-cutting methods where appropriate for the tool and project conditions.
- Measure and dry-fit cut pieces before final placement. Use suitable tools for openings around outlets, plumbing, corners, and other penetrations.
- Handle cut pieces carefully and protect finished surfaces during fabrication and installation. Smooth or protect exposed cut edges where the design requires it.
Step 4: Joint Filling
- Use grout compatible with porcelain tile, the selected joint width, and the installation environment. Follow the grout manufacturer’s preparation and application instructions.
- Apply grout evenly across the joints and remove excess from the tile surface with appropriate tools.
- Clean grout residue promptly using a clean, damp sponge without overwetting the joints. Allow the grout to cure according to the manufacturer’s instructions before regular use or final cleaning.
- Use movement joints where required by the substrate, room dimensions, changes of plane, perimeter conditions, and applicable standards. Use flexible sealant at changes of plane rather than rigid grout when specified.
Step 5: Cleaning & Maintenance
- Remove installation residue with a cleaner approved for porcelain tile and the selected grout. Avoid harsh chemicals, abrasive pads, or tools that may affect the finish.
- Clean regularly with a mild, non-abrasive product suitable for porcelain tile. Remove spills and buildup promptly.
- Maintain grout and sealant joints according to their manufacturers’ care recommendations. Porcelain tile generally does not require sealing, but confirm requirements for the selected grout and specific installation.
Disclaimer
Installation conditions vary by project. Stone Market USA recommends using a qualified tile professional and confirming all product, substrate, waterproofing, drainage, movement-joint, and maintenance requirements before installation. Stone Market USA is not responsible for installation errors or material installed without prior inspection.