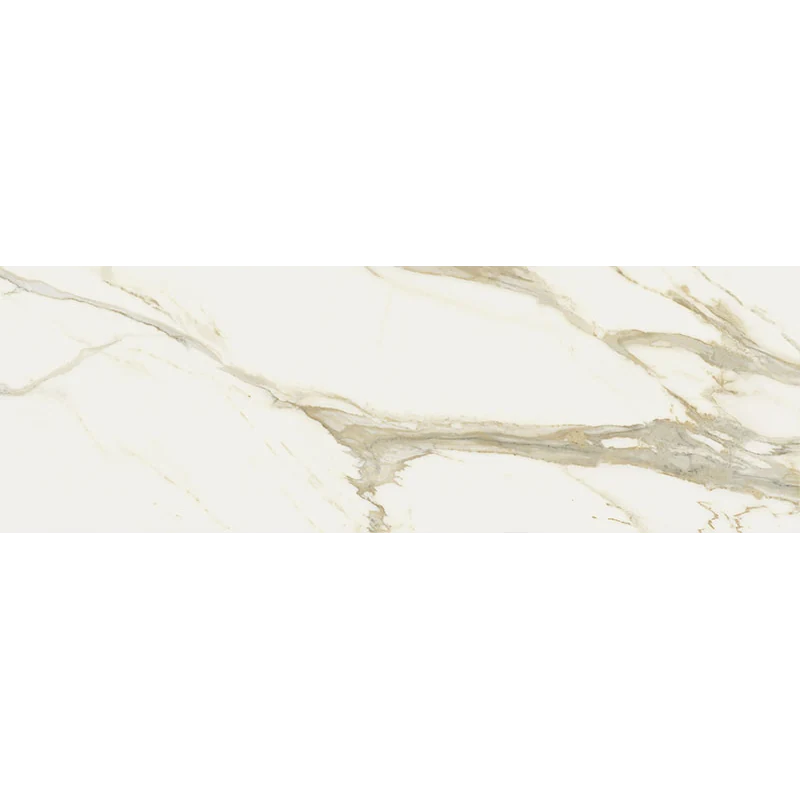
Installation Guide – Happy Floors Stratus Oro 4×12 Natural Porcelain Tile
Important Advisory
Review the current Happy Floors installation instructions before work begins. Confirm that this porcelain tile is suitable for the intended floor, wall, wet-area, or exterior application. Installation must comply with applicable local codes, substrate requirements, waterproofing or drainage provisions, setting-material instructions, and recognized tile-industry standards.
Step 1: Layout & Planning
- Inspect the tile before installation and confirm the color, finish, caliber, and overall appearance are acceptable. Do not install damaged or unacceptable material.
- Plan the layout from established reference lines to reduce small perimeter cuts and maintain balanced placement.
- Dry-lay representative tiles from multiple cartons before setting. Distribute material throughout the installation for a balanced finished appearance.
- The 4×12 format may be arranged in horizontal, vertical, stacked, offset, or other planned patterns. Confirm any offset limitations with the manufacturer and applicable industry guidance before installation begins when relevant to the selected pattern.
Step 2: Tile Installation
- The substrate must be clean, dry, flat, stable, structurally sound, and free of contaminants that could interfere with adhesion. Correct cracks, movement, or surface irregularities before setting tile.
- Install required waterproofing, crack-isolation, drainage, or other substrate preparation systems before setting tile where the project conditions require them.
- Use a mortar suitable for porcelain tile, the substrate, tile size, and installation environment. Follow the mortar manufacturer’s requirements for mixing, application, open time, and curing.
- Select the trowel and application technique according to the setting-material manufacturer’s guidance and site conditions. Periodically lift a tile to verify proper mortar transfer and coverage.
- Maintain consistent alignment and grout joints during installation. Provide perimeter, field, and change-of-plane movement accommodation as required by recognized tile-industry standards and project conditions.
Step 3: Cutting
- Use professional tile-cutting equipment and a blade rated for porcelain tile.
- Measure and dry-fit cut pieces before final placement, allowing for required joints and movement accommodation.
- Support the tile properly while cutting and use appropriate safety equipment. Smooth or finish exposed cut edges when required by the design.
Step 4: Joint Filling
- Allow the setting material to cure according to its manufacturer’s instructions before grouting.
- Select grout compatible with porcelain tile, the planned joint width, and the installation environment.
- Keep movement joints and changes of plane free of rigid grout where a flexible sealant or movement-joint assembly is required.
- Remove grout residue using methods approved by the grout and tile manufacturers. Avoid allowing grout or mortar to harden on the tile surface.
Step 5: Cleaning & Maintenance
- Use a pH-neutral or manufacturer-approved cleaner suitable for porcelain tile for routine maintenance.
- Avoid abrasive tools or harsh chemicals that could affect the finish or grout.
- Clean spills and construction residue promptly, following the cleaner manufacturer’s directions.
- Maintain grout, sealant, and movement joints according to the applicable product manufacturers’ recommendations.
Disclaimer
Product appearance can vary between samples, cartons, production lots, displays, and photographs. Inspect and approve all material before installation. Installation conditions differ by project; consult current manufacturer instructions and qualified tile professionals regarding substrate preparation, slip-resistance requirements, waterproofing, drainage, setting materials, movement joints, exterior suitability, and code compliance. Installed material is generally considered accepted.