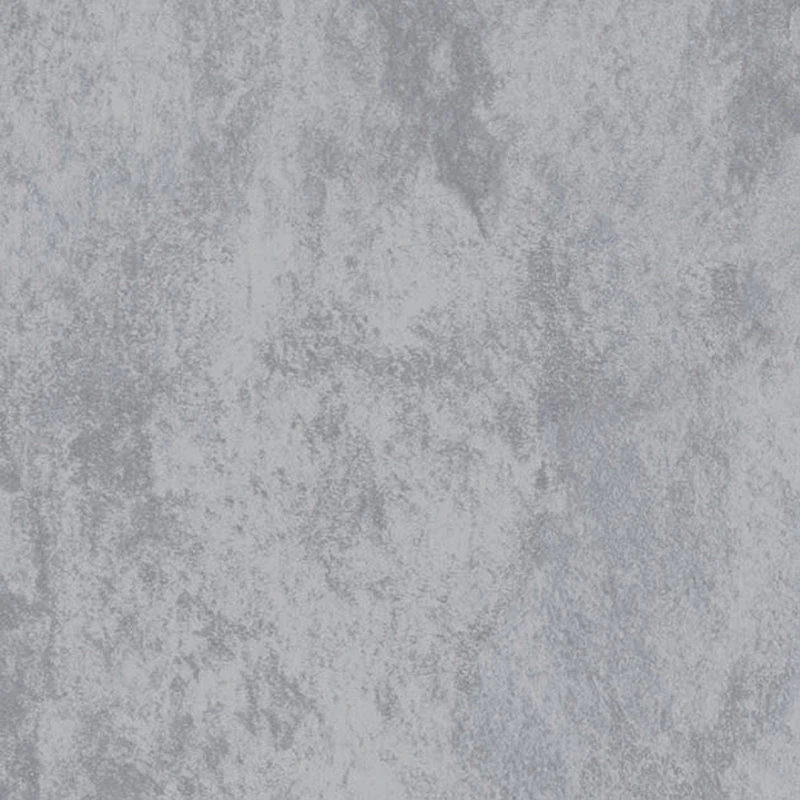
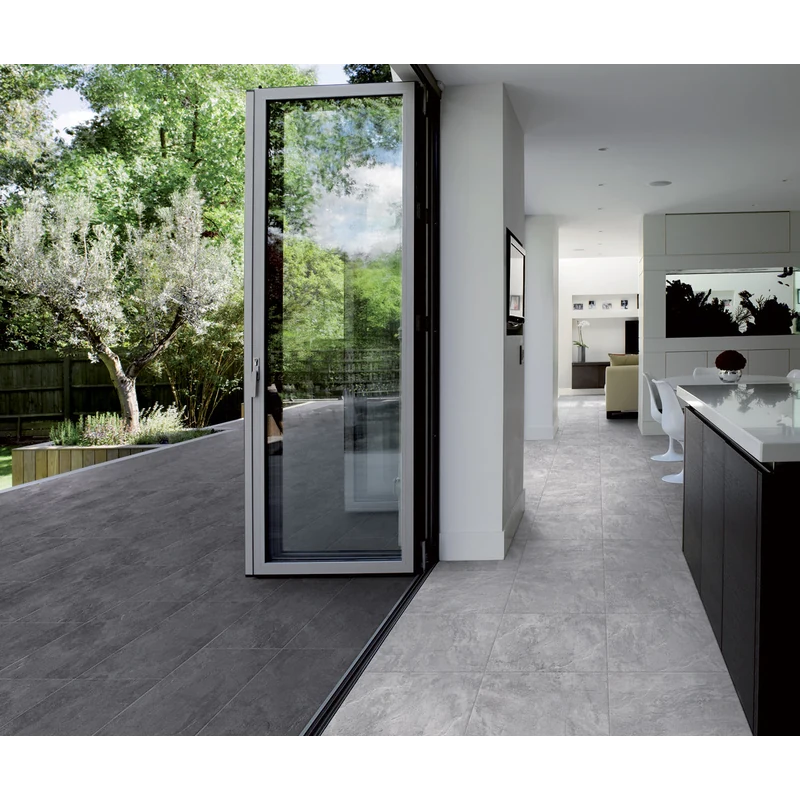
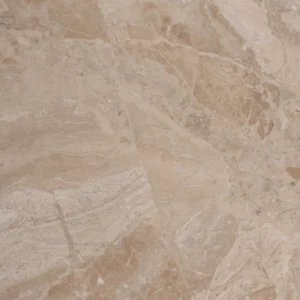
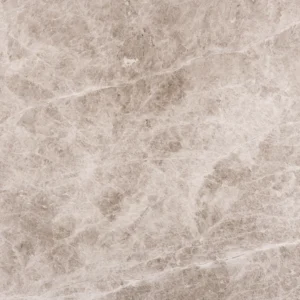
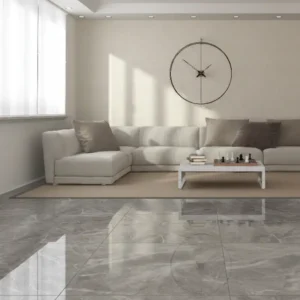
Eternity Grey 12×12 Natural Porcelain Tile
Eternity Grey 12×12 Natural Porcelain Tile delivers a clean, versatile grey palette with a low-sheen natural finish that suits modern and transitional designs alike. The classic 12×12 format and pressed edges create timeless grout lines and straightforward layouts across a range of interior spaces.
Made from durable porcelain with an approx. 5/16 in. (8mm) thickness, this tile is engineered for everyday performance and easy care. Part of the Happy Floors Eternity collection, it carries a PEI 5 wear rating and a frost-resistant body for reliable durability when properly installed.
As with all porcelain tile, color and pattern may vary from piece to piece. For the most balanced look, review multiple tiles and blend from different boxes during installation.
Features
- Porcelain construction for durability and easy maintenance
- Natural, low-sheen finish in a versatile grey tone
- 12×12 square format for classic layouts
- Pressed edges for traditional grout joints
- Approx. 5/16 in. (8mm) thickness
- PEI 5 wear rating supports high-traffic interior use
- Frost-resistant body
- Coordinates with the Happy Floors Eternity collection
Recommended Applications
- Residential interior floors
- Residential interior walls
- Kitchen floors
- Kitchen backsplashes
- Bathroom walls
- Shower walls
- Entryways and hallways
- Living areas
- Feature walls
- Commercial interior floors
- Commercial interior walls
- Exterior walls (vertical applications)
Installation Guide – Eternity Grey 12×12 Natural Porcelain Tile
Important Advisory
Confirm the tile meets project requirements before installation. Follow the product/manufacturer instructions, mortar and grout manufacturer directions, local building codes, and applicable tile industry standards. Use appropriate waterproofing in wet areas and provide movement accommodation joints as required.
Step 1: Layout & Planning
- Verify the substrate is clean, flat, dry, and structurally sound for porcelain tile.
- Establish control lines and dry-lay tiles to review shade and pattern variation.
- Blend tiles from multiple boxes for a consistent overall appearance.
- Plan cuts and transitions at doorways, edges, and fixtures for a balanced layout; account for pressed-edge joint aesthetics.
Step 2: Tile Installation
- Use a high-quality polymer-modified thin-set mortar suitable for porcelain and the specific substrate.
- Select trowel size per substrate condition, tile size, and mortar manufacturer guidance to achieve proper coverage.
- Comb mortar in one direction and press tiles firmly with slight sliding motion; back-butter as needed to improve contact.
- Periodically lift a tile to verify adequate mortar transfer and flatness; use a leveling system where appropriate to minimize lippage.
- Maintain consistent joint widths appropriate for pressed-edge tile and project conditions. Allow mortar to cure per manufacturer instructions before grouting.
Step 3: Cutting
- Cut with a wet saw and a premium diamond blade rated for porcelain.
- Measure carefully and dry-fit cut pieces before setting.
- Use appropriate diamond core bits for holes and notches; support workpieces to reduce chipping.
- Ease sharp cut edges where exposed, as design intent requires.
Step 4: Joint Filling
- Select a grout suitable for porcelain tile and the chosen joint width; follow grout manufacturer directions.
- Apply grout diagonally across joints and clean excess promptly to avoid haze.
- Use flexible sealant (not grout) at changes of plane and movement joints per industry standards.
- Allow grout to cure fully before regular cleaning or traffic, per manufacturer guidance.
Step 5: Cleaning & Maintenance
- Sweep or vacuum regularly to remove abrasive debris.
- Clean with a pH-neutral cleaner approved for porcelain tile; rinse thoroughly.
- Wipe spills promptly and avoid harsh or abrasive cleaners and pads.
- Use protective glides or felt pads under furniture and avoid dragging heavy items across the surface.
Disclaimer
Installation conditions vary. Always follow the tile, setting material, grout, and waterproofing manufacturer instructions and applicable industry standards. Verify actual product, shade, and dimensions before installation. Stone Market USA is not responsible for installation errors or tiles installed with visible defects.