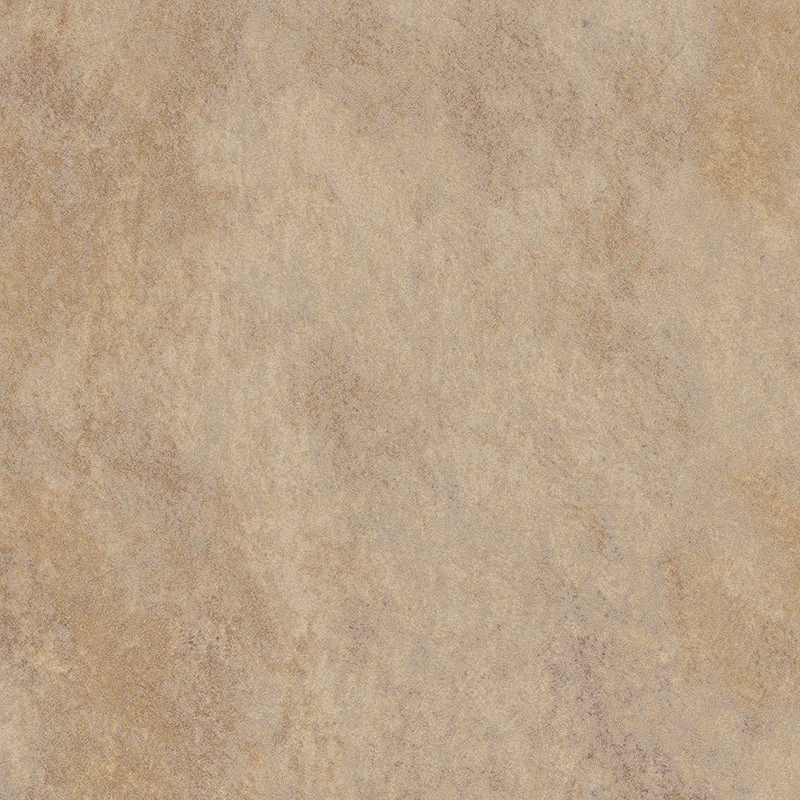
Installation Guide – Eternity Gold 12×12 Natural Porcelain Tile
Important Advisory
Always follow the tile manufacturer’s instructions, setting-material manufacturer guidance, and applicable industry standards (e.g., ANSI A108/A118 and TCNA guidelines). Verify substrate suitability, movement-joint requirements, and local building codes. In wet areas, use appropriate waterproofing. Blend tiles from multiple boxes and confirm shade, caliber, and layout before installation.
Step 1: Layout & Planning
- Confirm substrate is clean, flat, dry, and structurally sound for porcelain tile.
- Review several tiles to understand shade/tonal variation; blend from multiple boxes.
- Establish control lines to center and balance the layout with consistent cuts at perimeters.
- Account for pressed edges when selecting grout-joint width per industry and grout manufacturer guidance.
Maintain movement joints as required at perimeters, changes of plane, and per EJ171 or local codes.
Step 2: Tile Installation
- Use a high-quality polymer-modified thin-set mortar approved for porcelain and the specific substrate.
- Trowel mortar in one direction; press tiles firmly with slight motion to achieve proper contact and coverage.
- Back-butter tiles as needed to improve coverage, especially on uneven substrates or larger cuts.
- Periodically lift a tile to verify adequate mortar transfer and adjust technique if needed.
- Remove excess mortar from joints and surface before it hardens. Allow the mortar to cure per manufacturer instructions before grouting.
Step 3: Cutting
- Use a wet saw with a premium diamond blade rated for porcelain tile for clean, accurate cuts.
- Dry-fit cut pieces before setting; ease sharp cut edges with a rubbing stone if desired.
- Use appropriate diamond hole saws or core bits for plumbing penetrations.
- Wear proper PPE, follow equipment safety guidelines, and control dust per regulations.
Step 4: Joint Filling
- Select a grout type suitable for porcelain tile and the chosen joint width (follow grout manufacturer guidance).
- Pack joints fully with a rubber float; clean diagonally with a damp sponge before grout residue hardens.
- Use color-matched, flexible sealant at changes of plane and movement joints.
- If recommended by the grout manufacturer, apply grout sealer after cure; porcelain tile itself typically does not require sealing.
Step 5: Cleaning & Maintenance
- Sweep or vacuum regularly to remove abrasive debris.
- Clean with a pH-neutral cleaner approved for porcelain tile; avoid harsh acids or oil-based detergents.
- Wipe spills promptly and avoid abrasive pads that could affect grout or finishes.
- Use protective pads under furniture and entry mats to minimize tracked grit.
Disclaimer
Installation conditions vary. The installer is responsible for verifying jobsite conditions, product suitability, and following all manufacturer instructions and industry standards. Stone Market USA is not responsible for installation errors or for material installed with visible defects or without proper blending.