Nationwide Shipping
Product Samples Available
Premium Natural Stone & Porcelain
Mon–Fri: 8:00 AM – 5:00 PM|

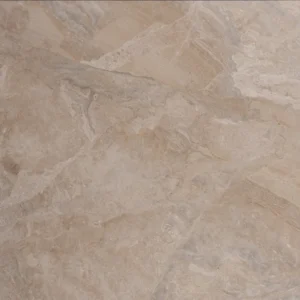
Cipriani White/Grey Muro 12×24 Porcelain Tile Natural

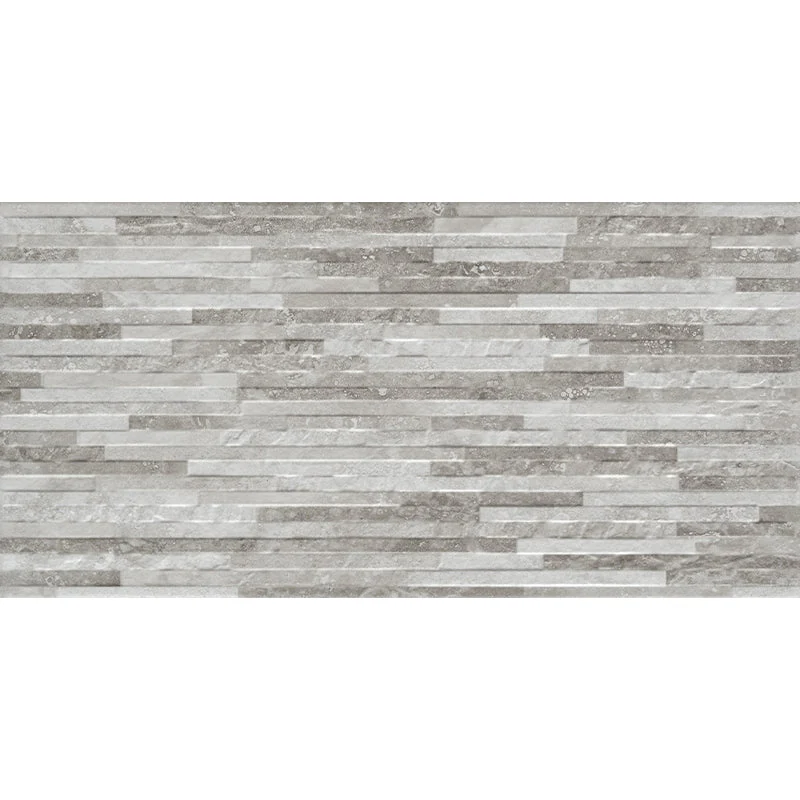
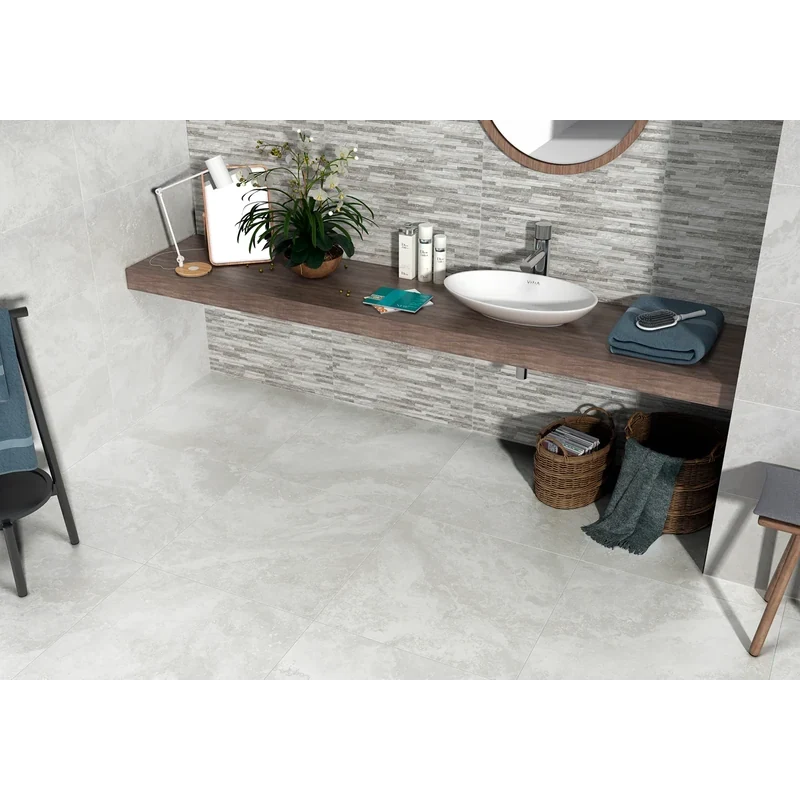
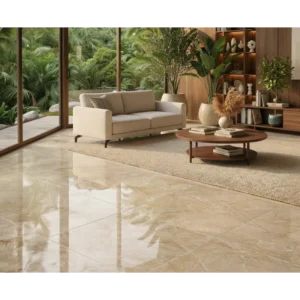
Cipriani White/Grey Muro 12×24 porcelain tile combines a soft white-and-grey palette with a natural finish for calm, contemporary spaces. Its durable porcelain body, PEI 4 rating, and 0.42 DCOF make it a practical choice for properly specified walls and floors, while the 12×24 format supports a range of residential and commercial layouts. Use this Blanco/Gris Mix tile to coordinate backsplashes, shower walls, living areas, and other architectural surfaces.

Item Code: 7469-E-36381 Category Tag

3721 Sq. Ft. in stock

Est. Coverage: 2.00 sq. ft. per piece | 13.99 sq. ft. per box | 7 pieces per box | Request Info
Note on Samples:
Sample pieces are small cut sizes, approximately 3" x 3" to 8" x 8", and intended for color and finish reference only.
If you need a full-size sample, please contact us.

Request Commercial Project Pricing & Samples

Working on a commercial project, builder project, or large-scale order? Contact our team to discuss pricing, product availability, shipping options, and sample requests.

Request Information
  • Commercial and builder project support available.
  • Samples available upon request.
  • Nationwide shipping and crate-based order assistance.

Cipriani White/Grey Muro 12×24 Porcelain Tile Natural

Cipriani White/Grey Muro porcelain tile brings a balanced blend of white and grey tones to contemporary interiors. Its natural finish offers a soft, understated surface, while the 12×24 format supports clean layouts across walls and floors.

Made from durable porcelain with a 3/8-inch thickness and pressed edges, this tile is suited to a range of residential and commercial design applications. The White/Grey Muro colorway coordinates easily with stone, wood-look surfaces, metal finishes, and complementary Cipriani details.

With a PEI 4 rating, a DCOF of 0.42, and frost-free construction, Cipriani White/Grey Muro offers practical design flexibility for properly specified interior and exterior installations. Confirm application suitability with the project requirements and installation professional before ordering.

Features

  • Porcelain construction for durable, practical tile installations
  • White/Grey Muro color blend, also identified as Blanco/Gris Mix
  • Natural finish with a soft, low-sheen appearance
  • 12×24 tile format for versatile wall and floor layouts
  • 3/8-inch thickness, equivalent to 10 mm
  • Pressed edges for standard tile layout and joint planning
  • PEI 4 wear rating
  • DCOF: 0.42
  • Frost-free construction for appropriately specified exterior applications
  • Coverage: 13.99 sq. ft. per box | 7 pieces per box

Recommended Applications

  • Residential interior floors
  • Residential interior walls
  • Commercial interior floors
  • Commercial interior walls
  • Backsplashes
  • Shower walls
  • Fireplace surrounds
  • Appropriately specified exterior walls or floors where frost-free performance is required
Weight14.10 lbs
Dimensions12 × 24 × 0.50 in
Collection

Cipriani

Design

Rectangular

Finish

Material

Size (inches)

12 x 24

Thickness

3/8

Usage Area

Backsplash, Commercial Interior Floors, Commercial Interior Walls, Outdoor Floors, Outdoor Walls, Residential Interior Floors, Residential Interior Walls, Residential Light Floors, Shower Floors, Shower Walls

Edge Type

Pressed

Brand

Color

Installation Guide – Cipriani White/Grey Muro 12×24 Porcelain Tile Natural

Important Advisory

Always follow the Happy Floors product instructions, applicable local building codes, and recognized tile installation standards, including relevant ANSI and TCNA guidance. Confirm that the substrate, setting materials, waterproofing, drainage, movement accommodation, and selected application are appropriate before installation.

Step 1: Layout & Planning

  • Verify that the substrate is clean, dry, structurally sound, and suitably flat for the planned tile installation.
  • Review the layout by dry-laying tiles where practical, balancing the design and avoiding unnecessarily narrow perimeter cuts.
  • Inspect tiles before installation and blend material from multiple boxes when appropriate to help distribute natural shade and pattern variation.
  • Plan joint widths, movement joints, transitions, and changes of plane in accordance with the tile characteristics, project conditions, and industry guidance.

Step 2: Tile Installation

  • Use a setting material approved for porcelain tile and appropriate for the substrate and installation location.
  • Apply mortar using a method suitable for the tile format and site conditions. Key mortar into the substrate, comb consistently, and periodically check coverage to confirm adequate contact.
  • Set each tile with a slight back-and-forth motion to collapse mortar ridges and maintain consistent alignment. Avoid relying on adhesive contact at only isolated points.
  • Use spacers or an approved leveling method as needed to maintain the planned layout and reduce lippage. Allow the setting material to cure according to its manufacturer’s instructions before grouting or subjecting the installation to use.

Step 3: Cutting

  • Cut porcelain tile with equipment and a diamond blade intended for porcelain applications.
  • Measure and mark cuts carefully, supporting the tile throughout cutting to help reduce chipping.
  • Ease or finish exposed cut edges where needed at transitions, corners, or other visible locations, while observing safe handling practices.

Step 4: Joint Filling

  • Select grout that is compatible with porcelain tile, the planned joint width, and the service conditions. Follow the grout manufacturer’s directions for mixing, application, and curing.
  • Fill joints fully with suitable tools, remove excess grout carefully, and clean the tile surface without disturbing the joints.
  • Use flexible sealant rather than grout at movement joints, changes of plane, and other locations requiring movement accommodation.
  • Protect the completed installation from traffic, moisture, and impact until the mortar and grout have cured as directed by their manufacturers.

Step 5: Cleaning & Maintenance

  • Remove installation residue using products recommended for porcelain tile and the grout system. Avoid harsh acids, abrasive cleaners, and tools that may damage the surface or joints.
  • Maintain the tile with regular dust removal and a pH-neutral cleaner suitable for porcelain and the installed grout.
  • Address spills and tracked-in grit promptly, and follow the grout manufacturer’s guidance for ongoing care or sealing where applicable.

Disclaimer

Installation should be performed by qualified tile professionals. Confirm actual material, shade variation, site conditions, and application suitability before installation. Stone Market USA is not responsible for issues caused by improper installation, handling, substrate conditions, or failure to follow manufacturer and industry requirements.


Request a Quote
Tell us briefly about your project, sq ft, and timing.