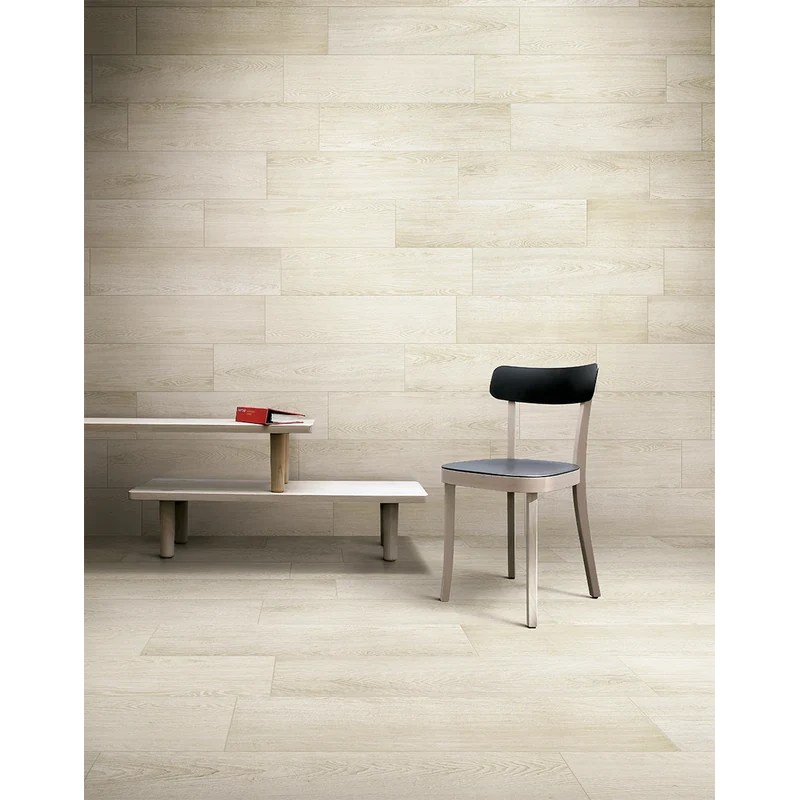
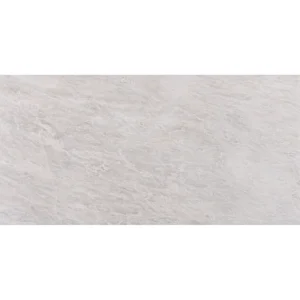
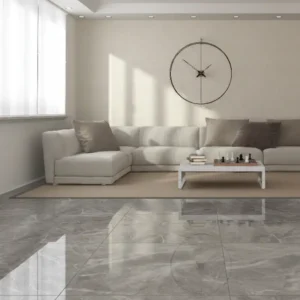
Acorn White 9×36 Natural Porcelain Tile
Brighten contemporary interiors with the Acorn White 9×36 Natural Porcelain Tile. Its elongated 9×36 plank format delivers a clean, linear aesthetic that visually elongates rooms, while the refined natural (matte) surface provides a soft, modern look.
Crafted from durable porcelain with precisely rectified edges, this tile supports streamlined installations and crisp grout lines. A published DCOF value of >0.42 and frost resistance offer practical confidence for a range of projects. Designed for low-maintenance living, Acorn White helps create cohesive, light-filled spaces from kitchens and living areas to spa-inspired baths.
Note: Always confirm suitability for your specific project with local codes, installer guidance, and manufacturer instructions.
Features
- Collection: Acorn
- Color: White
- Material: Porcelain
- Size: 9×36 (rectified edges for tight, clean grout joints)
- Natural matte finish for a refined, contemporary appearance
- Published DCOF value: >0.42 (verify requirements for your application)
- Frost resistant for reliability in freeze–thaw climates
- Low-maintenance porcelain surface
- Approximate coverage per box: 13.08 sq ft
- Brand: Happy Floors
Recommended Applications
- Residential interior floors
- Kitchen, living, and hallway areas
- Bathroom floors and walls
- Shower walls and tub surrounds
- Feature walls and fireplace surrounds (follow local code and heat clearances)
- Laundry and mudroom spaces
Installation Guide – Acorn White 9×36 Natural Porcelain Tile
Important Advisory
Follow manufacturer instructions, ANSI/TCNA guidelines, and local building codes. Confirm substrate suitability, movement joints, and slip-resistance requirements for the intended use.
Step 1: Layout & Planning
- Verify substrate is structurally sound, clean, dry, and flat; correct irregularities before setting large-format planks.
- Plan layout with reference lines to achieve balanced cuts and consistent alignment.
- For plank formats, a maximum 33% stagger is commonly recommended unless the manufacturer specifies otherwise.
- Dry-lay and blend tiles from multiple boxes to distribute any shade or pattern variation evenly across the installation.
Step 2: Tile Installation
- Use a polymer-modified, large-and-heavy-tile (LHT/LFT) mortar approved for porcelain. Select trowel size to achieve proper coverage.
- Comb mortar in a single direction; set tiles perpendicular to the ridges and slide slightly to collapse them. Periodically lift a tile to verify full coverage.
- Use a leveling system when appropriate to help control lippage with long planks.
- Maintain movement joints per industry standards and project conditions.
- In wet or exterior areas, verify slope, drainage, and slip-resistance requirements; follow local codes and manufacturer guidance.
Step 3: Cutting
- Use a professional wet saw with a porcelain-rated diamond blade for clean, accurate cuts.
- Measure carefully and dry-fit pieces before setting. Use appropriate edge-finishing methods for exposed cuts.
- Take extra care with narrow rips and detailed cuts in the elongated 9×36 format.
Step 4: Joint Filling
- Select a grout suitable for porcelain and the chosen joint width.
- Apply grout diagonally across joints with a rubber float; clean per grout manufacturer guidance.
- Honor movement and perimeter joints; do not fill these with rigid grout materials.
Step 5: Cleaning & Maintenance
- Sweep or vacuum routinely to remove dust and abrasive debris.
- Clean with a pH-neutral cleaner suitable for porcelain tile; avoid harsh or abrasive products.
- Porcelain tile typically does not require sealing; consult grout manufacturer regarding grout sealer needs.
- Wipe spills promptly and use protective pads under furniture.
Disclaimer
Product suitability depends on project-specific conditions. Always confirm requirements for slip resistance, structural support, and environmental exposure. Stone Market USA is not responsible for improper installation or site conditions.