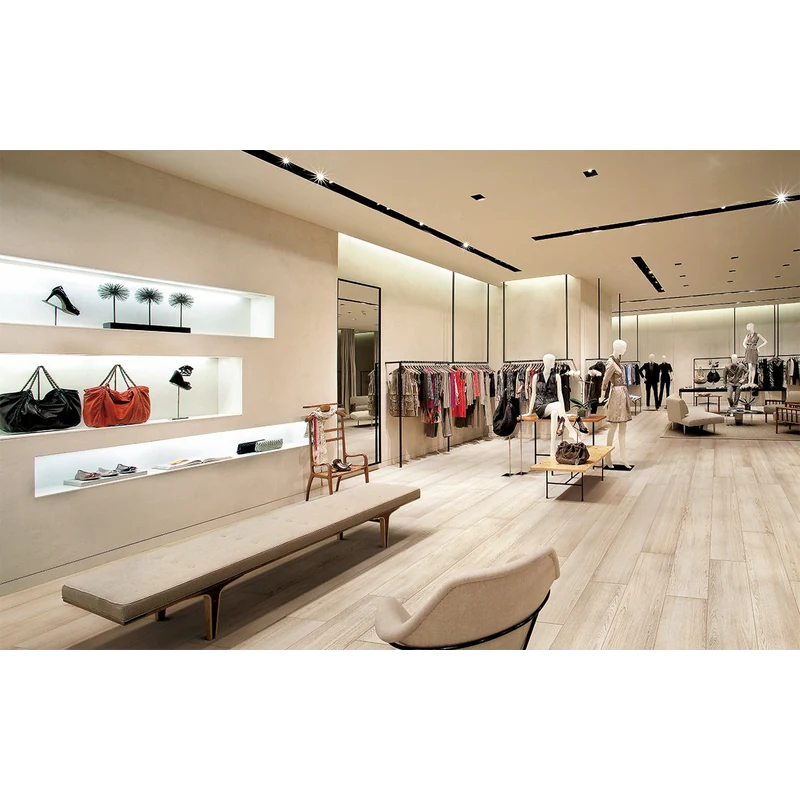
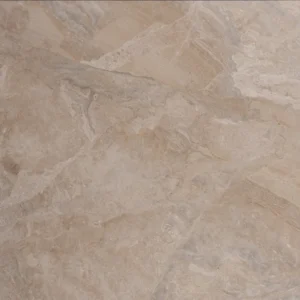
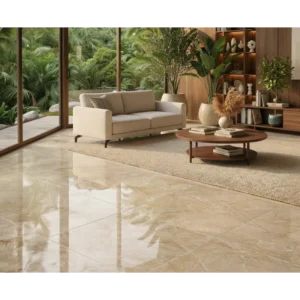
Acorn Natural 9×36 Wood Look Rectified Porcelain Tile
Bring the inviting character of natural wood to your space with the Acorn Natural 9×36 porcelain plank. Its warm, versatile tone and realistic grain detail offer the organic appeal of hardwood in a durable, easy-care porcelain surface.
The elongated 9×36 format enhances linear movement and creates a seamless, continuous look across larger areas. A natural matte finish adds a refined, low-sheen appearance, while rectified edges support tight, clean grout joints and a contemporary installation.
Crafted in porcelain, this plank is built for long-term performance with simple maintenance. The tile meets a DCOF >0.42 and is frost resistant. Variation in pattern and tone is intentional—blend tiles from multiple boxes and dry lay before installation to achieve a balanced look for your project. Each box covers approximately 13.08 sq ft.
Features
- Material: Porcelain
- Collection/Color: Acorn – Natural
- Size: 9×36 plank
- Finish: Natural (matte)
- Edge Type: Rectified for precise, tight joints
- DCOF: >0.42
- Frost resistant
- Approximate coverage: 13.08 sq ft per box
- Wood-look design with tonal and grain variation—blend boxes for a natural appearance
Recommended Applications
- Interior feature walls
- Backsplashes
- Shower walls
- Bathroom and powder room walls
- Kitchen walls
- Fireplace surrounds
- Accent walls
- Commercial interior walls (consult local codes)
Installation Guide – Acorn Natural 9×36 Wood Look Rectified Porcelain Tile
Important Advisory
Always follow manufacturer instructions, ANSI A108/TCNA guidelines, and local building codes. Verify substrate suitability, flatness, and movement joint requirements. In wet areas, use an appropriate waterproofing system. Confirm product suitability for the intended application before installation.
Step 1: Layout & Planning
- Confirm substrate flatness for large-format planks; correct irregularities with an appropriate patching or self-leveling compound.
- Establish layout lines for balanced cuts and consistent joint alignment.
- Dry-lay and blend tiles from multiple boxes to distribute pattern and tone variation evenly.
- For plank tiles, limit running-bond offsets to about 1/3 unless otherwise directed by the manufacturer to help minimize lippage.
Step 2: Tile Installation
- Use a polymer-modified, porcelain-approved large-and-heavy-tile (LHT/LFT) mortar per manufacturer instructions.
- Select a trowel size that achieves proper coverage; comb mortar in one direction and collapse ridges by sliding the tile perpendicular to the trowel lines.
- Back-butter planks as needed to improve bond and coverage, especially with large-format tiles.
- Use a tile leveling system when appropriate to help control lippage across the installation.
- Respect open time and pot life; only spread mortar you can cover within the recommended time.
Step 3: Cutting
- Use a professional wet saw with a diamond blade rated for porcelain for clean, accurate cuts.
- Measure carefully and dry-fit cut pieces before setting.
- Make narrow or detailed cuts slowly to avoid chipping; ease sharp edges as needed with a suitable dressing stone or pad.
Step 4: Joint Filling
- Choose a grout suitable for porcelain and the selected joint width.
- Pack grout fully and clean the surface per grout manufacturer instructions.
- In changes of plane and perimeter joints, use an appropriate flexible sealant; provide movement joints per TCNA EJ171 and project conditions.
Step 5: Cleaning & Maintenance
- Sweep or vacuum to remove abrasive debris before damp cleaning.
- Clean with a pH-neutral cleaner approved for porcelain tile; rinse thoroughly.
- Wipe spills promptly and avoid harsh abrasives or oil-based cleaners.
- Porcelain generally does not require sealing; seal grout if recommended by the grout manufacturer.
Disclaimer
Installation conditions vary by project. Always follow product-specific instructions, industry standards, and local codes. Verify suitability for the intended use before installation. Stone Market USA is not responsible for improper installation or site conditions.