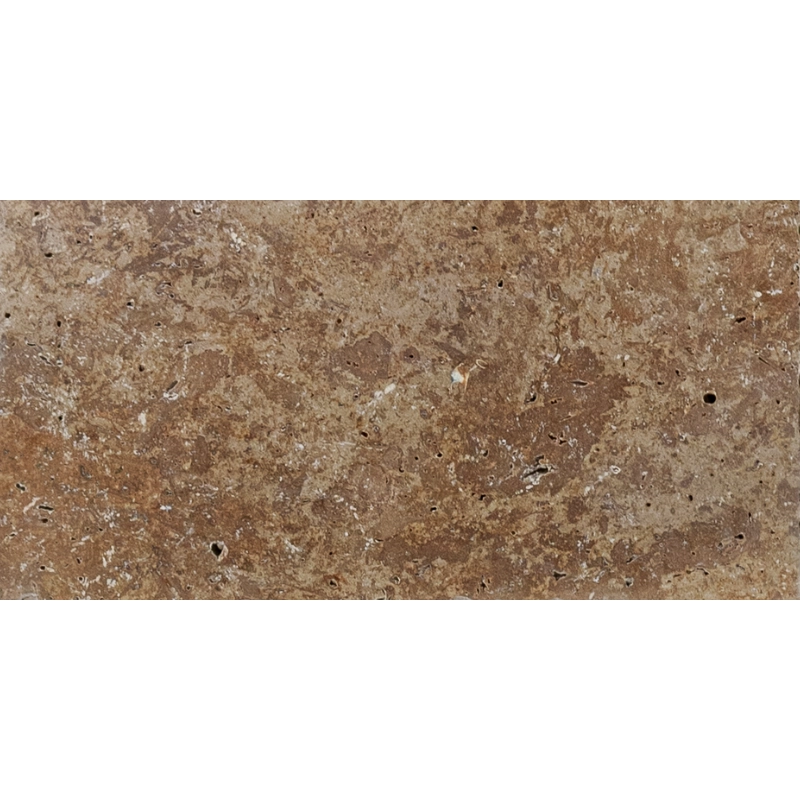
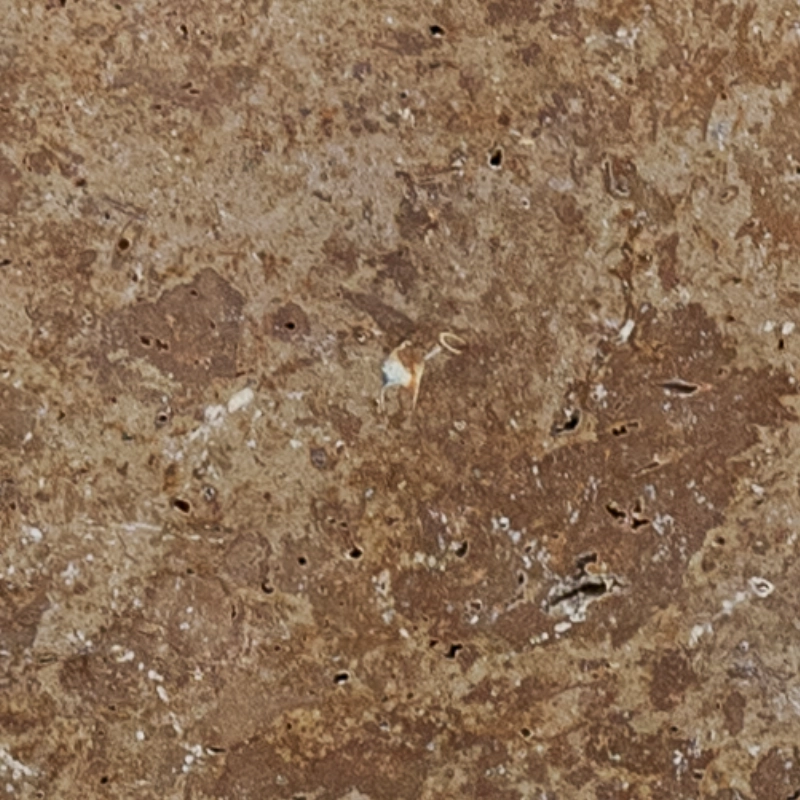
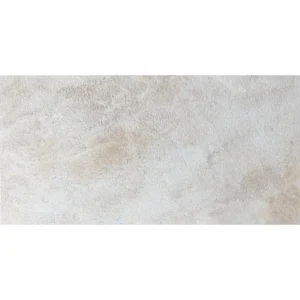
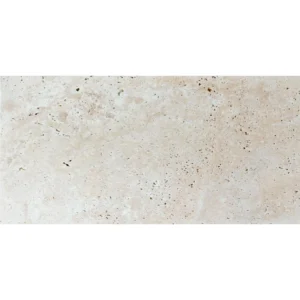
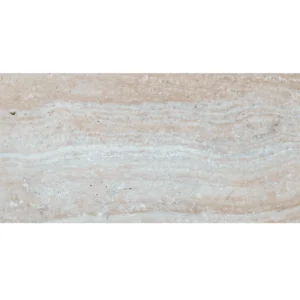
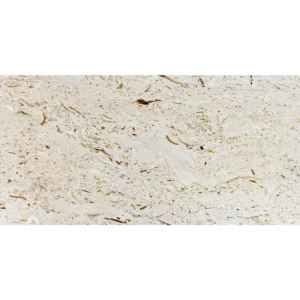
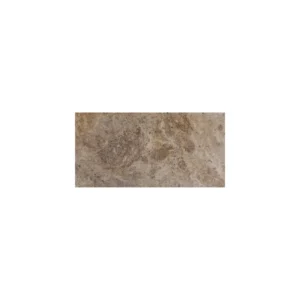
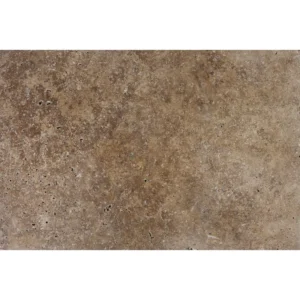
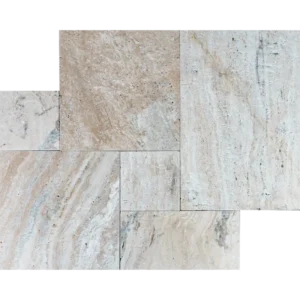
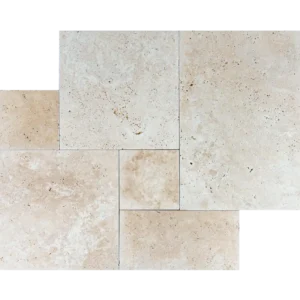
Romano 12″x24″ Tumbled Travertine Paver – Mediterranean-Inspired Outdoor Flooring
The Romano 12″x24″ Tumbled Travertine Paver brings soft ivory-beige hues and a gently aged texture to your exterior spaces. Because of its tumbled finish, it offers dependable slip resistance—ideal for patios, pool decks, and garden paths.
Thanks to its versatile 12″x24″ format, you can install these pavers in running bond, staggered, or modular patterns. Moreover, the larger size reduces grout lines and creates a seamless visual flow. Each piece displays unique veining and subtle color shifts, adding authentic character to both classic and contemporary designs.
Furthermore, this premium travertine stone stands up to sun, rain, and heavy foot traffic. As a result, it retains its natural beauty over time. Additionally, simple sealing and routine cleaning keep your pavers looking fresh year after year.
Key Features
- Material: Premium natural travertine
- Color: Ivory-beige with soft veining
- Finish: Tumbled for a textured, slip-resistant surface
- Size: 12″x24″ (nominal)
- Edge: Tumbled edges for an authentic, aged look
- Applications: Patios, pool surrounds, walkways, and terraces
Choose the Romano 12″x24″ Tumbled Travertine Paver to infuse your outdoor areas with timeless Mediterranean flair and enduring performance.
Installation Guide – Romano 12″x24″ Tumbled Travertine Paver
Important Note
This guide covers only the paver covering phase. Sub-base and bedding preparation must be completed by qualified professionals before installing these pavers.
Step 1: Dry Layout & Planning
- Dry-lay the 12″x24″ pavers on the prepared bedding surface to assess natural color, veining, and texture variations.
- Arrange in a pattern such as running bond, ashlar, or herringbone to minimize visible joints and distribute tones evenly.
- Use chalk lines or a laser level to mark reference lines for straight, consistent alignment.
Step 2: Paver Placement
- Carefully set each paver onto the prepared bedding layer, following your layout lines.
- Maintain uniform joint spacing of 1/8″–1/4″ using spacers if needed.
- Tap pavers gently with a rubber mallet to ensure full contact with bedding and achieve a level surface.
- Check frequently with a level to avoid lippage, especially on these large-format pieces.
Step 3: Cutting & Edge Finishing
- Use a wet saw equipped with a diamond blade rated for travertine to perform precise cuts.
- Support large-format pavers securely during cutting to prevent edge chipping or cracking.
- Smooth any exposed cut edges with a fine rubbing stone to maintain the natural tumbled finish.
Step 4: Joint Filling
- Fill all joints with polymeric sand or a travertine-compatible joint filler.
- Compact the surface gently, then sweep away excess material.
- If using polymeric sand, mist lightly to activate binding agents per manufacturer instructions.
Step 5: Sealing & Maintenance
- Once installation is fully dry, apply a breathable, penetrating sealer formulated for exterior travertine.
- Re-seal every 1–2 years, depending on weather exposure and foot traffic.
- Clean regularly with pH-neutral stone cleaners; avoid acidic or abrasive products that can damage the surface.
Disclaimer
Travertine is a natural stone featuring inherent tonal variation, surface pits, and veining. These are part of its unique character and not defects. Always dry-lay and inspect materials before final installation. Professional installation is strongly recommended to ensure long-term performance and optimal appearance.