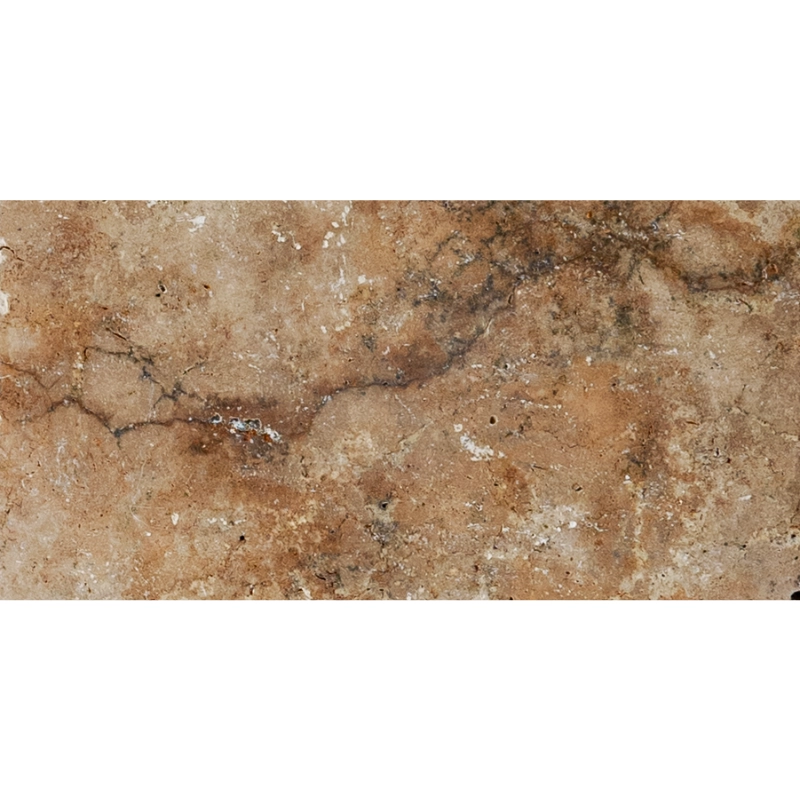
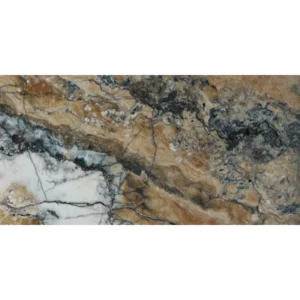
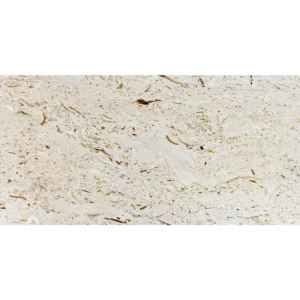
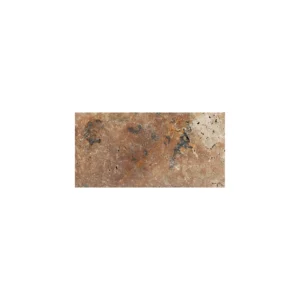
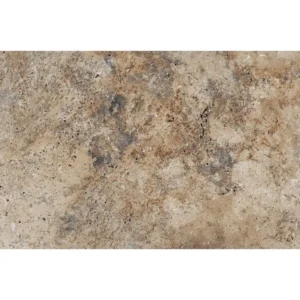
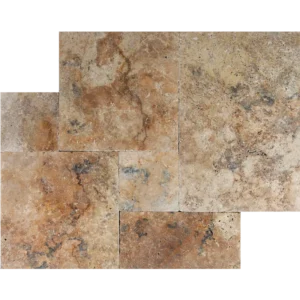
Country Classic 12″x24″ Tumbled Travertine Paver – Warm Rustic Charm
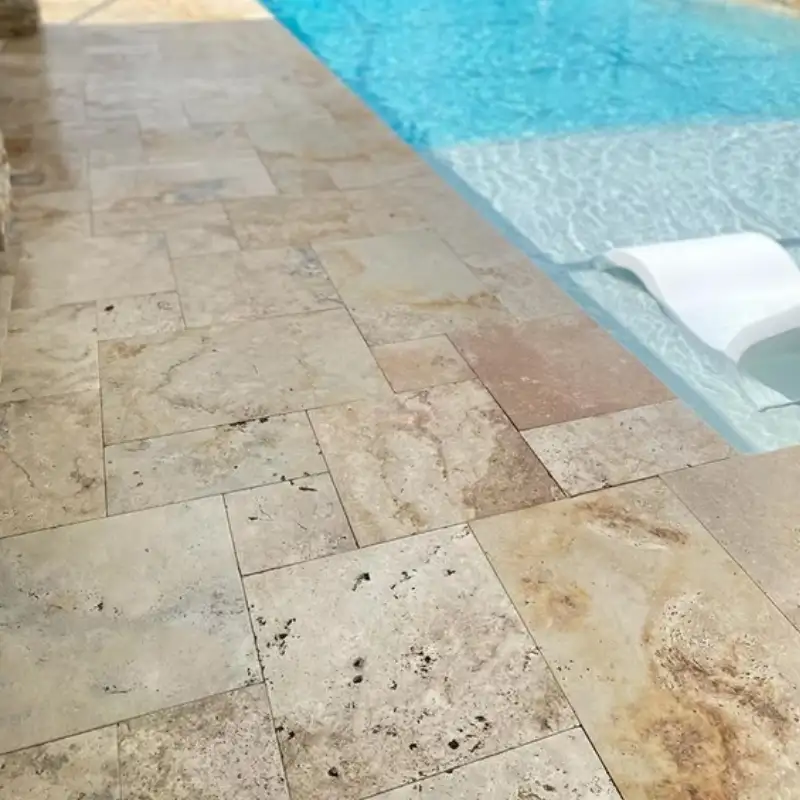
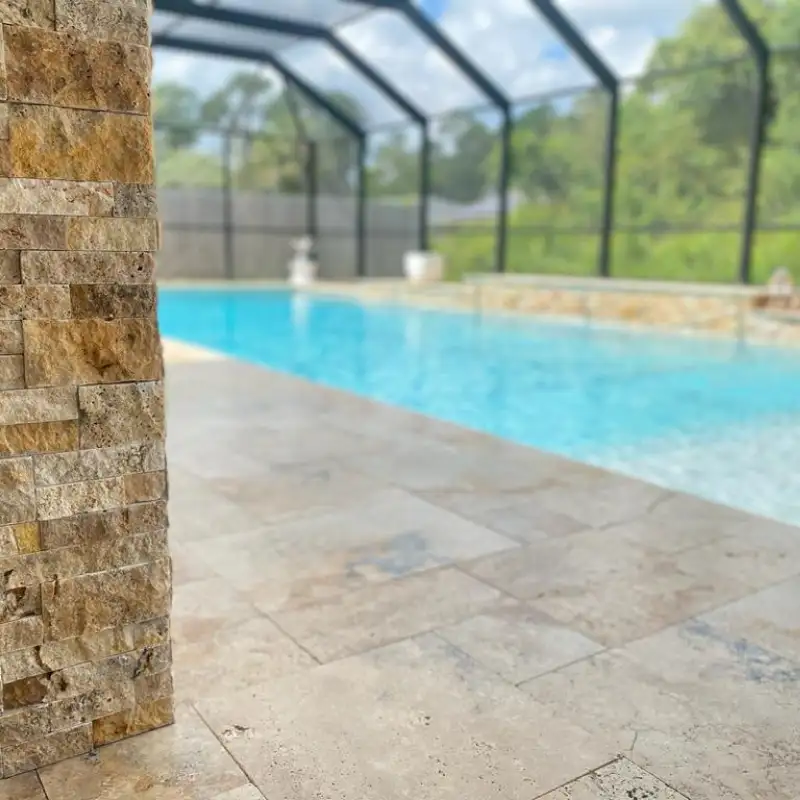
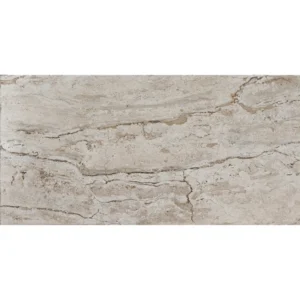
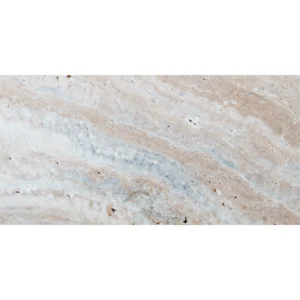
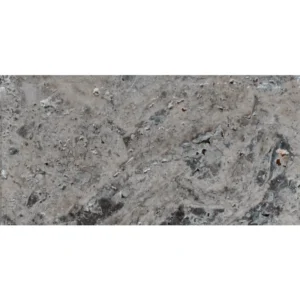
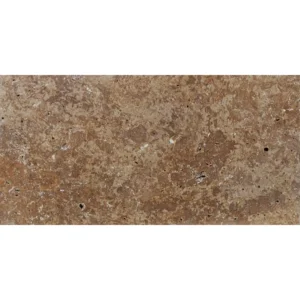
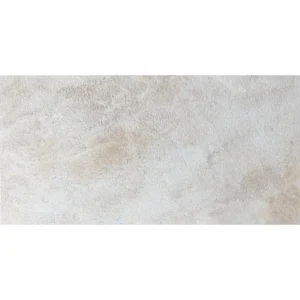
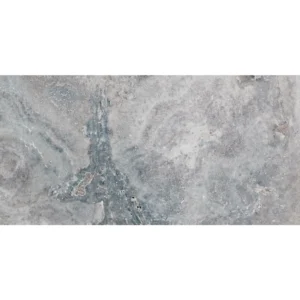
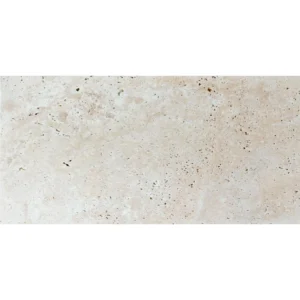
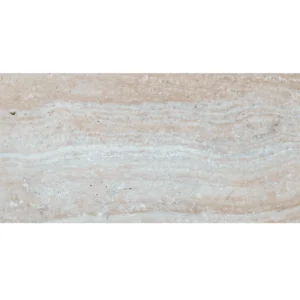
The Country Classic 12″x24″ Tumbled Travertine Paver brings cozy, earthy tones to any outdoor setting. Its tumbled finish adds a soft texture and reliable slip resistance. As a result, it’s perfect for patios, walkways, and pool surrounds.
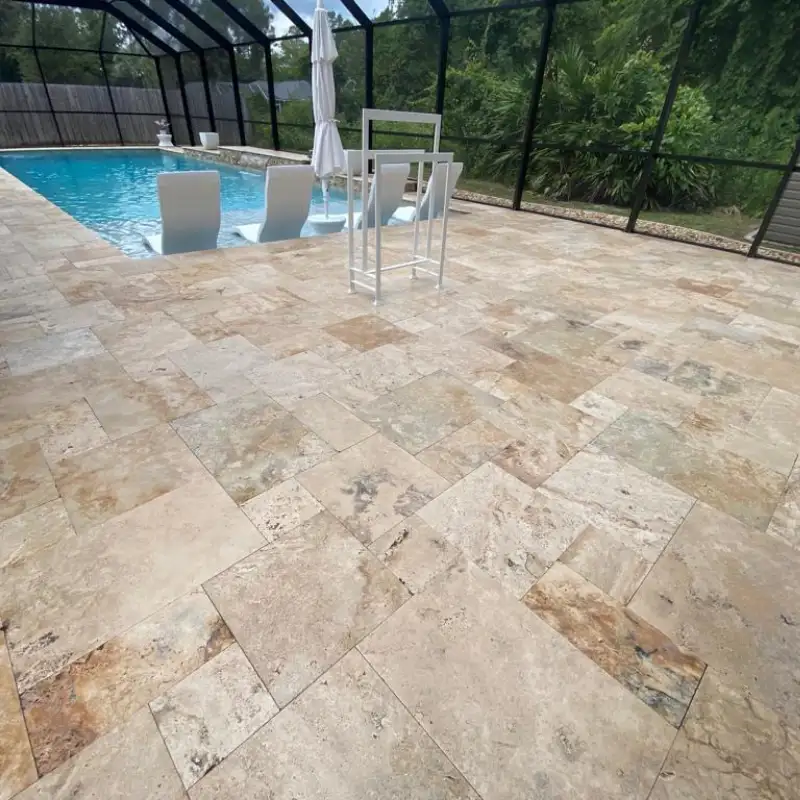
Moreover, the 12″x24″ format creates longer lines with fewer grout joints. This design makes installation faster and gives a seamless look. Additionally, the warm beige hues blend well with natural landscapes and architectural accents.
Crafted from premium natural travertine, these pavers resist weather and wear. Their gentle color variation and aged edges add character to both modern and traditional projects. Therefore, you can trust them to retain beauty over time.
Key Features
- Material: Premium natural travertine
- Color: Warm beige with subtle tonal shifts
- Finish: Tumbled for texture and slip resistance
- Size: 12″x24″ (nominal)
- Edge: Tumbled for a softened, aged look
- Applications: Patios, pool decks, walkways, and courtyard floors
Installation Guide – Country Classic 12″x24″ Tumbled Travertine Paver
Important Note
This guide addresses only the paver placement stage. Ensure that sub-base and bedding layers are properly prepared by qualified professionals before beginning.
Step 1: Dry Layout & Planning
- Dry-lay the pavers to evaluate natural color and texture variation.
- Arrange the pieces in your chosen pattern (e.g., running bond, herringbone, ashlar) for visual balance.
- Snap chalk lines or use a laser level to mark reference lines for straight installation.
Step 2: Paver Placement
- Carefully set each 12″x24″ paver onto the prepared bedding surface.
- Maintain consistent joint widths of 1/8″–1/4″.
- Gently tap pavers with a rubber mallet to ensure full seating and level alignment.
Step 3: Cutting & Edge Finishing
- Use a wet saw with a diamond blade rated for travertine to make precise cuts.
- Support large-format tiles during cutting to avoid corner chipping.
- Smooth any exposed edges with a rubbing stone or fine sandpaper for a natural look.
Step 4: Joint Filling
- Fill joints with polymeric sand or a travertine-compatible joint filler.
- Compact gently and sweep away excess filler.
- If using polymeric sand, mist the surface lightly to activate the binding agents.
Step 5: Sealing & Maintenance
- After installation is dry, apply a breathable, penetrating sealer formulated for travertine.
- Reapply sealer every 1–2 years based on exposure and foot traffic.
- Clean with pH-neutral stone cleaners only; avoid acidic or abrasive products.
Disclaimer
Travertine is a natural stone with inherent tonal variation, veining, and surface pits. These characteristics are part of its unique charm. Always dry-lay and inspect materials before installation. Professional installation is recommended to ensure durability and performance.