Loading... (Warehouse Local Time)
Mon–Fri: 9:00 AM – 6:00 PM |

Royal Beige Marble Mosaic Tile – Strip Linear Polished

Royal Beige Marble Mosaic Tile – Strip Linear Polished features warm beige tones in a polished strip layout. Perfect for backsplashes, bathrooms, and modern accent walls.

$14.99 / Piece

Item Code: MM127-24124 Category

720 Pieces in stock

Est. Coverage: 0.95 sq. ft. per piece   |   4.75 sq. ft. per box   |   342 sq. ft. per crate   |  Request Info
Note on Samples:
Sample pieces are small cut sizes, approximately 3" x 3" to 8" x 8", and intended for color and finish reference only.
If you need a full-size sample, please contact us.

Request Custom Pricing for Large Orders

Planning a large project? Orders over 500 sq. ft., full crates, or commercial applications may qualify for exclusive volume pricing. Reach out today and let us provide a custom quote tailored to your needs.

Request Volume Quote
  • Volume pricing available for qualified bulk orders.
  • We offer custom sizes, finishes, and crate-based shipments.

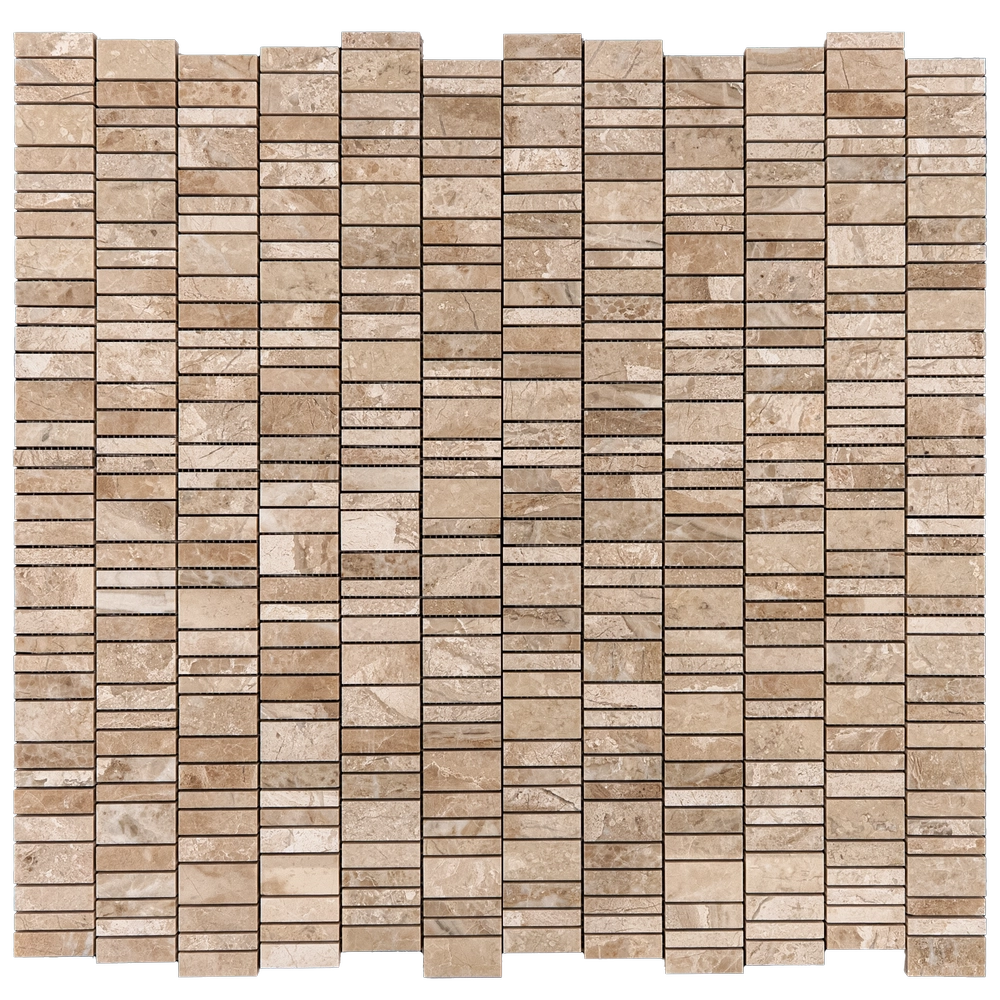
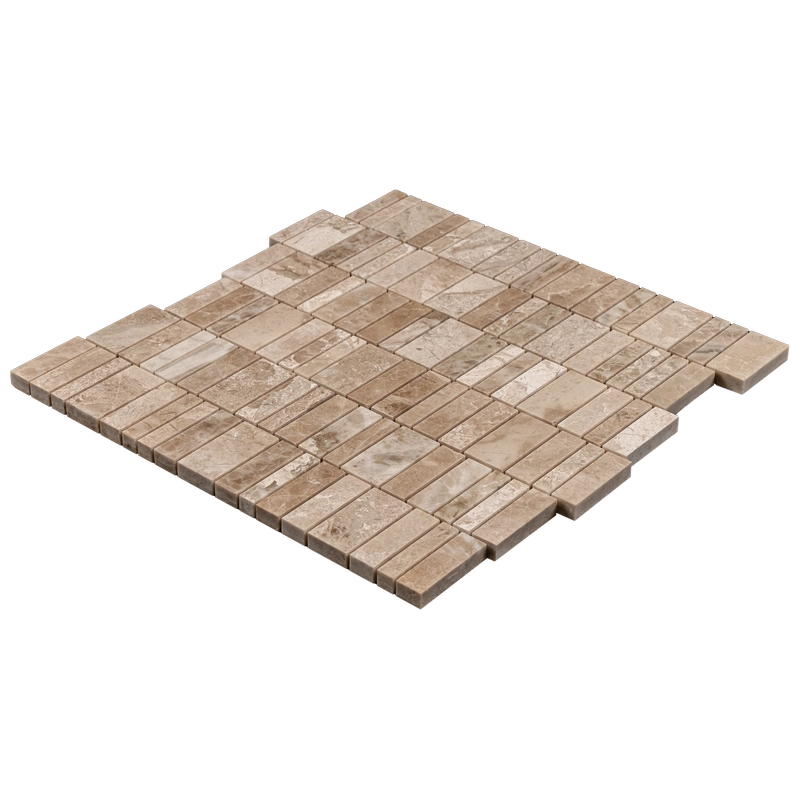
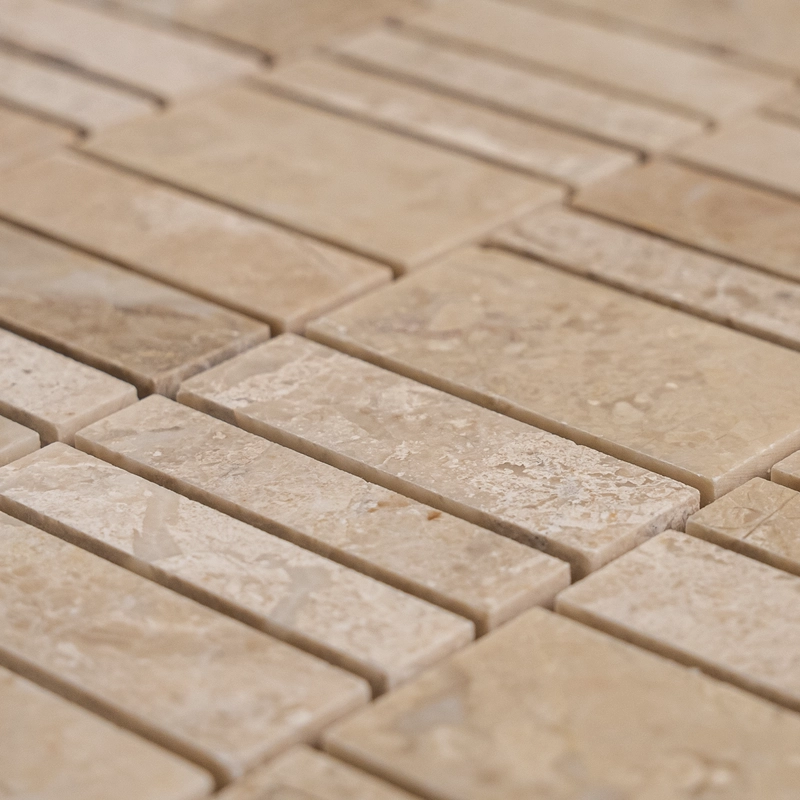
Royal Beige Marble Mosaic Tile – Strip Linear Polished combines timeless elegance with modern design. Made from premium beige marble, this mosaic highlights warm, natural tones that create a sophisticated atmosphere in any space. The polished finish enhances its smooth texture and natural color variations, giving walls and backsplashes a refined look.

The strip linear layout adds structure and visual movement to surfaces. Because of its clean lines, it is a perfect choice for contemporary interiors. Moreover, the polished surface reflects light, which helps brighten kitchens, bathrooms, and accent walls. As a result, it is both decorative and functional.

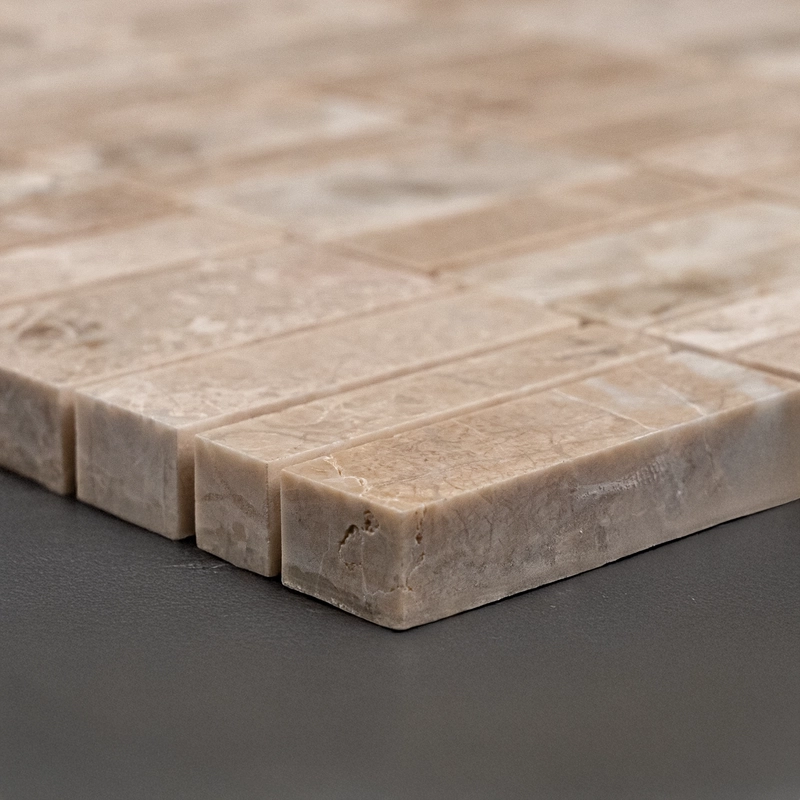
Since it is crafted from durable marble, this tile is designed for lasting performance. Whether used in residential or commercial projects, it offers strength, elegance, and versatility. Therefore, it is an excellent option for homeowners, designers, and contractors seeking a balance of luxury and practicality.

Key Features

  • Premium Royal Beige marble with warm natural tones
  • Polished finish for a sleek, reflective look
  • Strip linear design adds structure and style
  • Durable natural stone suitable for long-term use
  • Ideal for modern and classic interiors

Applications

  • Kitchen backsplashes with warm, elegant tones
  • Bathroom and shower walls
  • Accent strips or feature walls
  • Commercial interiors with a modern edge
Weight4 lbs
Dimensions12 × 12 × 0.40 in
Color

Finish

Thickness

Size (inches)

Collection

Royal Beige Collection

Design

Strip Linear

Material

Usage Area

Backsplash, Commercial Interior Walls, Outdoor Floors, Outdoor Walls, Residential Interior Walls, Shower Floors, Shower Walls

Installation Guide – Royal Beige Strip Linear Mosaic Tile (Polished Marble)

Material Notes

  • Natural Royal Beige marble with a polished finish.
  • Linear strip mosaics, mesh-mounted (typical sheet ~12″x12″). Some lots may be paper-faced.
  • Ideal for walls, backsplashes, shower surrounds, and light-traffic residential floors (verify slip needs in wet areas).

Step 1: Surface Preparation

  • Substrate must be clean, dry, and flat (≤1/8″ variation in 10′). Repair high/low spots before setting.
  • Approved substrates: cement backer board, cured concrete, or mortar bed meeting ANSI standards.
  • In wet areas, install an ANSI A118.10 waterproofing membrane per manufacturer instructions.

Step 2: Dry Layout & Planning

  • Blend sheets from multiple boxes to distribute natural shade and vein variation.
  • Snap level reference lines; confirm the running direction of the linear strips across the field.
  • Stagger sheet seams and trim mesh edges so strips interlock and the sheet grid disappears.
  • Plan perimeter/obstacle cuts to avoid slivers and maintain continuous lines.

Step 3: Adhesive (White Thin-Set) Application

Use:

  • White, polymer-modified thin-set (ANSI A118.4/A118.15) rated for natural stone. Avoid mastics/premixed adhesives, especially in wet zones.

Trowel & Technique:

  • 3/16″ V-notch (or 1/4″x3/16″ V-notch) on flat substrates.
  • Key in with the flat side, comb in one direction, then lightly flatten ridges so they don’t telegraph through thin strips.
  • Work in small areas (10–15 minutes open time) to prevent skinning.

Step 4: Setting the Sheets

  • Align the first sheet to your reference line; press in with a rubber grout float or beating block for full contact and a flat plane.
  • Use wedge spacers to keep long linear joints straight and uniform.
  • Back-butter individual strips if needed to correct plane; lift and reset immediately if lippage occurs.
  • Clean squeeze-through thin-set from joints and faces right away with a damp sponge.
  • If paper-faced: set paper-out, beat in, lightly wet paper after initial grab (≈10–20 min), remove paper, then true up joints.

Step 5: Cutting & Detailing

  • Use a wet saw with a continuous-rim diamond blade for marble; apply painter’s tape over the cut line to minimize chip-out.
  • For tiny trims, use mosaic nippers sparingly; dress exposed cuts with a rubbing stone.
  • Finish exposed edges with stone trim, metal profiles, or matching moldings.

Step 6: Grouting (Polished Marble)

  • Allow thin-set to cure (typically 24 hours).
  • Use unsanded grout for joints ≤1/8″ to avoid scratching the polished surface.
  • On light beige marble, consider a marble-safe grout release or pre-seal to reduce pigment uptake.
  • Pack joints diagonally with a rubber float; clean with minimal water to prevent washout or shading.

Step 7: Sealing

  • After grout cures (≈72 hours), apply a penetrating, breathable sealer approved for marble and grout.
  • Re-seal periodically based on use/exposure (e.g., every 1–2 years in wet zones).

Maintenance

  • Clean with pH-neutral, non-abrasive stone cleaners only; avoid acids, bleach, vinegar, or abrasive pads.
  • In showers, squeegee/wipe dry to limit mineral deposits; use marble-safe scale removers if needed.

Movement Joints

  • Honor structural joints and provide soft joints per TCNA EJ171 at perimeters, changes of plane, and large expanses.
  • Use 100% silicone (stone-safe) at inside corners and where tile meets dissimilar materials.

Important Notes & Disclaimer

  • Always use white thin-set beneath light beige marble to prevent shadowing or picture-framing.
  • Natural stone varies in tone and veining; dry-lay and blend sheets before setting.
  • Stonemarket USA is not responsible for substrate issues or improper installation. Professional installation is recommended.

Category
Category
Material
Material
Color
Color
Size
Size
Finish
Finish
Design
Design
Thickness
Thickness
Application
Usage Area
Request a Quote
Tell us briefly about your project, sq ft, and timing.