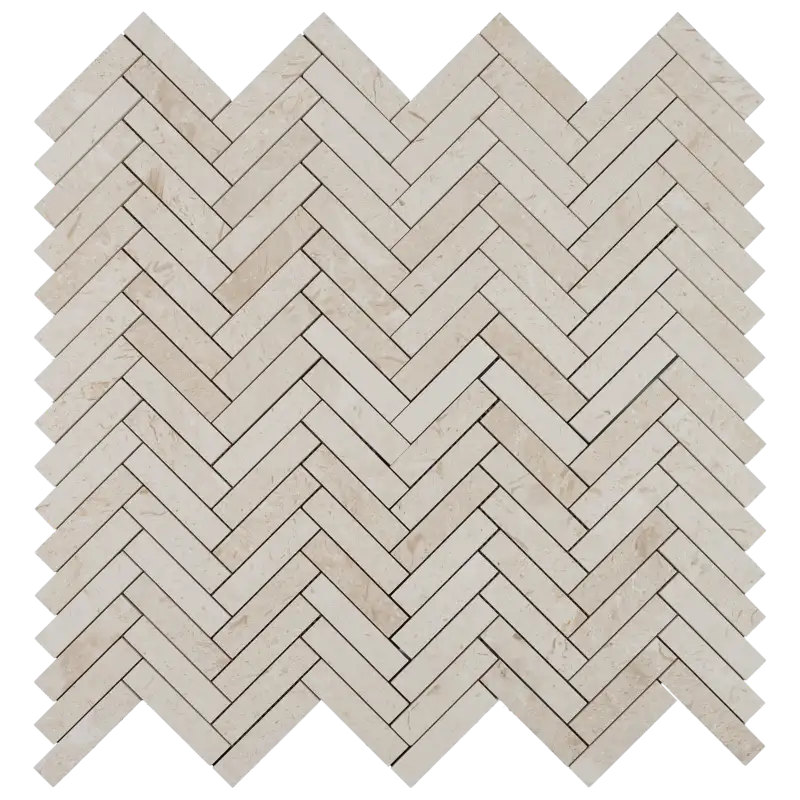
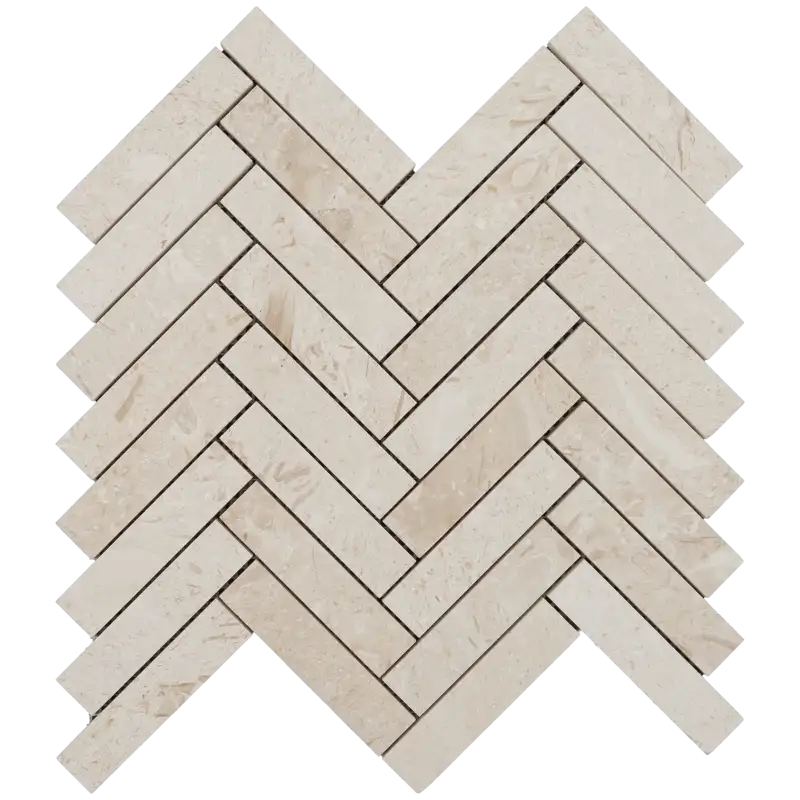
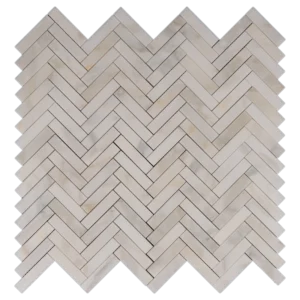
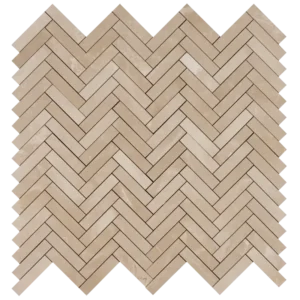
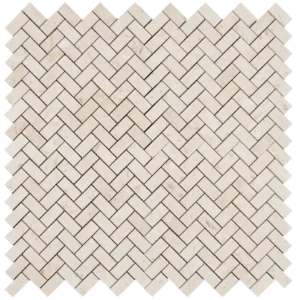
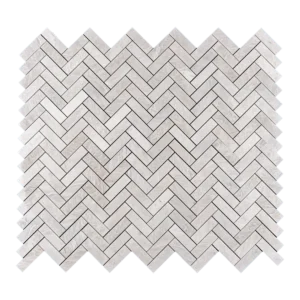
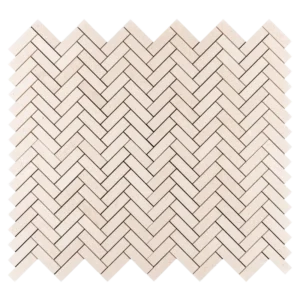
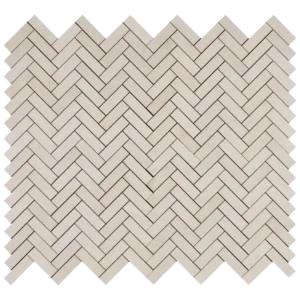
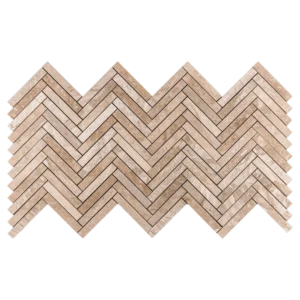
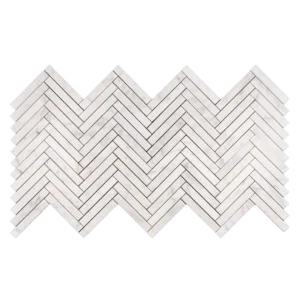
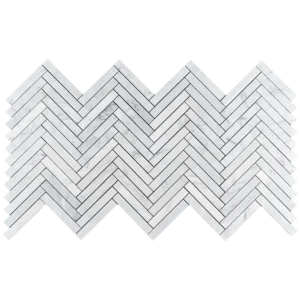
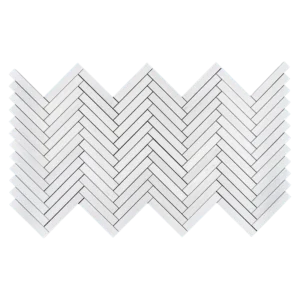
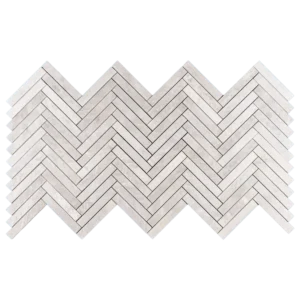
Myra Beige Herringbone 1″ x 4″ Honed Marble Mosaic
Elegant Herringbone Pattern with Warm Beige Tones
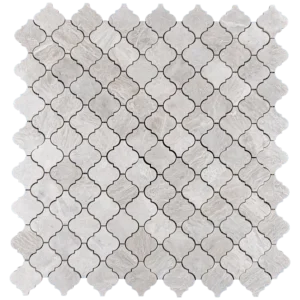
The Myra Beige Herringbone 1″ x 4″ Honed Marble Mosaic delivers a refined and stylish look with its warm beige tones and soft, matte surface. Crafted from premium Myra Beige natural stone, this mosaic blends classic charm with modern elegance—making it an exceptional choice for sophisticated interior designs.
Perfect for Walls, Showers, and Backsplashes
This herringbone mosaic is ideal for enhancing bathrooms, shower walls, kitchen backsplashes, accent walls, and other decorative interior applications. Its distinctive zig-zag pattern creates visual depth and movement, instantly elevating any space with a timeless, high-end look.
Premium Natural Stone Craftsmanship
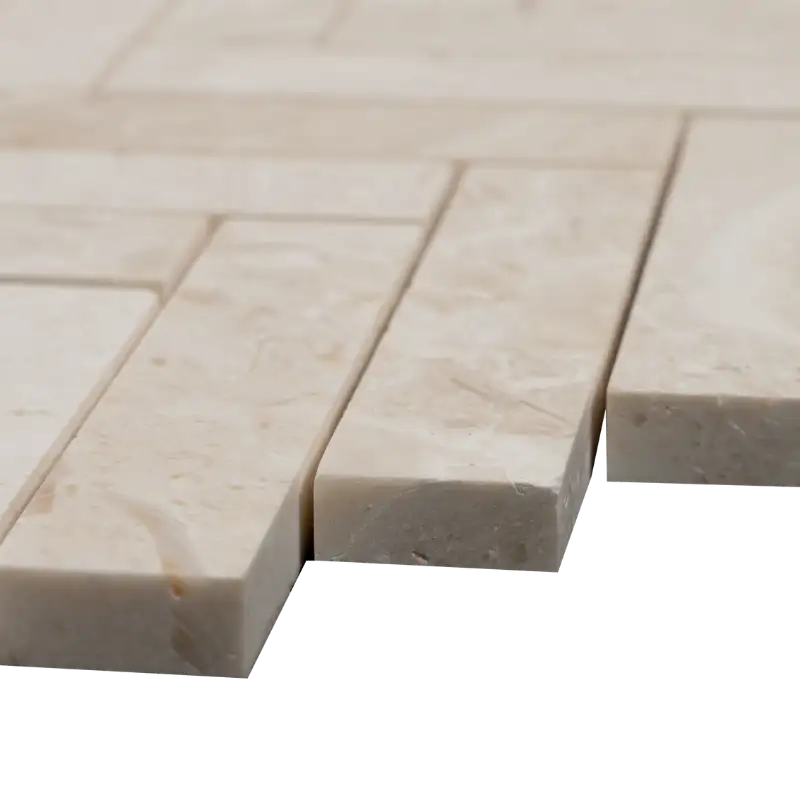
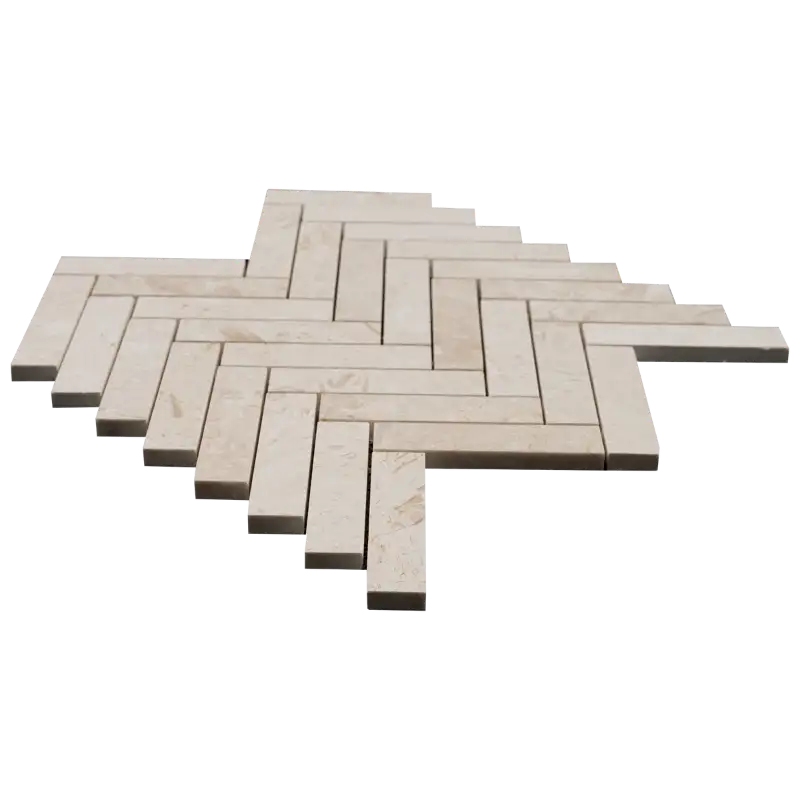
Each 1″ x 4″ tile piece is cut with precision and mounted on a mesh-backed sheet for easier installation and a consistent layout. The honed finish provides a smooth texture and soft aesthetic while maintaining durability and resistance suitable for residential and commercial environments.
Key Features
- Material: Natural Myra Beige Marble
- Finish: Honed (Matte)
- Pattern: Herringbone
- Tile Size: 1″ x 4″
- Sheet Size: 10.8″ x 11.2″ (27.5 x 28.5 cm)
- Thickness: 1 cm
- Coverage: Approx. 455.53 sq. ft. total inventory (54 boxes)
Why Choose This Mosaic?
- Distinctive Style: The herringbone pattern offers movement, texture, and premium elegance.
- Warm Natural Color: Soft beige tones complement a wide range of interior palettes.
- Durable & Long-Lasting: Made from high-quality marble suitable for daily use.
- Versatile Applications: Great for bathrooms, showers, kitchen backsplashes, and feature walls.
Enhance Your Space with Natural Beauty
Add sophistication to any interior with the Myra Beige Herringbone 1″ x 4″ Honed Marble Mosaic. Its elegant pattern, natural stone texture, and warm beige color make it a stunning choice for both contemporary and traditional designs.
For more backsplash-ready styles, browse our full mosaic tile catalog.
Explore more designs in our Limestone Mosaic collection, featuring natural limestone mosaics ideal for backsplashes, shower walls, and elegant interior accents.
Installation Guide – Myra Beige Herringbone 1″ x 4″ Honed Marble Mosaic
This guide provides step-by-step instructions for installing the Myra Beige 1″ x 4″ honed marble herringbone mosaic tile. Following these steps will ensure a clean, professional result.
Required Tools & Materials
- White thinset mortar (tile adhesive)
- 1/4″ notched trowel
- Tile spacers
- Level
- Wet saw with diamond blade
- Unsanded grout
- Grout float
- Sponge and clean water
- Natural stone sealer
- Soft cloth or microfiber towel
1. Surface Preparation
- Ensure the installation surface is clean, dry, level, and structurally sound.
- Remove dust, debris, old adhesive, or any material that may reduce bonding.
- For walls: Install a suitable cement backer board or waterproof substrate.
- For floors: Verify that the subfloor does not flex and is completely flat.
2. Layout and Dry Fitting
- Lay out the herringbone mosaic sheets without adhesive to check alignment.
- Ensure the herringbone pattern flows consistently from sheet to sheet.
- Adjust sheets to balance natural color variations and veining.
- Use spacers to maintain uniform grout joints.
3. Applying the Adhesive
- Mix white thinset mortar according to the manufacturer’s guidelines.
- Using a 1/4″ notched trowel, spread a thin, even layer of mortar on a small area.
- Comb the adhesive in straight lines for consistent coverage.
- Do not spread more mortar than can be tiled within a few minutes.
4. Setting the Mosaic Sheets
- Place each herringbone sheet into the adhesive, pressing firmly.
- Use a grout float or wooden block to lightly tap the sheet, ensuring an even surface.
- Check that the herringbone pattern remains aligned across all sheets.
- Make slight adjustments before the adhesive begins to harden.
5. Cutting the Tile
- Measure areas requiring cuts and mark the sheet accurately.
- Use a wet saw with a diamond blade for clean, precise cuts.
- Cut individual 1″ x 4″ pieces carefully when trimming edges or corners.
6. Grouting
- Allow the mortar to cure for at least 24 hours before grouting.
- Use unsanded grout to avoid scratching the honed marble surface.
- Spread grout diagonally across the joints with a float, pressing firmly.
- Remove excess grout and clean the tile surface with a damp sponge.
- Rinse the sponge frequently to maintain a clean finish.
7. Sealing the Marble
- After grout cures (typically 24–48 hours), apply a penetrating stone sealer.
- Follow the sealer instructions and wipe off any excess material.
- Sealing protects the marble from moisture and staining.
8. Final Cleaning & Maintenance
- Wipe the surface with a soft cloth once the sealer is fully dry.
- Use pH-neutral stone cleaner for routine maintenance.
- Avoid acidic or abrasive cleaners that can damage natural stone.
- Re-seal the tile periodically to maintain long-term protection.
Following these steps will help you achieve a high-quality installation of your Myra Beige 1″ x 4″ herringbone honed marble mosaic.