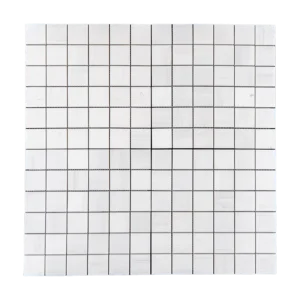
2″ x 2″ Lymra Limestone Honed Marble Mosaic
Elevate Any Space with Natural Elegance
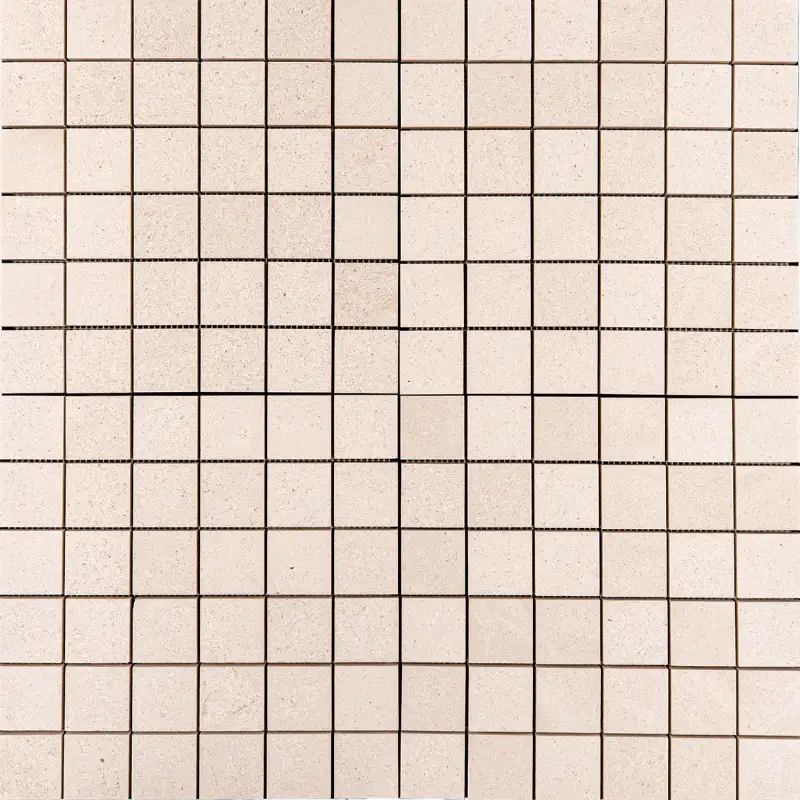
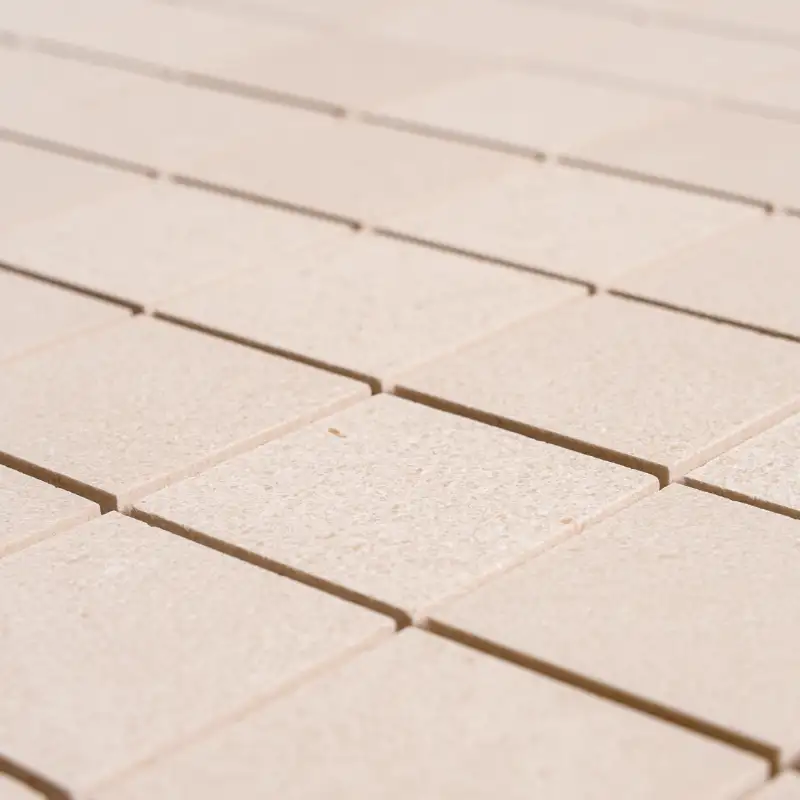
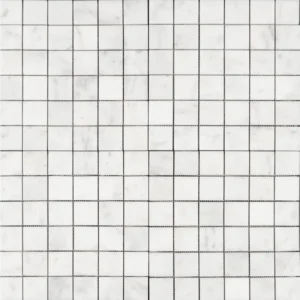
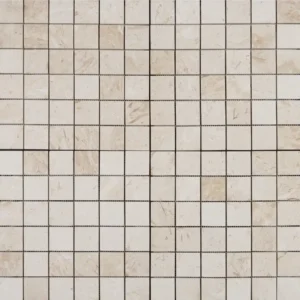
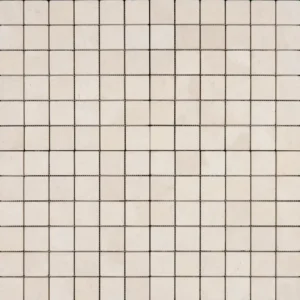
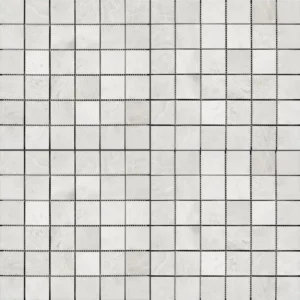
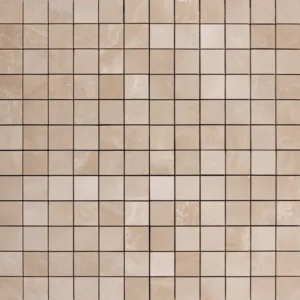
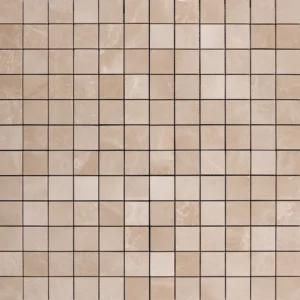
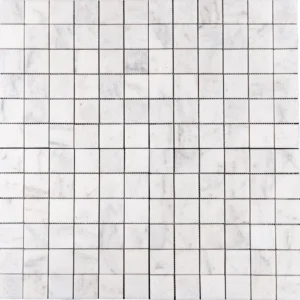
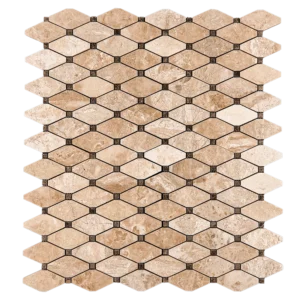
The 2″ x 2″ Limestone Honed Marble Mosaic brings classic beauty to your home. With soft beige and creamy tones, it instantly warms any space and adds a welcoming feel. Its honed finish provides a smooth, matte surface that creates a modern yet timeless design.
Moreover, this versatile mosaic is perfect for both contemporary and traditional interiors. Its adaptable style means it pairs well with other materials, helping you achieve a cohesive look in any room.
Perfect for Every Room
This mosaic works beautifully in backsplashes, bathrooms, and accent walls. In addition, it’s a great choice for entryways and hallways, adding timeless appeal wherever it’s installed. Whether you’re designing a modern retreat or refreshing a classic room, this tile fits seamlessly into any project.
Premium Craftsmanship
Each sheet is made from high-quality natural limestone for lasting durability. As a result, it stands up well in both residential and commercial spaces. Furthermore, the honed finish provides a non-slip surface, making it a practical choice for wet areas.
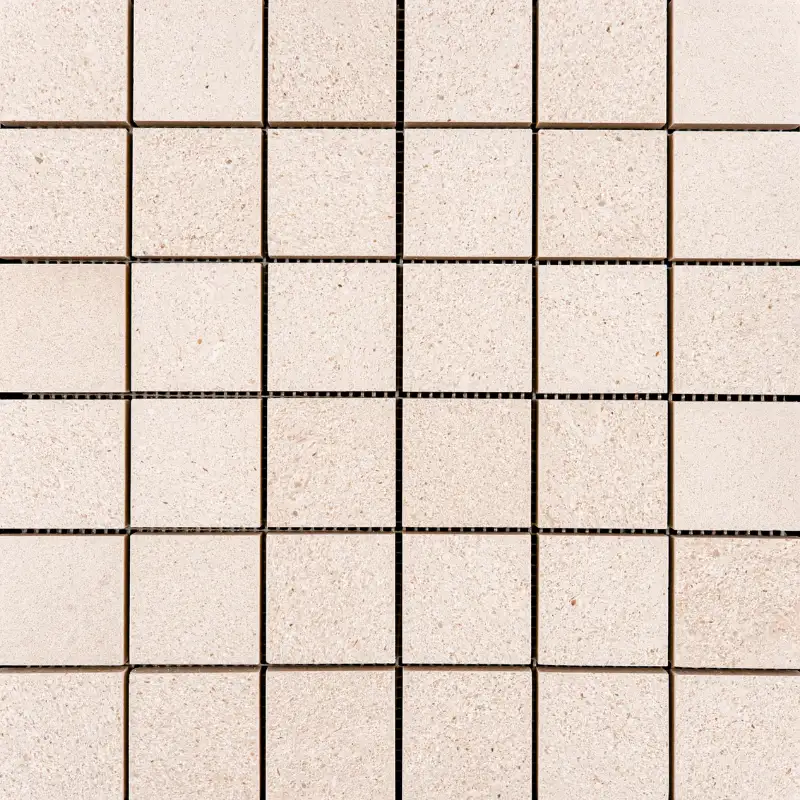
The natural veining in each tile adds a unique touch, ensuring that every sheet has its own character and charm.
Key Features
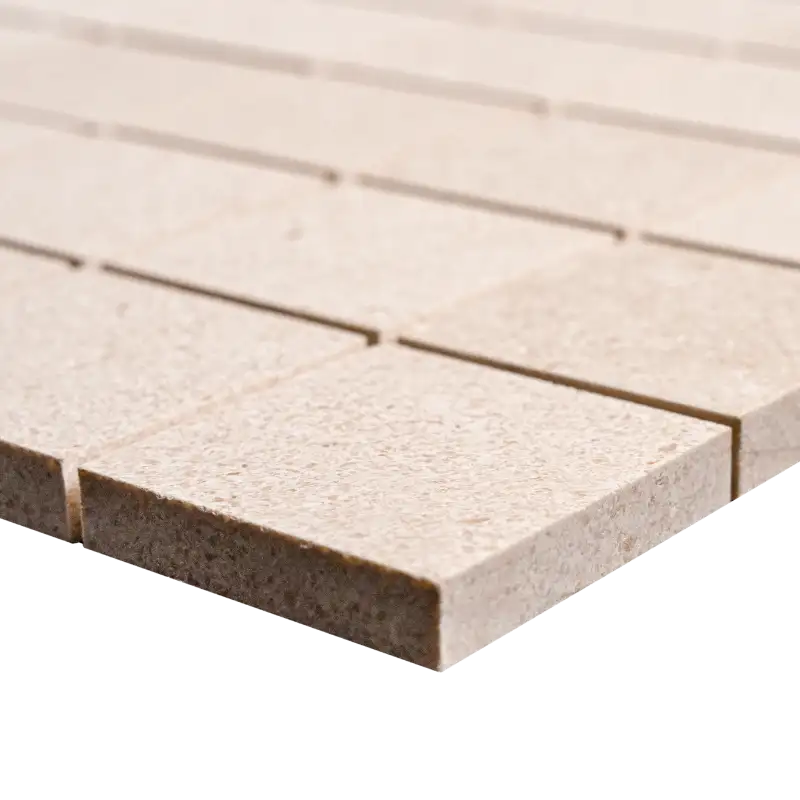
- Material: Natural Limestone
- Finish: Honed (Matte)
- Color: Soft beige and creamy tones
- Tile Size: 2″ x 2″
- Sheet Size: 12″ x 12″ (30.5 x 30.5 cm)
- Thickness: 1 cm
- Coverage: 33.49 sq. m per order (72 boxes)
Why Choose This Mosaic?
- Timeless Appeal: Blends classic and modern design effortlessly.
- Durable Quality: Easy to maintain and made to last.
- Natural Beauty: Unique veining in every sheet adds character.
- Versatile Use: Great for walls and floors in any area.
Bring Luxury Home
Don’t wait to elevate your home with the natural charm of the 2 x 2 Limestone Honed Marble Mosaic. Additionally, this tile offers a perfect balance of beauty, durability, and timeless style. So, order today and bring your design vision to life!
2 x 2 Limestone Honed Marble Mosaic
Tools & Materials Needed:
- Tile Adhesive (Thinset Mortar – white recommended)
- Notched Trowel (1/4″ recommended)
- Tile Spacers
- Level
- Wet Saw (for cutting)
- Grout (Unsanded recommended)
- Grout Float
- Sponge & Clean Water
- Natural Stone Sealer
Step-by-Step Installation Instructions:
- Surface Preparation:
- Ensure the installation surface is clean, dry, stable, and level.
- For walls: Install a cement backer board or waterproof substrate.
- For floors: Verify the subfloor is sturdy, level, and free from dirt and debris.
- Layout & Dry Fit:
- Lay out the mosaic sheets on your prepared surface without adhesive to determine proper alignment.
- Arrange sheets so that patterns and natural color variations blend evenly.
- Use tile spacers between sheets to ensure consistent grout lines.
- Applying the Adhesive:
- Spread a thin layer of white tile adhesive evenly using a 1/4″ notched trowel.
- Apply adhesive in manageable sections to prevent drying before tile placement.
- Setting the Mosaic Sheets:
- Press each 2 x 2 mosaic sheet firmly into the adhesive.
- Use a grout float or gentle tapping with a wood block to ensure proper adhesion and level tiles.
- Maintain uniform spacing for grout consistency.
- Cutting Tiles:
- Use a wet saw with a diamond blade for precise and clean cuts.
- Carefully cut mosaic sheets to fit neatly around edges and fixtures.
- Grouting:
- Wait at least 24 hours after setting the mosaic for the adhesive to cure.
- Use unsanded grout to avoid scratching the honed marble surface.
- Apply grout into joints using a grout float, pressing firmly to ensure full coverage.
- Wipe away excess grout with a damp sponge before it dries, rinsing frequently.
- Sealing the Marble:
- After grout cures (24–48 hours), apply a natural stone sealer to protect the limestone mosaic from moisture and staining.
- Allow the sealer to penetrate as instructed and wipe off excess.
- Final Cleaning & Maintenance:
- Once sealed and dry, clean the mosaic tiles with a soft cloth and pH-neutral stone cleaner.
- Re-seal annually to maintain durability and appearance.
- Avoid acidic or abrasive cleaners to prevent damage.
Additional Tips: Use white thinset to avoid discoloration. Regularly check alignment with a level. Install in small sections for best results.
For any further assistance, contact our expert support team!