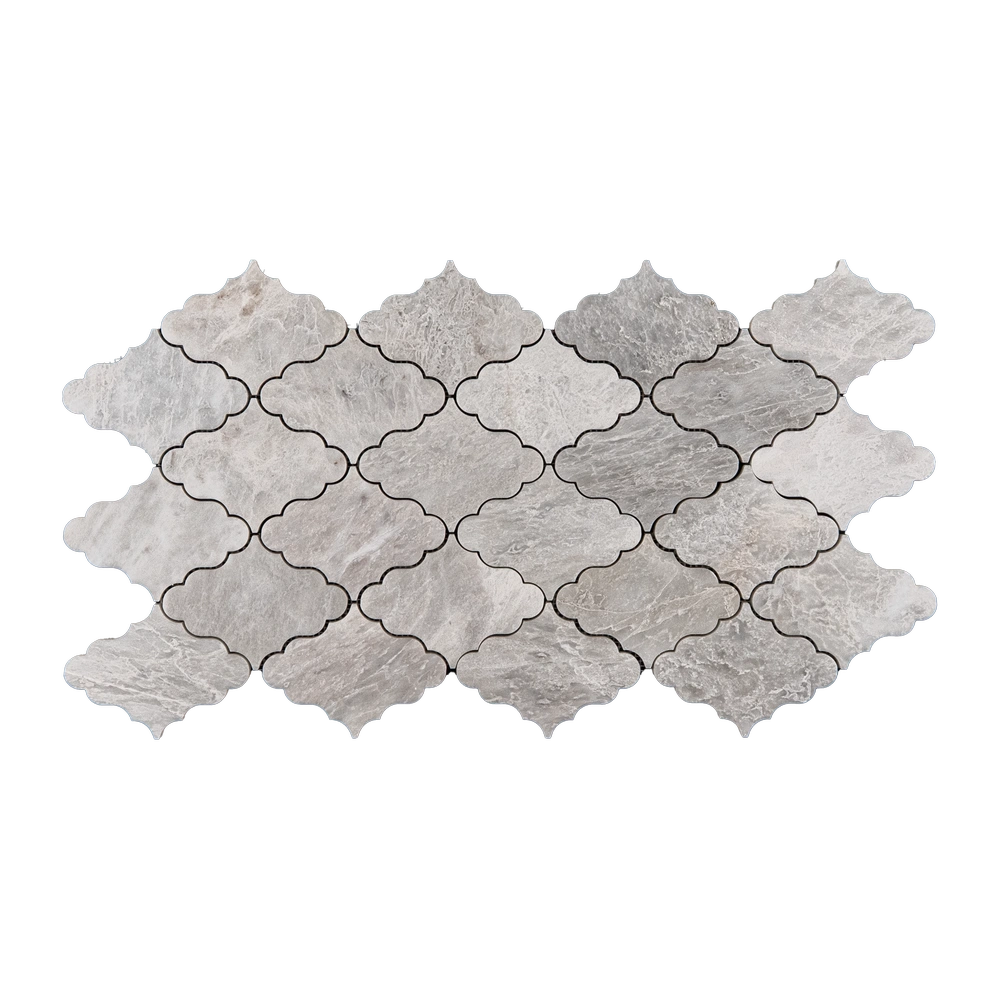
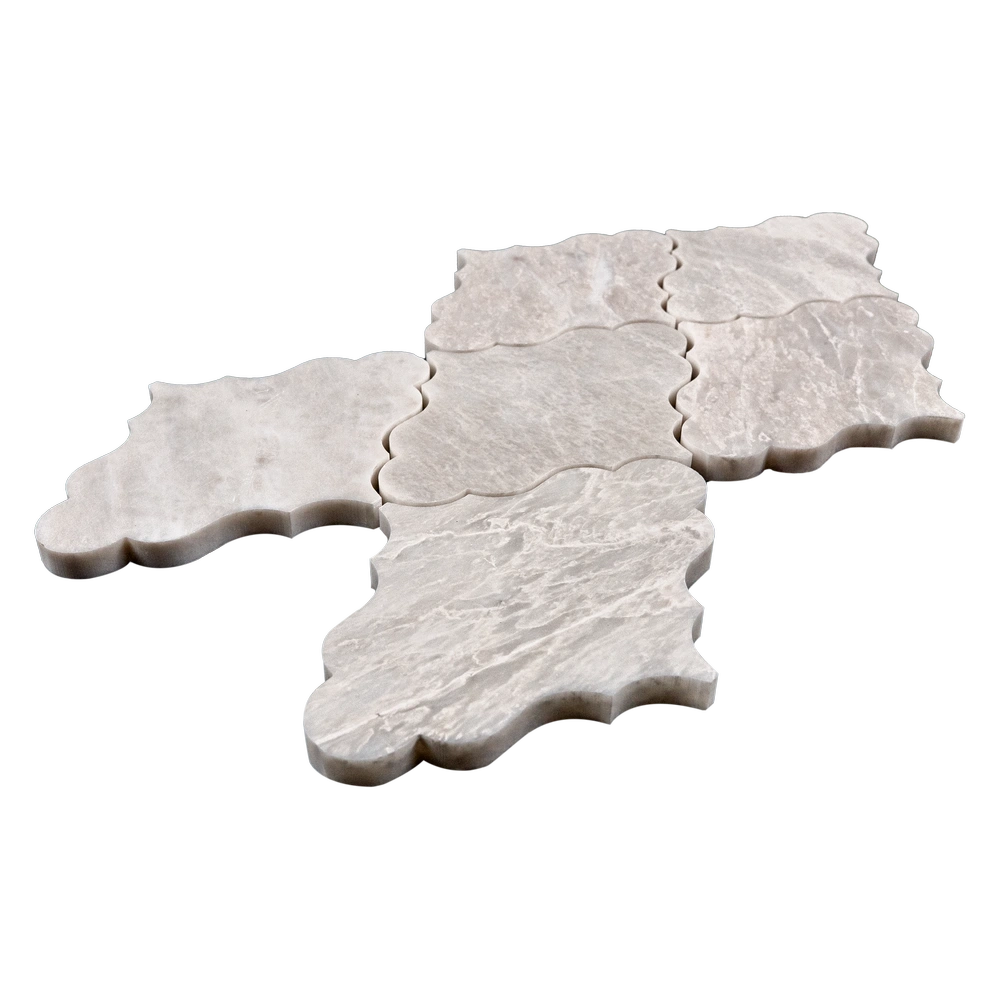
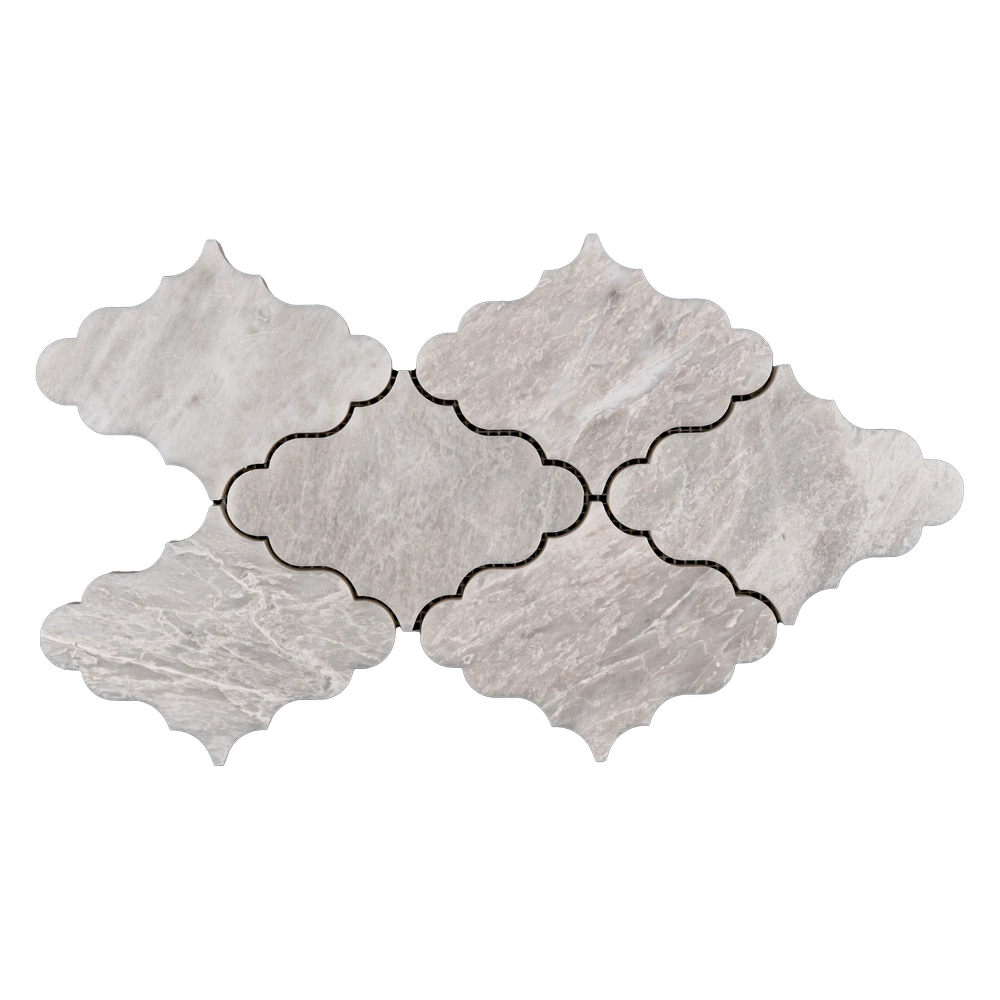
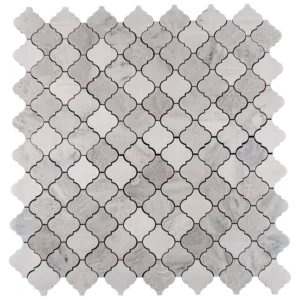
Iceberg Olea Marble Mosaic Tile – 6.7″ x 12.8″ Polished Finish
Pure Elegance with a Modern Twist
Unveil a new level of sophistication with the Iceberg Olea Marble Mosaic Tile. Each 6.7″ x 12.8″ sheet showcases premium Iceberg marble, polished to perfection to reveal its subtle icy veining and radiant white tones. The unique Olea pattern adds a graceful flow, transforming walls into artful statements that captivate from every angle.
Moreover, the polished surface enhances the natural luster of the stone, reflecting light beautifully and making any space feel brighter and more expansive. This makes it an ideal choice for luxurious bathroom walls, stylish kitchen backsplashes, or even feature areas where you want to add depth and dimension.
In addition, its durable composition ensures it stands up to daily use, while the mesh backing simplifies installation and provides a seamless finish. Whether your style leans modern, classic, or transitional, this marble mosaic tile adapts effortlessly, bringing timeless beauty to your interior design.
Product Highlights:
- Material: Premium Iceberg Marble
- Color: Pristine white with delicate, icy veining
- Finish: Polished for a smooth, light-reflective surface
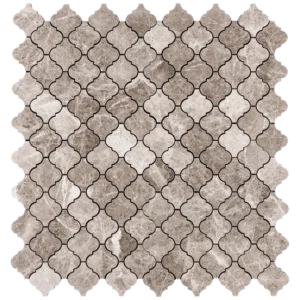
- Pattern: Olea – a contemporary, flowing design
- Sheet Size: 6.7″ x 12.8″ (17 x 32.5 cm)
- Thickness: Approximately 0.4″ (1 cm)
- Installation: Mesh-mounted for effortless alignment and easy installation
- Use: Ideal for indoor wall applications – backsplashes, bathrooms, accent walls, and more
Why Choose This Iceberg Olea Mosaic Tile?
This tile combines natural beauty with modern design, resulting in a look that’s both fresh and timeless. The polished finish brings out the marble’s soft veining, while the Olea pattern infuses each space with elegance and movement. Additionally, its durability ensures it remains a stunning feature for years to come.
Installation & Maintenance Tips:
- Use a high-quality white thin-set adhesive for a secure bond.
- Seal the tile after installation to enhance water resistance and protect against stains.
- Apply non-sanded grout to preserve the polished finish.
- Maintain with a gentle, pH-neutral stone cleaner to keep its beauty intact.
Packaging & Coverage:
- Sold per box – includes 5 mesh-mounted sheets
- Coverage: approximately 3.00 sq. ft. per box
- Weight: approximately 24.20 lbs per box
- Carefully packaged to prevent damage during delivery
Installation Guide – Step by Step
Step 1: Surface Preparation – A Flawless Canvas
- Thoroughly clean and dry the surface to remove all dust, oil, and residues that could compromise adhesion—Carrara White Olea deserves a pristine start.
- Ensure the substrate is level, solid, and free of cracks—any irregularities can affect the final look of your installation.
- In wet areas like showers, apply a high-quality waterproofing membrane to protect the marble from moisture penetration.
- Remove trims, outlet covers, or other obstructions that could disrupt the smooth flow of your mosaic design.
- If needed, use a leveling compound to correct any uneven areas—this ensures your Carrara installation sits perfectly flat and beautiful.
Step 2: Layout Planning – Showcase Natural Elegance
- Find the center of the installation area to create a balanced, symmetrical layout that highlights Carrara White’s classic gray veining.
- Dry-lay a few sheets to admire the natural veining and subtle color variations—every sheet is a unique slice of Italian artistry.
- Adjust sheet placement to avoid small, awkward cuts at the edges and to maintain a seamless, flowing pattern.
- Use 1.5–3 mm spacers between sheets for even grout lines that enhance the polished finish’s luxurious look.
Step 3: Adhesive Application – Choose the Right Thin-Set
Recommended Thin-Set Brands (Natural Stone-Friendly):
- Mapei – trusted for consistent results and premium quality.
- Laticrete – excellent adhesion and easy to work with, perfect for polished marble.
- Ardex – reliable and ideal for high-end natural stone installations.
Instructions:
- Use a white, non-staining thin-set mortar formulated for natural stone to maintain the marble’s brilliant polished finish and avoid discoloration.
- Mix small batches that can be used within 30 minutes to ensure smooth application.
- Apply adhesive with a 1/4″ notched trowel—use the flat side to coat the surface, then comb at a 45° angle for consistent coverage.
- Back-butter each sheet to ensure full contact and reduce the risk of lippage, ensuring a flawless polished surface.
- Work in manageable sections to prevent the thin-set from drying before sheets are placed—precision is key.
Step 4: Cutting & Fitting – Precision with a Touch of Artistry
- Use a wet saw with a fine diamond blade designed for marble to achieve clean, precise cuts that protect the polished finish.
- Mark cuts with a pencil for accuracy—every detail contributes to a seamless design.
- Smooth cut edges with a stone file or rubbing block to maintain the refined polished look of Carrara White Olea marble.
- Dry-fit sheets before final installation to confirm alignment and pattern flow—each sheet’s natural veining deserves careful attention.
Step 5: Setting Tiles – Bringing the Mosaic to Life
- Start from the center and work outward to preserve a balanced, symmetrical design—perfect for highlighting Carrara’s timeless veining.
- Press the mesh-backed sheets gently but firmly into the thin-set, letting the polished surface become the star of the show.
- Use spacers to maintain consistent grout lines for a refined, elegant finish.
- Lightly tap with a rubber mallet to level the sheets and prevent lippage—perfection is in the details.
- Wipe away any excess thin-set immediately with a damp sponge to avoid residue on the polished surface.
- Allow to cure for at least 24 hours before grouting—a little patience ensures a long-lasting result.
Step 6: Grouting & Sealing – Protect the Brilliance
- Use non-sanded grout to avoid scratching the polished marble’s surface—maintaining the luxury finish is essential.
- Apply grout diagonally with a rubber float to fill all joints and maintain the integrity of the pattern.
- Wipe off excess grout immediately with a damp sponge to prevent haze and maintain the polished shine.
- After 15–20 minutes, buff away any remaining haze with a soft, dry cloth to reveal the marble’s natural brilliance.
- Allow the grout to cure for 72 hours before sealing.
- Apply a penetrating marble-safe sealer to protect against moisture, stains, and etching, while preserving the stone’s beauty.
Maintenance Tips – Keep It Radiant
- Use pH-neutral cleaners formulated for natural stone to maintain the polished finish’s shine and elegance.
- Avoid acidic or abrasive cleaners that can dull the surface—Carrara White Olea deserves gentle care.
- Reseal periodically depending on usage and exposure to maintain the marble’s protective barrier and natural luster.
- Use felt pads under furniture to prevent scratches and preserve the tile’s pristine finish.
Shipping & Packaging – Handled with Care
Each mosaic sheet is carefully wrapped and packaged to reduce the risk of breakage during transit. The mesh backing ensures easy installation and precise alignment of the Olea pattern, capturing the natural elegance of Carrara White marble.
Important Note – Nature’s Signature
Each Carrara White Olea marble sheet features unique veining and subtle color variations, ensuring every installation is one-of-a-kind. We strongly recommend professional installation and the use of premium adhesives and sealers for the best results. Stonemarket USA is not responsible for improper installation—trust your project to experienced professionals to showcase the beauty of this remarkable stone.