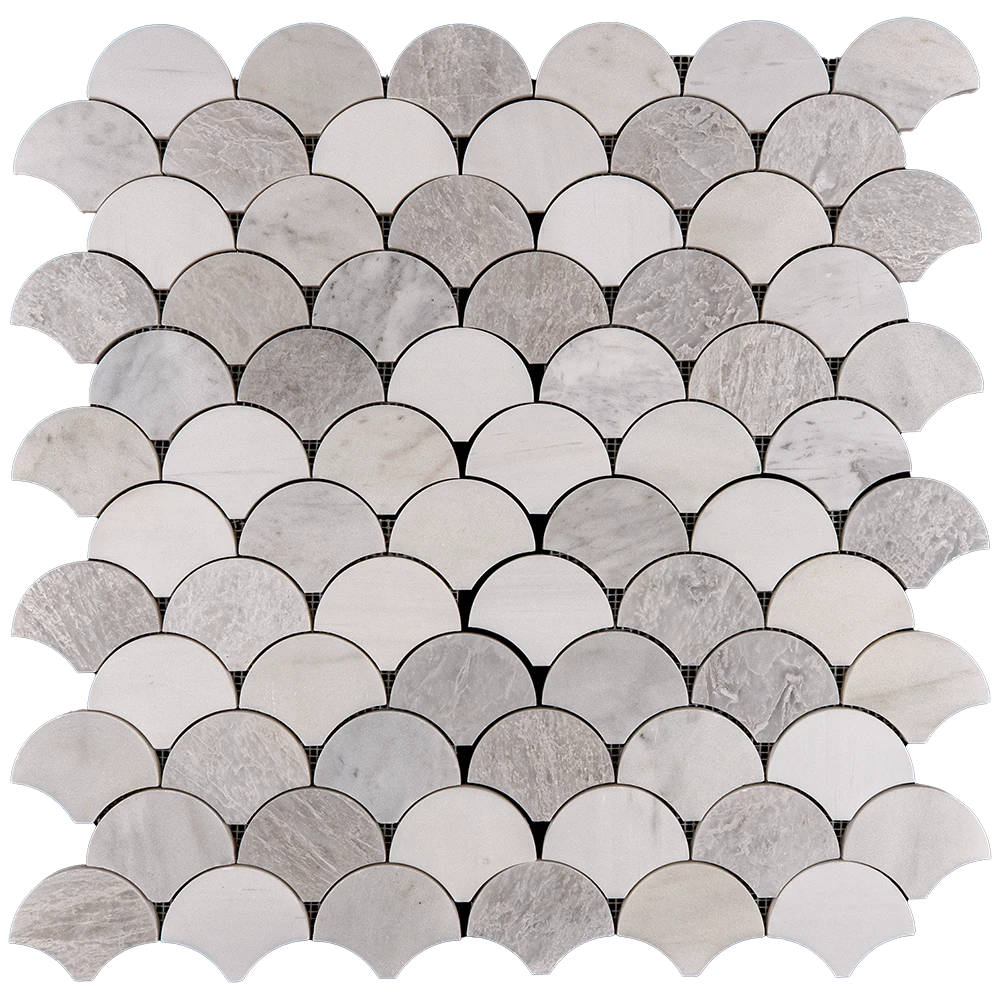
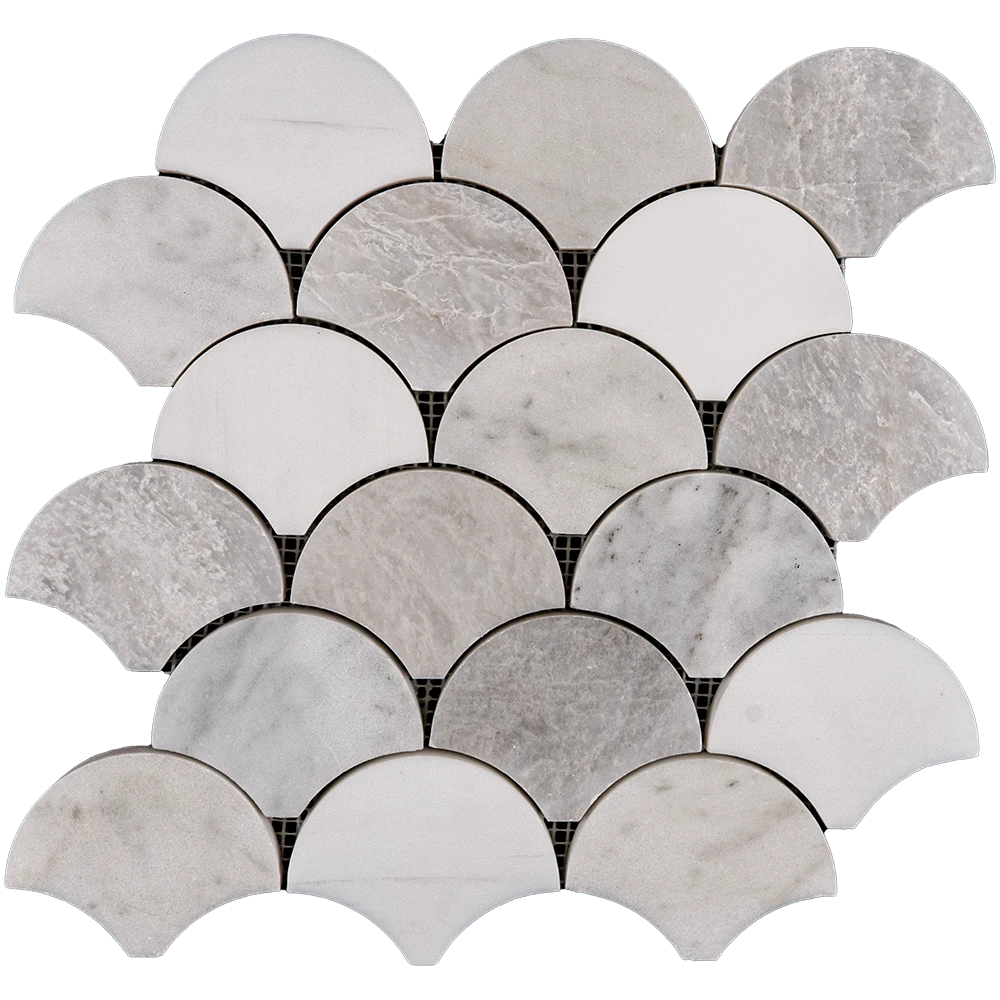
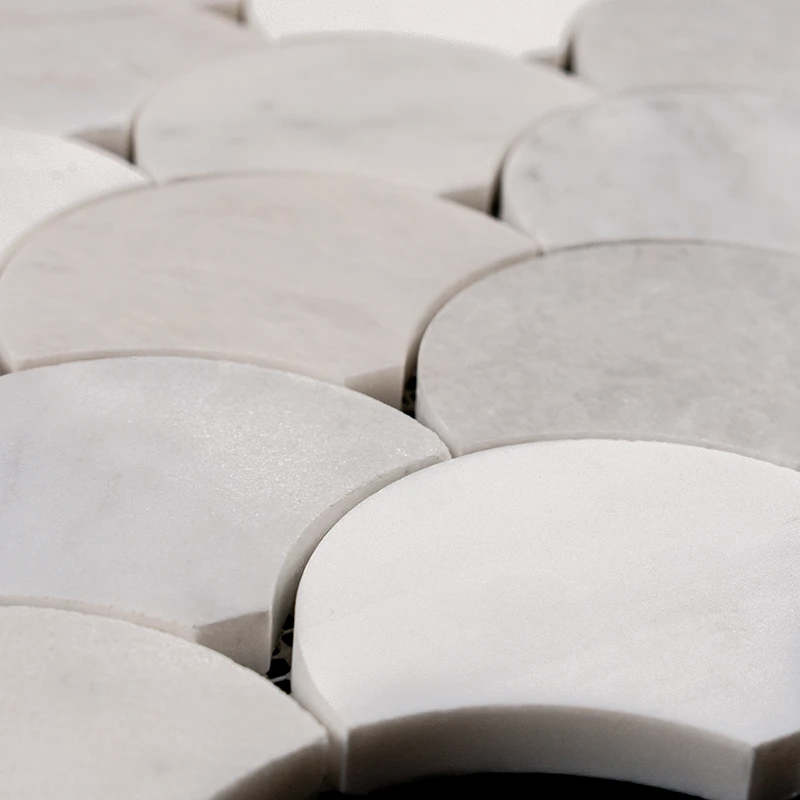
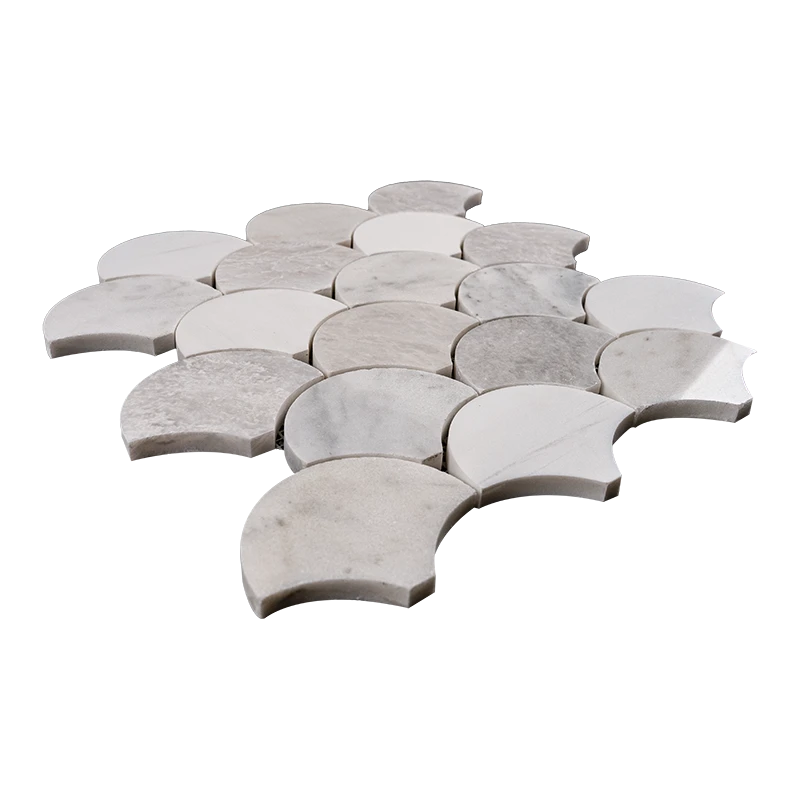
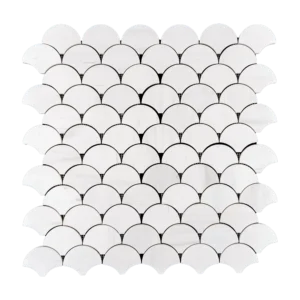
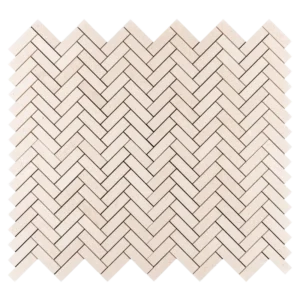
Fish Scale Dolomite Iceberg Imperial White Mosaic Tile – Polished Finish
Timeless Elegance with a Contemporary Twist
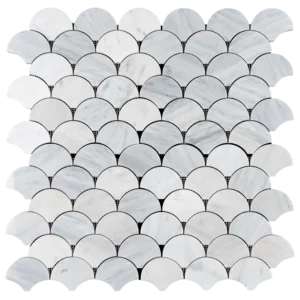
Bring graceful movement and soft sophistication to your space with the Fish Scale Dolomite Iceberg Imperial White Mosaic Tile. This polished mosaic blends Dolomite, Iceberg, and Imperial White marbles in a fish scale pattern, creating a unique texture that reflects light and modern elegance.
Product Features:
- Material: Premium natural stone – Dolomite, Iceberg, and Imperial White marble
- Color: White blend with subtle icy veining and natural tonal variation
- Finish: Polished surface for a refined, glossy look
- Pattern: Fish scale (also known as fan or mermaid shape)
- Sheet Size: 10.4″ x 10.8″ (26.5 x 27.5 cm)
- Application: Ideal for kitchen backsplashes, bathroom walls, shower interiors, and decorative accents
- Installation: Supplied on mesh-mounted sheets for straightforward placement and alignment
Why Choose This Mosaic?
This elegant fish scale mosaic tile unites contemporary form with timeless stone texture. The blend of cool-toned marbles and icy veining delivers a calming yet luxurious presence in any interior setting. Perfect for adding character without overwhelming your design.
Use Case Ideas:
- Spa-inspired bathroom backsplash or accent wall
- Statement kitchen backsplash with soft marble curves
- Shower niche or full-height bathroom feature wall
Care Instructions:
Clean with a pH-neutral stone cleaner only. Avoid acidic or abrasive products to preserve the natural finish and polish of the marble.
Shipping & Packaging:
Carefully packaged in protective cartons. Each box contains mesh-mounted tiles to minimize breakage and simplify installation.
Fish Scale Dolomite Iceberg Imperial White Mosaic Tile – Polished Finish (10.4″ x 10.8″)
Install the Flow of Natural Elegance with Expert Precision
This detailed installation guide walks you through the proper method of setting your Fish Scale Dolomite Iceberg Imperial White Mosaic Tile. Follow these steps to achieve a smooth, lasting finish while preserving the delicate polished surface and the iconic fish scale shape.
Step 1: Surface Preparation – Create a Strong Base
- Clean and dry the surface; remove all dust, grease, and residues
- Ensure the substrate is flat, solid, and crack-free
- Apply waterproofing membrane in wet areas such as showers and backsplashes
- Remove baseboards and electrical cover plates before tiling
- Use a leveling compound to smooth out imperfections if needed
Step 2: Layout Planning – Keep It Balanced
- Mark the center of each wall and snap chalk lines as guides
- Dry-lay the tiles to visualize alignment and color distribution
- Adjust layout to avoid awkward cuts at edges
- Insert 1.5–3 mm spacers between mosaic sheets for consistent grout lines
- Check that curved patterns and tones flow smoothly across sheets
Step 3: Adhesive Application – Use Premium Thin-Set
Recommended Thin-Set Mortars:
Application Instructions:
- Mix thin-set in small batches usable within 30 minutes
- Spread adhesive with the flat side of a 1/4″ notched trowel
- Comb the mortar at a 45° angle for full coverage
- Back-butter each sheet for optimal bonding
- Work in sections to prevent drying before placement
Step 4: Cutting & Fitting – Work with Precision
- Use a wet saw with a diamond blade for smooth cuts
- Mark tiles with a pencil or wax pen before cutting
- Use a rubbing stone to soften sharp edges
- Tile nippers are ideal for shaping curves and small adjustments
- Always dry-fit cut pieces before final placement
Step 5: Tile Setting – Preserve the Design Flow
- Begin at the center and work outward
- Gently press each mesh-backed sheet into mortar with a slight twist
- Avoid shifting sheets after placement
- Use spacers to align sheets evenly
- Tap sheets lightly with a rubber mallet to level
- Wipe off any excess thin-set with a damp sponge
- Let the adhesive set for 24 hours before grouting
Step 6: Grouting & Sealing – Lock in Beauty
- Remove all spacers before grouting
- Use unsanded grout to protect the polished marble surface
- Apply grout diagonally with a rubber float
- Wipe away excess grout immediately
- After 15–20 minutes, remove haze with a damp sponge
- Let grout cure for 72 hours before sealing
- Apply a high-quality penetrating sealer made for marble
Maintenance – Preserve the Natural Finish
- Clean with pH-neutral stone cleaners only
- Avoid acidic or abrasive cleaning products
- Reapply marble sealer as needed based on area usage
- Use felt pads under furniture near tiled surfaces
Important Disclaimer
Stonemarket USA is not responsible for installation errors. We recommend working with a licensed installer and using only premium-grade adhesives and sealers for best results.