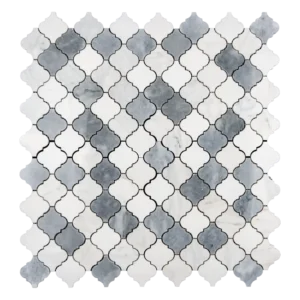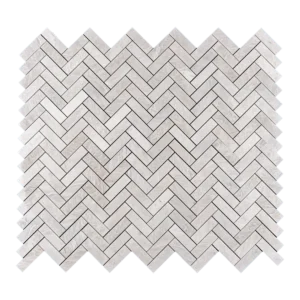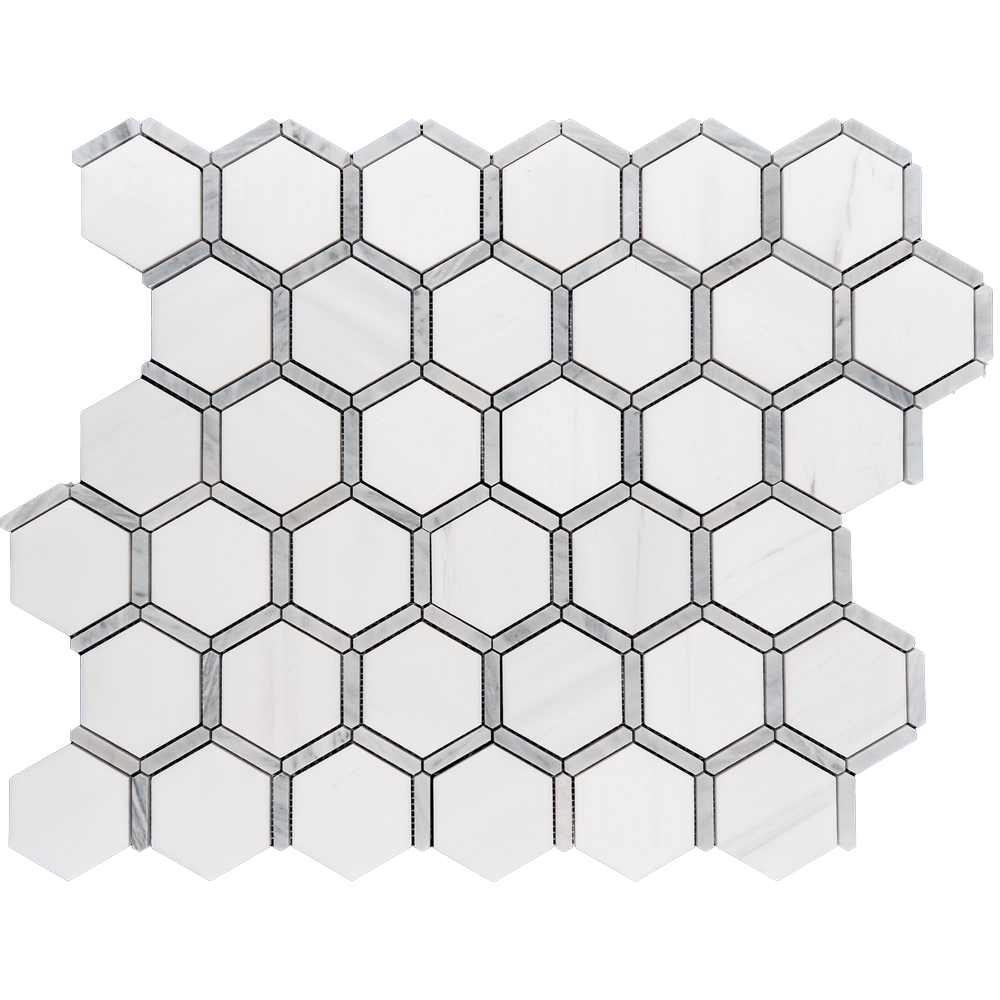
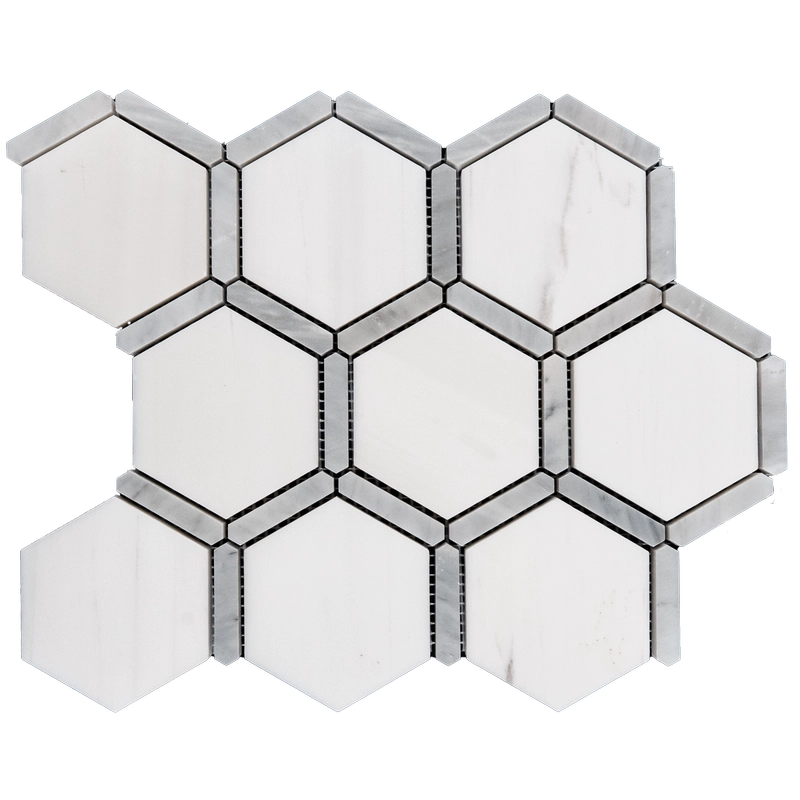
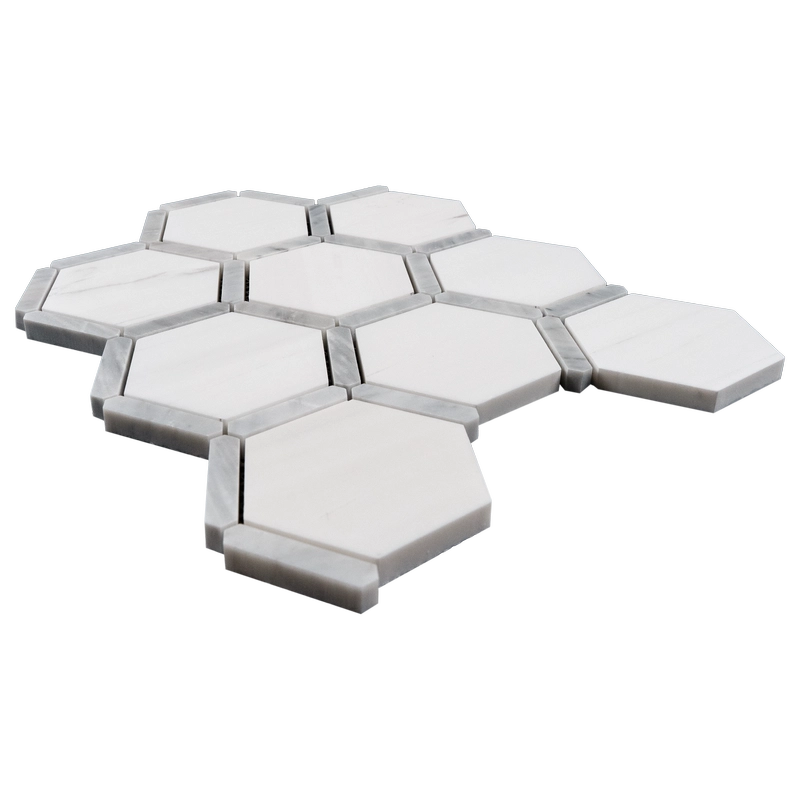
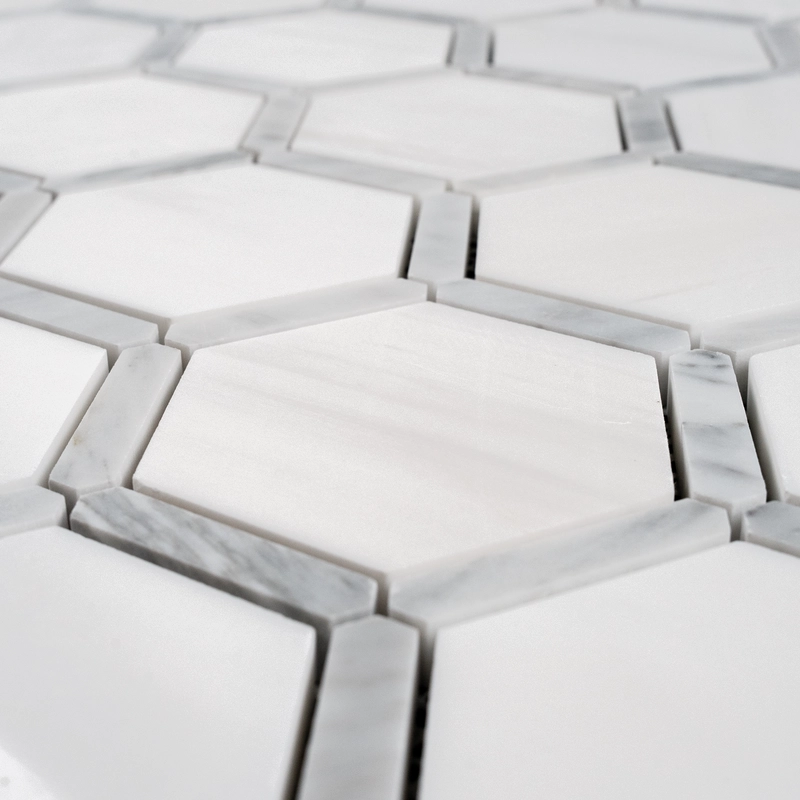
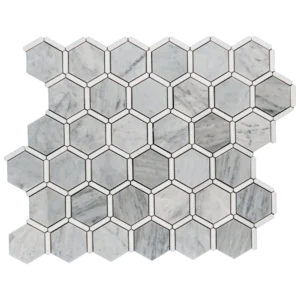
Dolomite with Carrara Touch Polished Marble Mosaic Tile
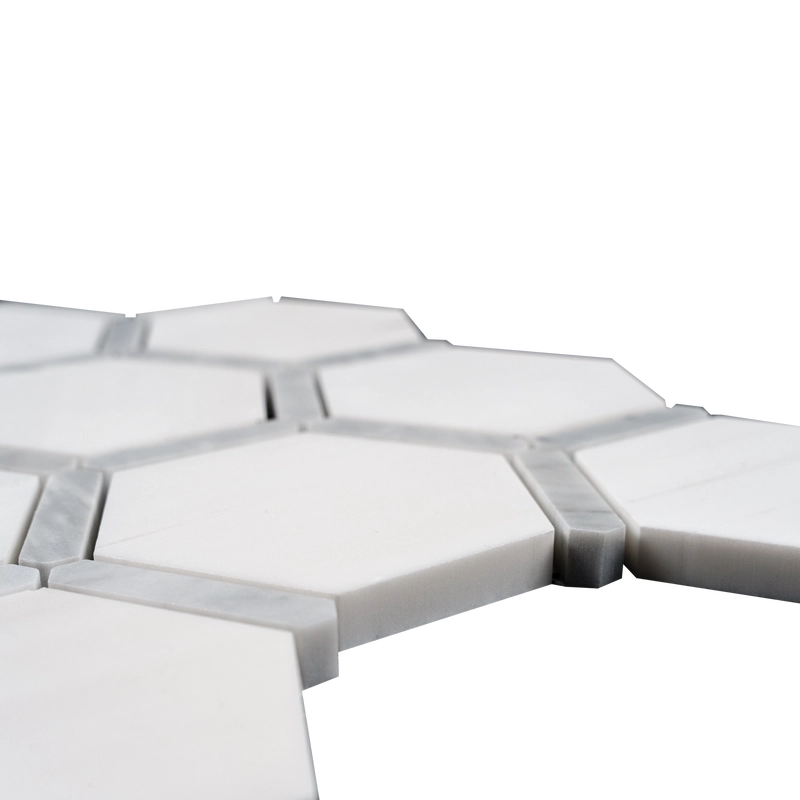
The Dolomite with Carrara Touch Polished Marble Mosaic Tile blends the crisp elegance of Dolomite marble with the timeless beauty of Carrara. Its polished finish enhances the natural veining, creating a sophisticated surface that reflects light and adds depth to any design.
This unique pairing highlights subtle contrasts: Dolomite’s soft white tones balance perfectly with Carrara’s refined gray accents. As a result, the mosaic delivers a versatile look that suits both classic and modern interiors. With its refined composition, it is ideal for projects that require elegance without sacrificing durability.
Key Features:
- Material: Premium Dolomite and Carrara marble
- Finish: Polished surface for a radiant, sleek look
- Design: Balanced contrast of crisp white and soft gray
- Applications: Suitable for kitchens, bathrooms, showers, and feature walls
- Style: Timeless elegance with a modern edge
Use this mosaic to elevate backsplashes, highlight accent walls, or bring refined charm to bathrooms and showers. Because of its natural durability and elegant finish, it works well for both residential and light commercial spaces.