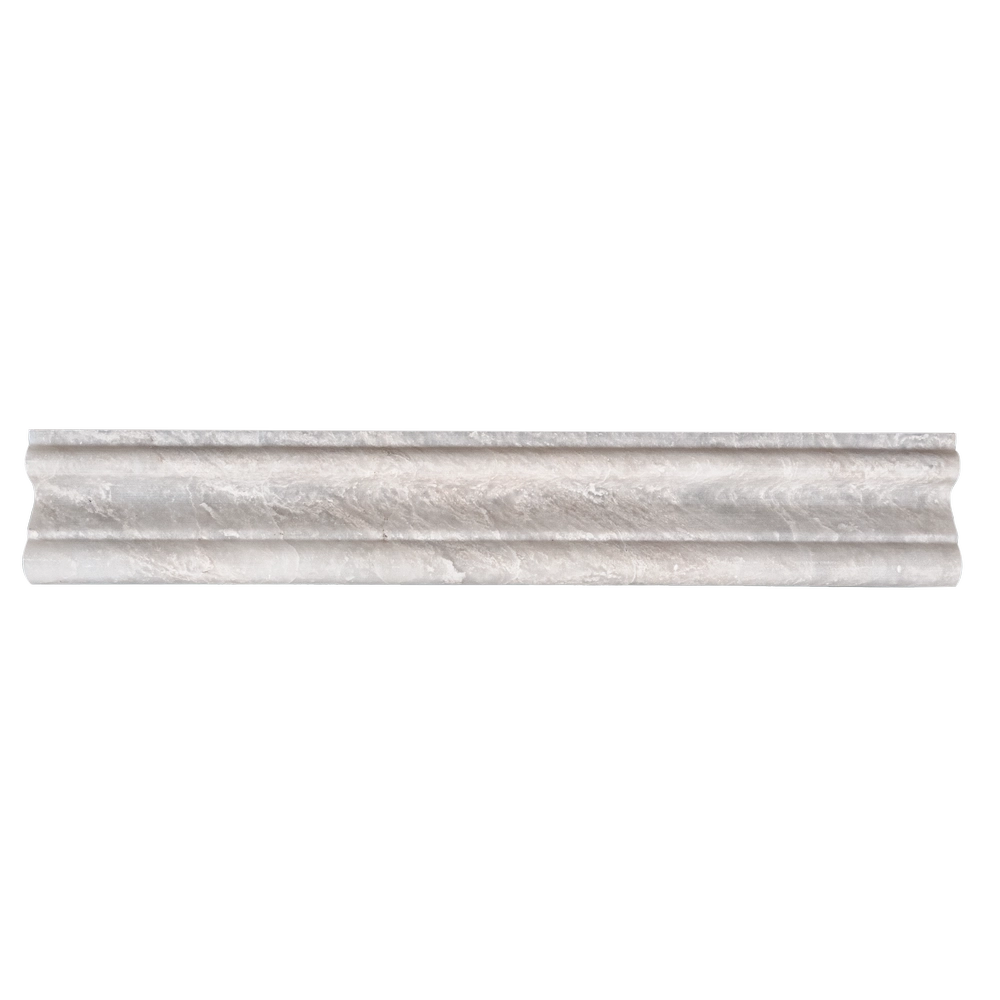
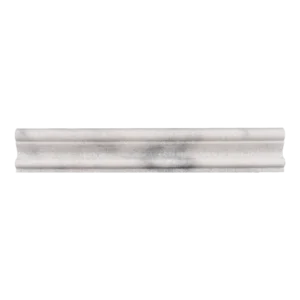
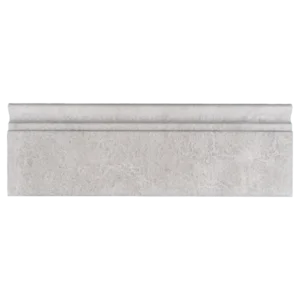
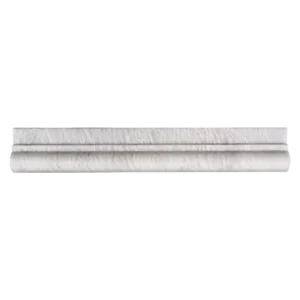
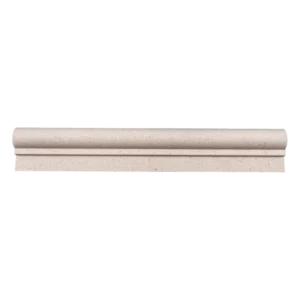
Iceberg Crown Molding 2″x12″ Polished – White Marble Elegance
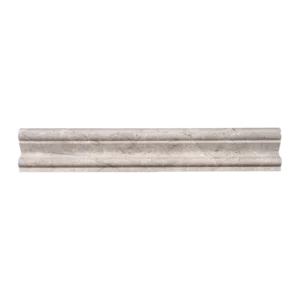
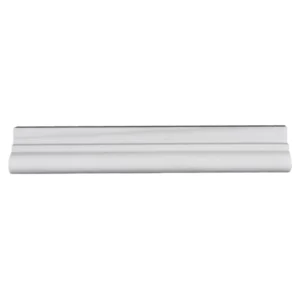
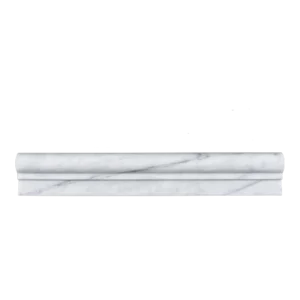
Elevate your interior designs with the polished Iceberg Marble Crown Molding. Measuring 2″x12″, this decorative trim delivers a sophisticated architectural detail that frames ceilings, cabinetry, and feature walls with refined style. Its white surface with icy veining pairs effortlessly with both classic and contemporary themes.
This crown molding adds graceful visual transitions where the wall meets the ceiling, offering an upscale finish in living rooms, bathrooms, and kitchens. Crafted from premium Iceberg marble, the polished finish reflects light beautifully, enhancing the openness and brightness of your space.
Key Features
- Material: Natural Iceberg Marble
- Finish: Polished – mirror-like shine and smooth feel
- Color: White with subtle icy veining
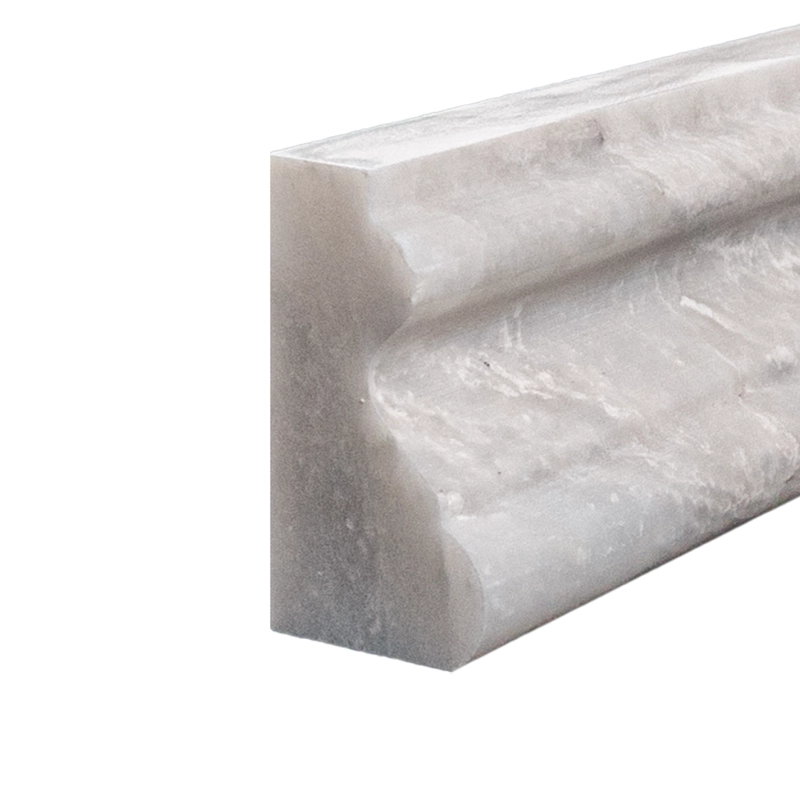
- Size: 2″ x 12″ (5.1 cm x 30.5 cm)
- Edge Profile: Crown molding detail for refined transitions
- Applications: Ceiling edges, cabinetry, wall features
Perfect for pairing with matching marble tiles, this trim brings a cohesive, luxurious touch to any marble installation. Whether in residential or commercial projects, Iceberg Crown Molding ensures your design stands out with timeless elegance.
The Finishing Detail That Elevates Any Tile Project
No tile installation truly feels complete without the right trim. Stone moldings frame edges, protect exposed corners, and create smooth transitions between surfaces. Explore our full selection of natural stone moldings and trim pieces to give your project a polished, professional finish.
Installation Guide – Iceberg Polished Marble Crown Molding (2″x12″)
Step 1: Surface Preparation – Clean and Align
- Ensure the wall and ceiling transition area is clean, dry, and smooth.
- Complete all field tile installations below the crown molding before proceeding.
- Use a level to draw a guideline at the top edge of the tile field or transition area.
Step 2: Dry Layout – Visual Harmony
- Dry-lay the molding pieces to assess veining flow and plan corner miter cuts.
- Use a wet saw with a fine diamond blade to cut clean, precise angles.
- Check all fits and transitions before adhesive application.
Step 3: Adhesive Application – Setting the Molding
Recommended Adhesives:
- Laticrete 254 Platinum White
- Mapei Ultralite White Mortar (non-sag)
Instructions:
- Apply thin-set mortar to the back of each piece using a small notched or margin trowel.
- Back-butter to ensure full contact and press into place along your guideline.
- Support with painter’s tape while the adhesive cures (minimum 24 hours).
Step 4: Grouting – Finishing Touch
- Use non-sanded grout to avoid scratching the polished surface.
- Fill joints carefully and clean excess grout with a damp sponge immediately.
- Buff haze after 30–45 minutes using a soft cloth.
Step 5: Sealing – Preserve the Beauty
- Allow grout to cure fully (72 hours), then apply a penetrating marble-safe sealer.
- Reseal periodically depending on room humidity and maintenance routine.
Maintenance Tips
- Clean with pH-neutral, non-abrasive stone cleaners only.
- Avoid acidic or harsh chemicals that may damage the polished finish.
- Wipe gently with a soft, lint-free cloth to maintain surface clarity.
Important Note
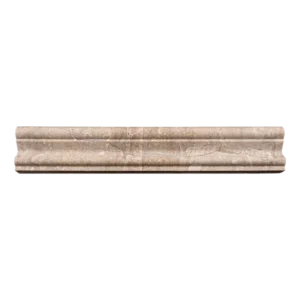
As Iceberg marble is a natural material, variation in veining and tone is expected. Always dry-lay and inspect prior to installation. Stonemarket USA is not responsible for installation errors or natural stone variation.