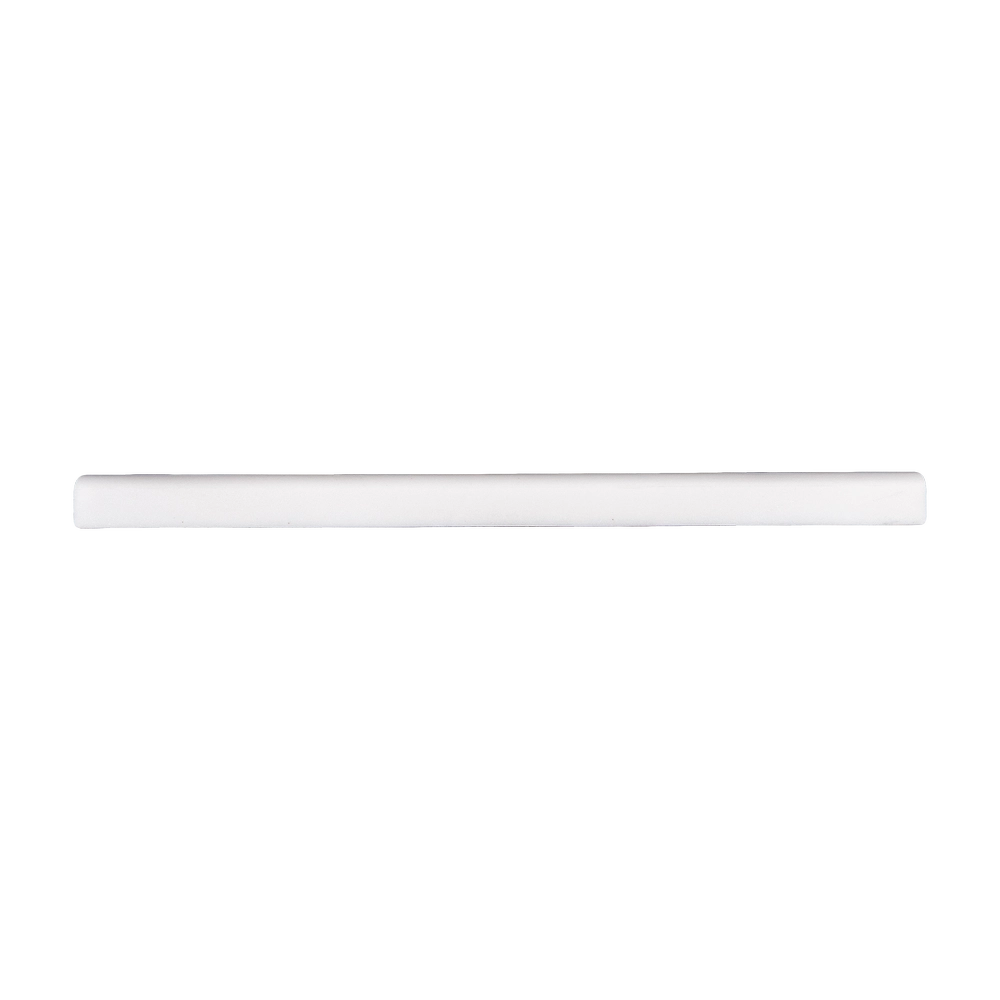
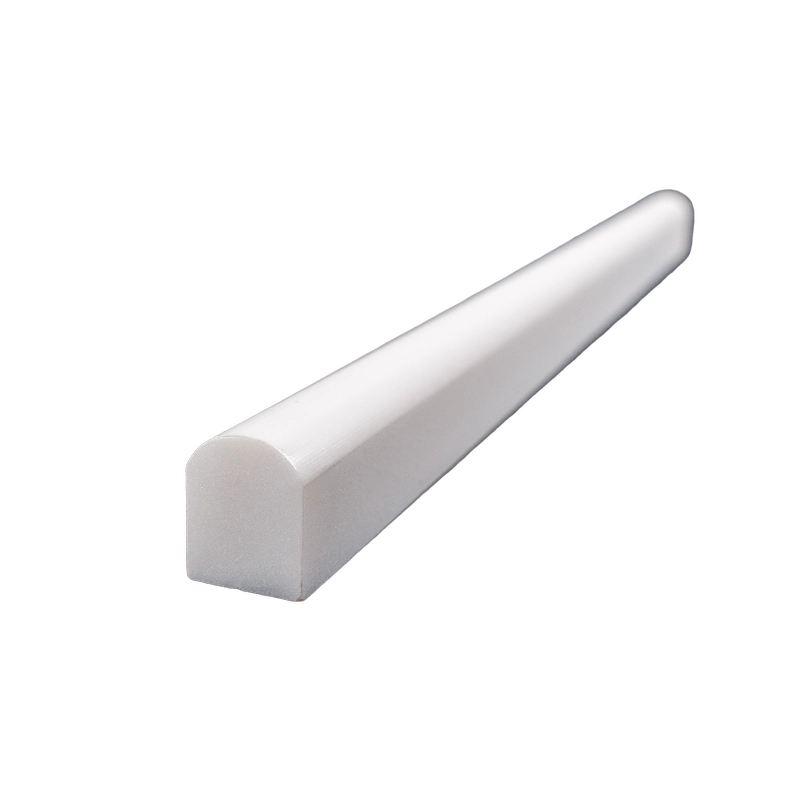
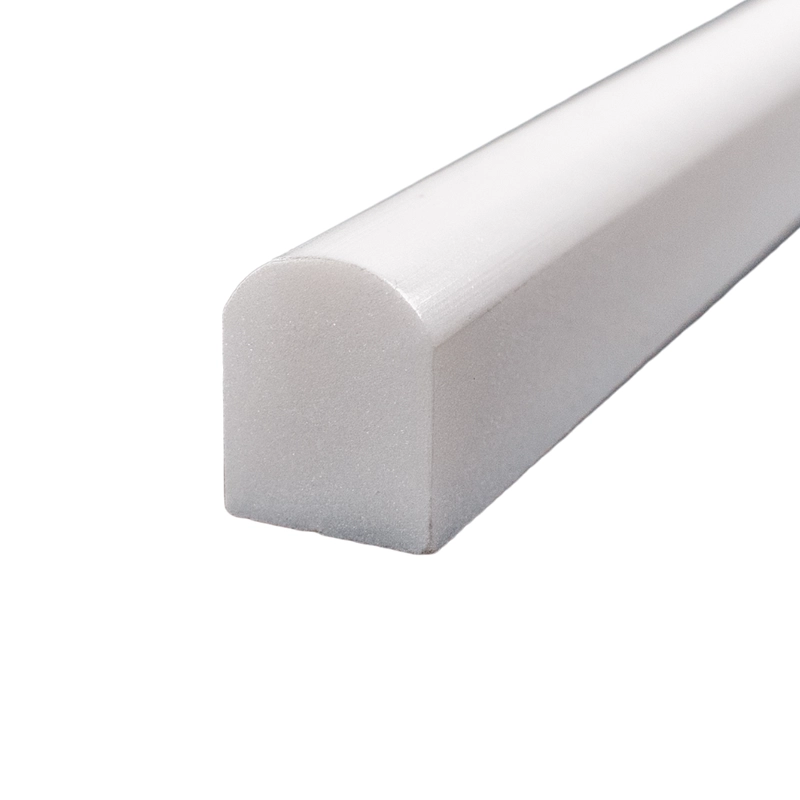
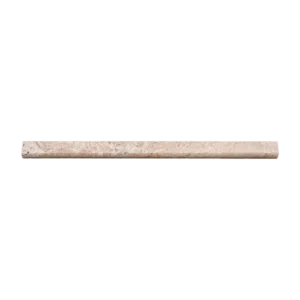
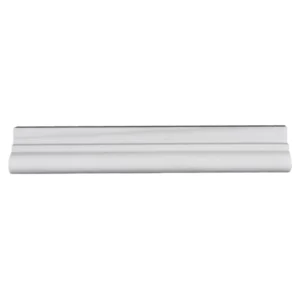
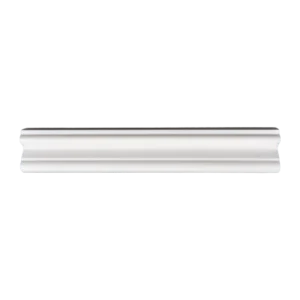
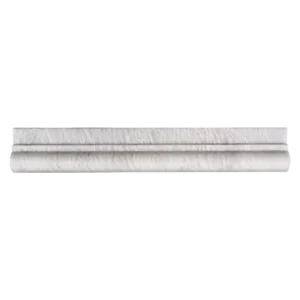
Dolomite Polished Pencil Liner – Elegant Marble Accent Trim
Crafted from premium white Dolomite marble, the Dolomite Polished Pencil Liner offers a refined finishing touch to your tile installations. Its sleek cylindrical profile and polished surface provide a crisp, decorative border that enhances backsplashes, shower walls, niches, and feature walls with sophistication and definition.
This trim piece is ideal for creating clean transitions between materials or for outlining marble field tiles and mosaics. Thanks to its slim, rounded shape, the pencil liner blends effortlessly with both traditional and modern design styles. Whether used in kitchens, bathrooms, or other interior spaces, it introduces a subtle detail that ties your design together with precision and elegance.
Key Features
- Material: Natural Dolomite marble
- Finish: Polished for a smooth, glossy surface
- Color: Classic white with soft veining
- Shape: Cylindrical pencil liner profile
- Applications: Decorative edges, backsplashes, wall transitions, tile accents
Why Choose This Trim?
The Dolomite Polished Pencil Liner offers an easy yet impactful way to elevate your tile layout. It frames your design, adds structure to open surfaces, and delivers a high-end finish. Its durable natural marble construction ensures lasting beauty in both residential and commercial interiors.
Installation Guide – Dolomite Polished Marble Pencil Liner
Step 1: Surface Preparation – Ensure Stability and Cleanliness
- Confirm the wall or surface is dry, clean, and free of dust or oil.
- Install all surrounding tile or field tile prior to setting pencil liners.
- Mark horizontal or vertical guide lines where the pencil liner will be placed for accurate alignment.
Step 2: Dry Layout – Plan and Cut
- Dry-lay pencil liners to visualize placement and veining alignment.
- Measure and cut using a wet saw with a fine diamond blade for clean edges.
- Check all transitions and corners before adhesive application.
Step 3: Adhesive Application – Secure Placement
Recommended Adhesives:
- Mapei Ultraflex LFT White
- Laticrete 254 Platinum (white)
Instructions:
- Use a margin trowel or small notched trowel to apply thin-set mortar on the back of each pencil liner.
- Back-butter for full contact and press into place gently along the layout line.
- Support with painter’s tape if installed vertically or above ground level to prevent slippage while curing.
Step 4: Grouting – Minimal and Clean Finish
- Wait 24 hours for adhesive to cure before grouting.
- Use non-sanded grout to avoid scratching the polished marble surface.
- Wipe off excess grout immediately using a damp sponge.
- Buff with a microfiber cloth to remove any residue after 30–45 minutes.
Step 5: Sealing – Protect the Stone
- Once grout has cured (typically 72 hours), apply a penetrating marble-safe sealer.
- Repeat sealing periodically depending on the exposure to water or cleaning agents.
Maintenance Tips
- Clean with pH-neutral, non-abrasive stone cleaners.
- Avoid vinegar, bleach, and acidic agents that may damage the polished surface.
- Dust or gently wipe surfaces regularly to preserve shine.
Important Note
Dolomite is a natural material with inherent color and veining variation. Always inspect and dry-lay before installation. Stonemarket USA is not liable for installation mistakes or natural stone variations.