Elegant Transitions with Classic Dolomite Chair Rail
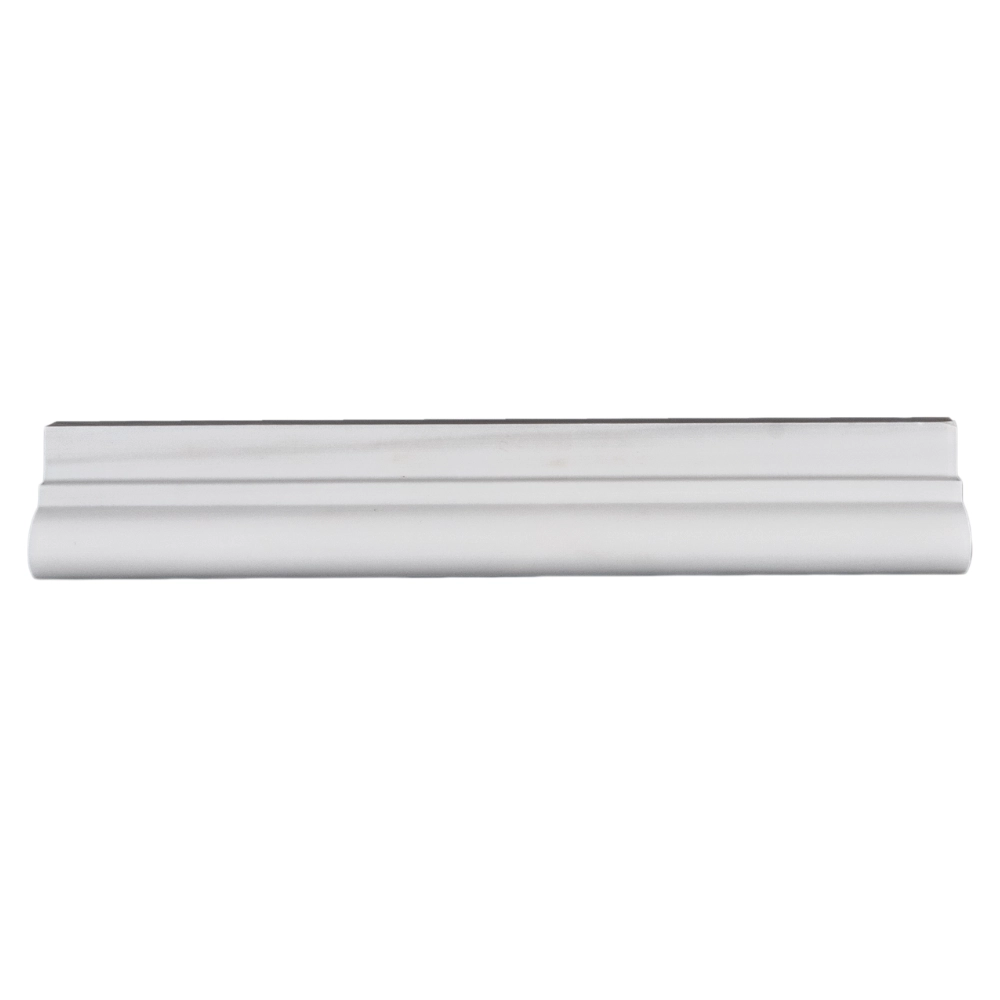
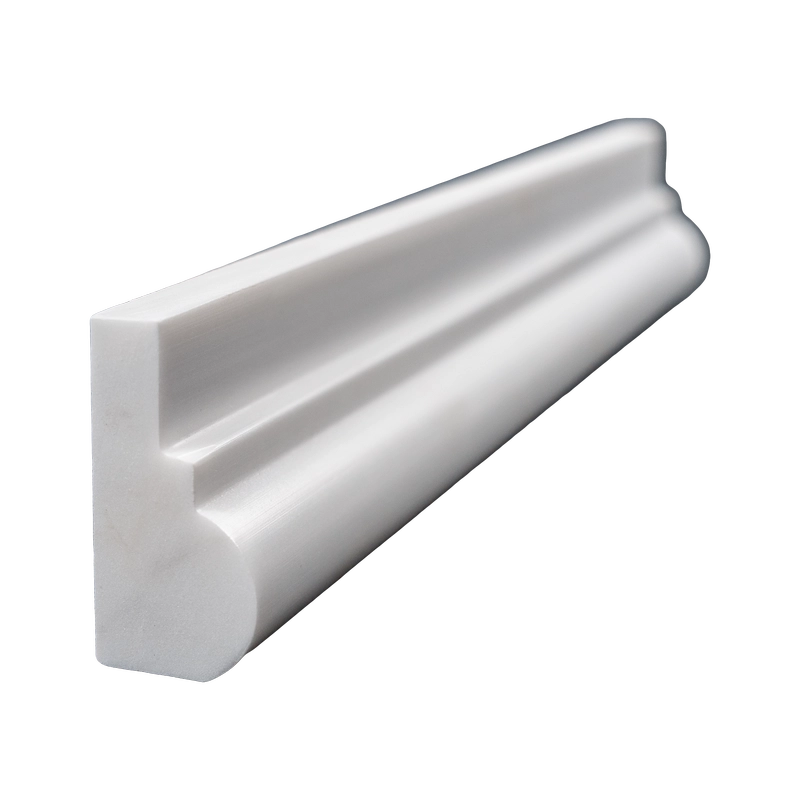
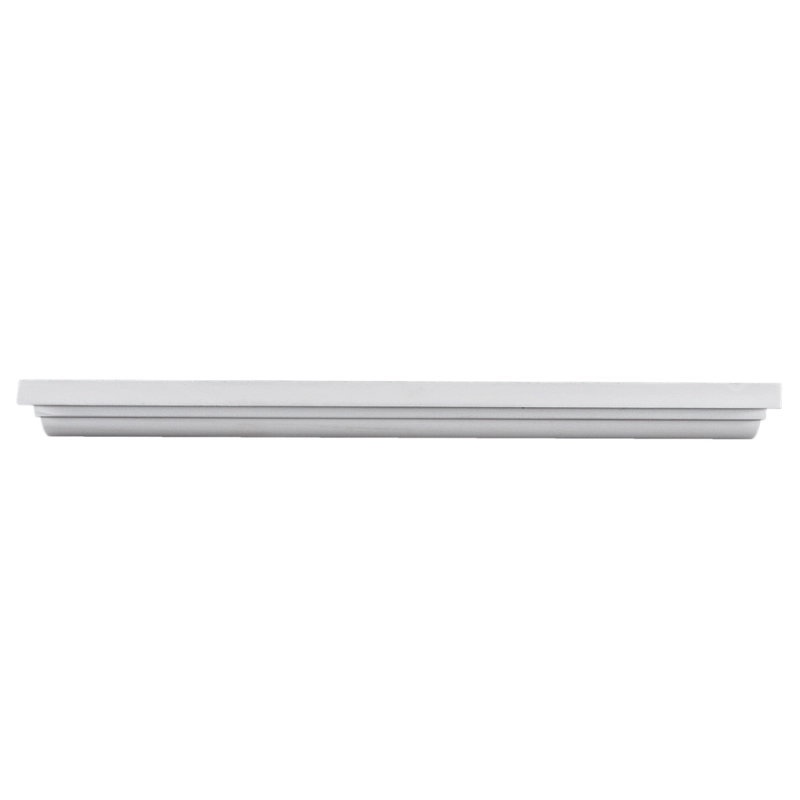
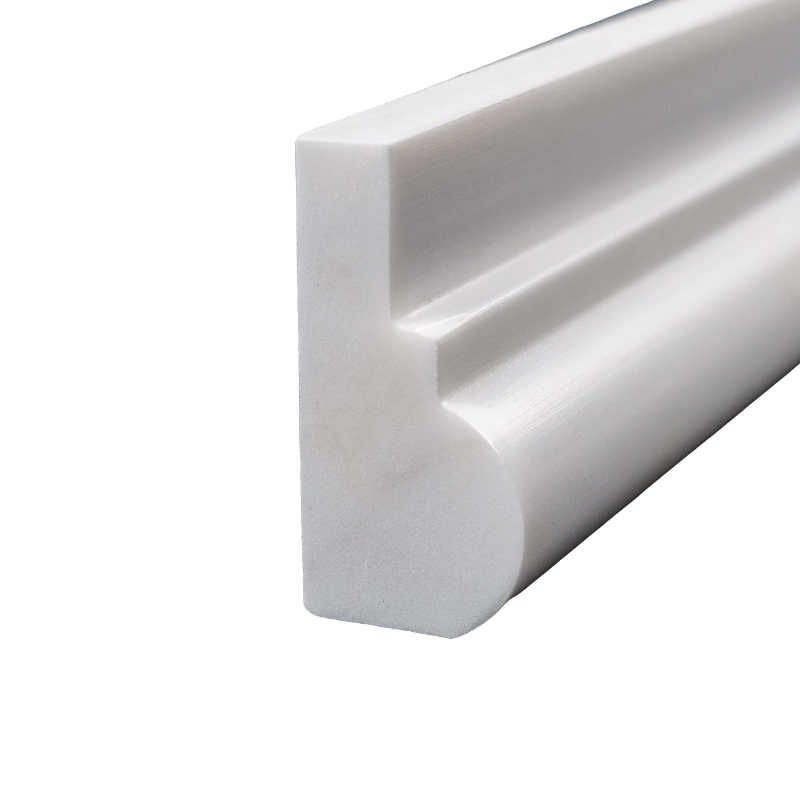
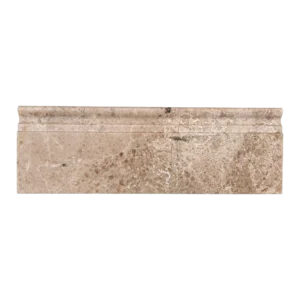
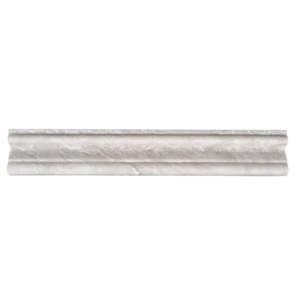
Introduce architectural refinement to your space with the Dolomite Chair Rail Trim 2″x12″ Polished. Made from natural white Dolomite marble, this trim features the traditional profile and a polished finish that enhances the stone’s brightness and subtle veining. It’s the ideal piece for transitioning between wall surfaces or framing accent areas with a sophisticated edge.
The 2″x12″ size makes it perfect for use in bathrooms, kitchens, hallways, or any room where a decorative border or clean division is needed. The polished surface reflects light beautifully, making your walls appear more defined and elegant.
Key Features
- Material: White Dolomite Marble
- Finish: Polished – glossy and reflective
- Size: 2″ x 12″ (5.1 x 30.5 cm)
- Profile: decorative chair rail molding
- Color: Crisp white with delicate veining
- Recommended Use: Wall borders, tile transitions, wainscot caps, and accent framing
Design Benefits
This Dolomite chair rail adds a sense of depth and craftsmanship to your tile installations. Whether used in classic interiors or modern schemes needing definition, its timeless white hue and ornate profile bring subtle luxury to any room. Pair it with Dolomite or other marble tiles for a seamless, high-end finish.
Installation Guide – Dolomite Polished Marble Chair Rail Trim (2″x12″)
Step 1: Surface Preparation – Prepare the Wall
- Ensure the wall is flat, clean, and completely dry before starting.
- Complete adjacent tile installations prior to setting the chair rail trim.
- Mark a horizontal guide line where the trim will be applied—typically at the top edge of field tile or feature wall.
Step 2: Dry Layout – Visual Balance and Fitting
- Dry-lay all trim pieces to preview layout, veining, and symmetry.
- Cut trim as needed using a wet saw with a fine diamond blade—ensure smooth edges to maintain a seamless look.
- Dry-fit corner joints if the installation includes returns or framed panels.
Step 3: Adhesive Application – Trim Installation
Recommended Mortars:
- Laticrete 254 Platinum White
- Mapei Ultralite Mortar (non-sag, white)
Instructions:
- Use a margin trowel to apply thin-set mortar to the back of the trim.
- Back-butter each piece to ensure full coverage for a secure bond.
- Firmly press the trim into place along the guide line.
- Use painter’s tape or spacers to keep pieces aligned until the adhesive cures (24 hours).
Step 4: Grouting – Final Touches
- Use non-sanded grout to prevent scratching the polished marble.
- Fill gaps between trim pieces and wipe away excess with a damp sponge immediately.
- Buff the polished surface with a clean microfiber cloth after 30–45 minutes to remove grout haze.
Step 5: Sealing – Protection and Longevity
- After grout has cured (typically 72 hours), apply a penetrating marble-safe sealer.
- Reapply sealer periodically, especially in high-moisture or kitchen areas.
Maintenance Tips
- Clean using pH-neutral stone-safe cleaners only.
- Avoid acidic or abrasive solutions that can dull the polished finish.
- Gently dust and wipe down the surface to maintain a pristine appearance.
Important Note
Dolomite is a natural stone with inherent veining and color variation. Always inspect and dry-lay prior to installation for the best visual outcome. Stonemarket USA is not responsible for variation or installation-related issues.


