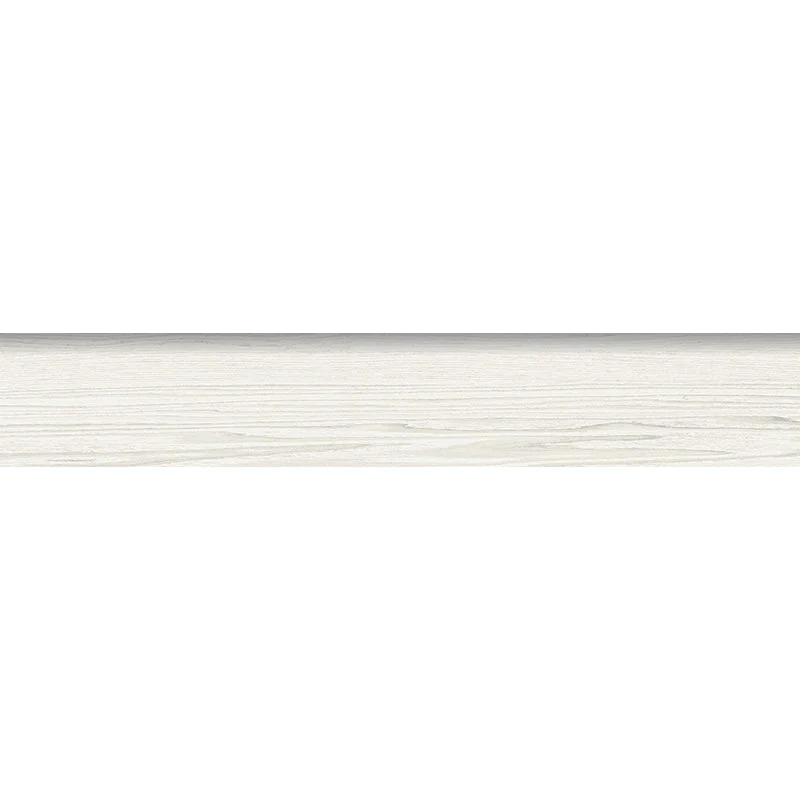
Acorn Bianco 3×18 Natural Porcelain Bullnose
Complete your Acorn tile installation with the Acorn Bianco 3×18 Porcelain Bullnose. This coordinating trim features a natural finish and a painted-bevel, factory-finished edge to create clean, professional transitions at exposed wall edges and terminations.
Sized at an elongated 3×18, this porcelain bullnose aligns neatly with field tiles for backsplashes, bathrooms, shower walls, and other interior wall applications. Durable, easy to maintain, and color-matched to the Acorn Bianco field tile, it delivers a cohesive, polished look across the entire space.
Crafted from porcelain for reliable performance, this trim piece offers the practicality you expect in kitchens and baths while helping protect edges from chips and wear. Use it wherever you want a refined, finished boundary that ties the design together.
Features
- Coordinating 3×18 porcelain bullnose trim for the Acorn Bianco series
- Natural finish with painted-bevel, factory-finished edge for clean terminations
- Durable porcelain body for everyday performance and easy care
- Elongated format helps create continuous, streamlined edges
- Approx. 3/8 in. thickness (trim profile varies due to bullnose edge)
- Frost-resistant porcelain body
- Designed to align with Acorn field tiles for a cohesive installation
- Ideal for backsplashes, bathrooms, shower wall edges, and interior wall transitions
Recommended Applications
- Exposed tile edges
- Kitchen backsplashes
- Bathroom walls
- Shower wall edges
- Residential interior walls
- Commercial interior walls
- Wall transitions and borders
- Edge trim for coordinated installations
Installation Guide – Acorn Bianco 3×18 Natural Porcelain Bullnose
Important Advisory
Follow manufacturer instructions, local building codes, and industry standards for tile installation. Ensure substrates are clean, dry, plumb, and structurally sound. Use appropriate waterproofing in wet areas and provide proper movement accommodation per recognized guidelines.
Step 1: Layout & Planning
- Confirm the bullnose placement at all exposed edges before setting tile.
- Dry-lay pieces to verify alignment with field tiles and consistent grout joints.
- Blend pieces as needed for uniform appearance and shade coordination.
- Mark corners and transitions so factory-finished edges face exposed areas.
Step 2: Bullnose Installation
- Use a high-quality, polymer-modified thin-set suitable for porcelain and the substrate.
- Apply mortar with an appropriately sized notched trowel; achieve full coverage behind each trim piece.
- Press and align bullnose with adjacent field tiles to maintain straight, even edges.
- Periodically check plane and spacing; remove excess mortar from joints before it skins over.
- Allow mortar to cure per manufacturer instructions before grouting.
Step 3: Cutting
- Use a wet saw with a diamond blade rated for porcelain for any required cuts.
- Measure carefully and dry-fit cut pieces to confirm fit and orientation.
- Lightly ease cut edges as needed where they meet concealed transitions.
Step 4: Joint Filling
- Select grout appropriate for porcelain and intended joint width; choose a color that complements the field tile.
- Grout after mortar cure; clean with a damp sponge per grout manufacturer instructions.
- Use flexible sealant at changes of plane and movement joints as required.
Step 5: Cleaning & Maintenance
- Clean with pH-neutral cleaners approved for porcelain surfaces.
- Avoid abrasive pads or harsh chemicals that could affect the finish or grout.
- Protect newly installed trim from impact until mortar and grout have fully cured.
Disclaimer
Installation conditions vary. Verify suitability on-site. Always follow tile, setting material, grout, and waterproofing manufacturer instructions and applicable industry standards.