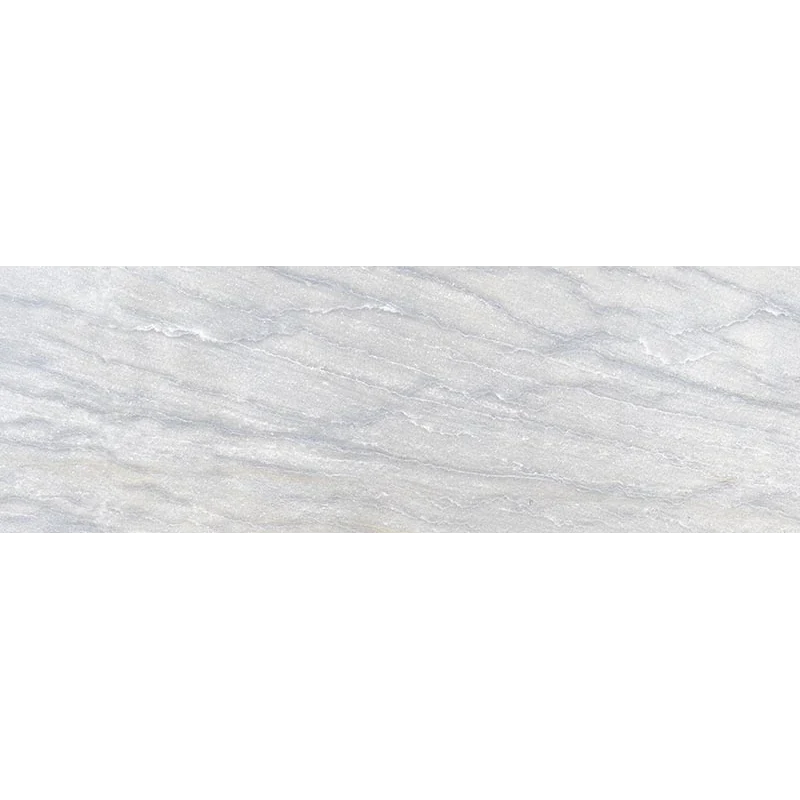
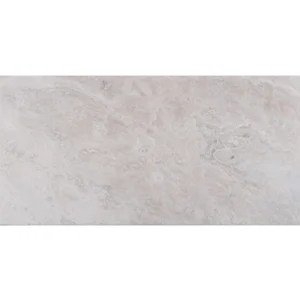
Installation Guide – Macaubas Oyster 4×12 Polished Porcelain Tile
Important Advisory
Inspect all tile before installation to confirm color, finish, size, shade, and quantity. Plan the installation carefully and follow Happy Floors instructions, setting-material manufacturer directions, applicable local building codes, and recognized tile-industry standards. Do not install material with visible defects.
Step 1: Layout & Planning
- Confirm that the substrate is suitable for tile and plan the layout before setting material. Establish reference lines to maintain consistent alignment.
- Dry-lay tiles to review the oyster color, polished finish, rectified edges, and any variation before installation.
- Blend tiles from multiple boxes throughout the layout when variation is present to achieve a balanced finished appearance.
- Plan cuts and transitions in advance. Account for movement joints and changes in plane as required by the substrate, room conditions, local codes, and industry standards.
Step 2: Tile Installation
- Prepare a clean, dry, flat, stable, and structurally sound substrate. Remove dust, grease, paint, and other materials that may interfere with adhesion, and correct unsuitable areas before beginning.
- Use a suitable thin-set mortar or other setting material approved for porcelain tile and compatible with the substrate and installation conditions.
- Apply mortar according to the setting-material manufacturer’s instructions, working within its recommended open time. Press each tile firmly into place and periodically check tile removal to verify appropriate mortar contact.
- Use the rectified edges to maintain the planned layout, but do not assume they eliminate the need for grout joints. Select joint width and movement accommodation according to applicable tile standards and manufacturer recommendations.
- Check lines, level, plane, and alignment frequently. Remove excess mortar from the polished surface and joints before it hardens, and allow the setting material to cure as directed before grouting.
Step 3: Cutting
- Use a professional tile cutter or wet saw with tooling appropriate for porcelain tile and the polished finish.
- Measure and dry-fit cut pieces before final placement. Handle the polished surface and cut edges carefully to reduce chipping.
- Use suitable tools for outlet openings, plumbing penetrations, corners, and other detailed cuts. Protect adjacent finished surfaces during cutting.
Step 4: Joint Filling
- Choose a grout compatible with porcelain tile, the selected joint width, and the installation environment.
- Apply grout according to the grout manufacturer’s instructions, removing excess from the polished surface before it dries.
- Clean joints with a damp sponge without excessive water, and remove grout haze using a method approved for the tile finish after the grout has cured as directed.
- Use movement joints where required by the substrate, room dimensions, environmental conditions, and recognized tile-installation standards.
Step 5: Cleaning & Maintenance
- Remove construction residue using cleaning products approved for polished porcelain tile and follow the product directions.
- Maintain the surface with a mild, non-abrasive cleaner and soft cleaning tools. Avoid abrasive pads, harsh chemicals, and methods that may dull or scratch the polished finish.
- Wipe spills and residue promptly, especially in areas exposed to grease or staining materials.
- Maintain and seal grout joints only as recommended by the grout manufacturer. Confirm any sealing or maintenance product is compatible with polished porcelain before use.
Disclaimer
Installation conditions vary by project. Stone Market USA recommends that qualified tile professionals review the substrate, layout, setting materials, grout, movement requirements, and intended application before installation. Follow all manufacturer instructions, local codes, and applicable industry standards. Installed material is considered accepted.