Claystone White 12×12 Porcelain Tile
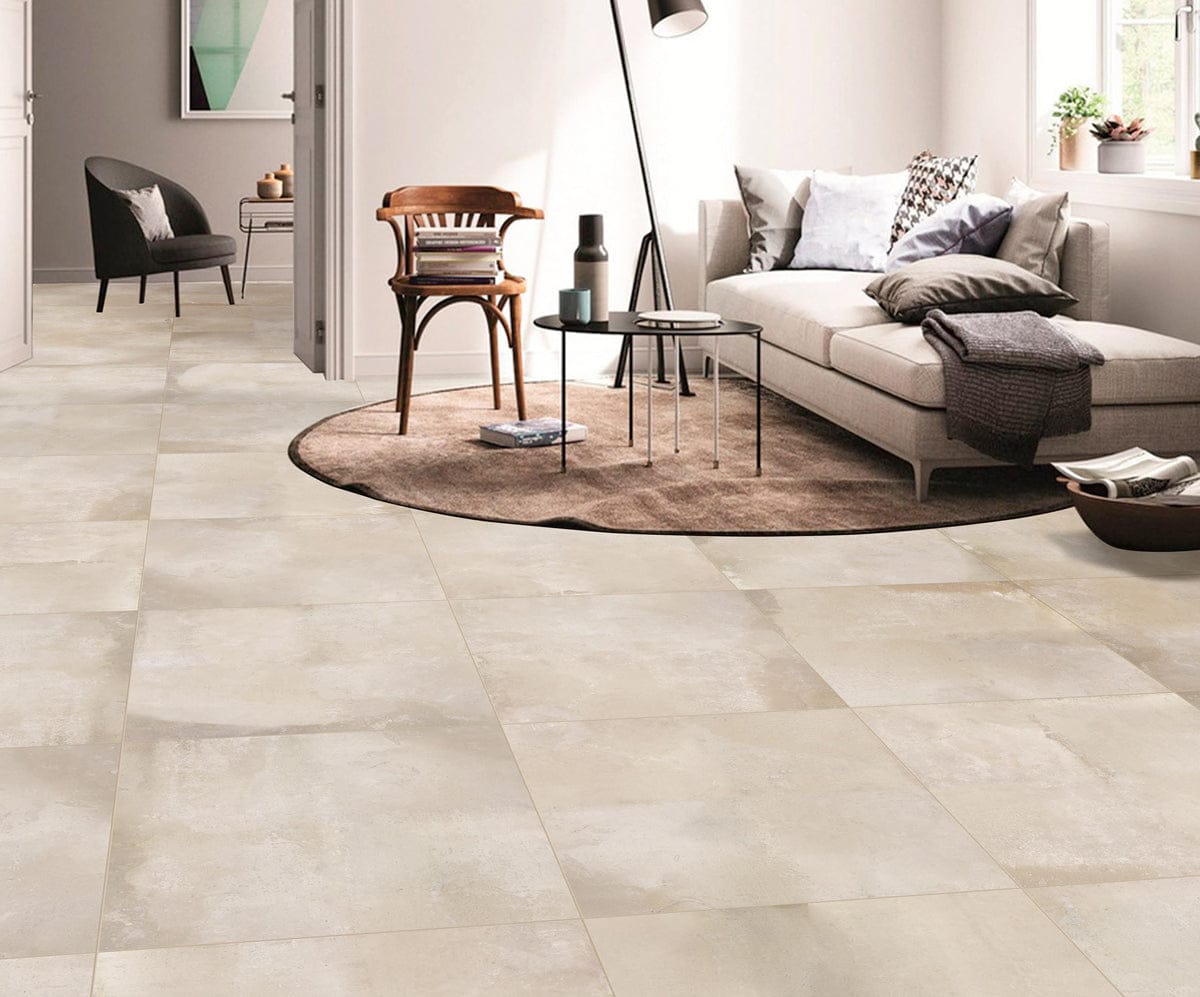
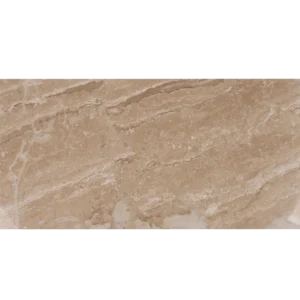
The Claystone White 12×12 Porcelain Tile brings the refined character of natural stone into a durable porcelain surface. Its soft white and warm neutral tones create a light, versatile appearance that complements both contemporary and transitional interiors.
Part of the Claystone Collection by Happy Floors, this porcelain tile features subtle tonal movement and a natural surface designed to recreate the understated beauty of limestone-inspired stone. The balanced variation gives floors and walls visual depth without overwhelming the surrounding design.
The natural finish provides a clean, matte appearance, while the rectified edges allow for precise installation and tighter grout joints. Its classic 12×12 format makes Claystone White suitable for a wide variety of residential and commercial layouts.
Ideal Applications
Claystone White porcelain tile is suitable for a variety of interior applications, including:
- Bathroom floors and walls
- Kitchen floors
- Entryways and foyers
- Living areas
- Hallways
- Feature walls
- Commercial interior spaces
Its light neutral palette makes Claystone White especially versatile for creating bright, cohesive spaces, while the porcelain construction provides the durability and easy maintenance needed for everyday environments.
Porcelain Tile Variation
Color, shading, and surface pattern may vary between individual tiles. We recommend reviewing multiple pieces and blending tiles from different boxes during installation to achieve a balanced and natural-looking layout.
Installation Guide – Step by Step
Step 1: Surface Preparation – Clean, Flat and Dry Substrate
- Clean the installation surface thoroughly and remove dust, grease, paint, old adhesive, and other contaminants that may affect bonding.
- Make sure the substrate is structurally sound, flat, level, and suitable for porcelain tile installation.
- Correct significant surface irregularities with an appropriate patching or self-leveling compound before installation.
- Use an appropriate waterproofing membrane in wet areas such as showers and bathroom floors where required.
Step 2: Layout Planning – Create a Balanced Installation
- Use reference or chalk lines to establish a balanced layout before applying mortar.
- Dry-lay several tiles to review the color, shade, and surface variation of the Claystone White porcelain tile.
- Blend tiles from multiple boxes during installation to distribute natural-looking tonal and pattern variation evenly throughout the area.
- Follow applicable tile-industry recommendations and the grout-joint requirements of the mortar and grout manufacturers when determining joint width.
Step 3: Mortar Application – Use Porcelain-Compatible Thin-Set
Recommended Mortar Type:
- Use a high-quality polymer-modified thin-set mortar suitable for porcelain tile and the specific substrate.
- For this light-colored tile, a white mortar may be preferred where appropriate for the installation.
Instructions:
- Select the appropriate notched trowel based on the substrate condition, tile size, and mortar manufacturer’s recommendations.
- Comb mortar consistently in one direction to promote proper coverage and air release.
- Back-butter tiles when necessary to achieve adequate mortar contact and coverage.
- Periodically lift a tile during installation to verify proper mortar transfer and coverage.
- Apply only as much mortar as can be tiled within the mortar manufacturer’s recommended open time.
Step 4: Cutting & Fitting – Clean Porcelain Cuts
- Use a wet saw equipped with a quality diamond blade suitable for porcelain tile.
- Measure and dry-fit cut pieces before setting them into mortar.
- Use appropriate diamond tools for holes, notches, and other detailed cuts.
- Handle cut edges carefully to minimize chipping and maintain a professional finished appearance.
Step 5: Tile Setting – Maintain a Flat and Consistent Surface
- Press each tile firmly into the mortar bed using slight back-and-forth movement to promote proper contact.
- Maintain consistent grout joints and regularly check alignment as installation progresses.
- Use a tile leveling system where appropriate to help minimize lippage between adjacent tiles.
- Remove excess mortar from the tile surface and grout joints before it hardens.
- Allow the mortar to cure according to the manufacturer’s instructions before grouting or allowing traffic on the installation.
Step 6: Grouting & Final Cleaning
- Select a grout suitable for porcelain tile and the chosen grout-joint width.
- Apply grout diagonally across the joints using a rubber grout float.
- Remove excess grout and clean the tile surface with a damp sponge before residue hardens.
- Allow the grout to cure according to the grout manufacturer’s instructions.
- Porcelain tile generally does not require sealing; however, some grout products may require sealing depending on the manufacturer’s recommendations.
Maintenance Tips – Easy Porcelain Tile Care
- Sweep or vacuum regularly to remove loose dirt and abrasive debris.
- Clean with a mild, pH-neutral cleaner suitable for porcelain tile.
- Wipe spills promptly and avoid allowing heavy residue to build up on the surface.
- Avoid highly abrasive cleaning tools that may affect the tile or grout finish.
- Use protective pads beneath furniture where appropriate.
Shipping & Packaging
Claystone White 12×12 Rectified Natural Porcelain Tile is packaged for protection during transportation. Each box contains approximately 10.65 sq. ft. of material with 11 pieces per box. Store cartons in a clean, dry area and inspect all material for damage, shade variation, and suitability before installation.
Important Note
Claystone White porcelain tile may exhibit natural-looking variation in shade, tone, and surface pattern. Review and blend material from multiple boxes before installation for a balanced appearance. Verify actual product dimensions and installation requirements before beginning the project. Installation should follow applicable industry standards as well as mortar, grout, waterproofing, and substrate manufacturer instructions. Stone Market USA is not responsible for installation errors or material installed without prior inspection.