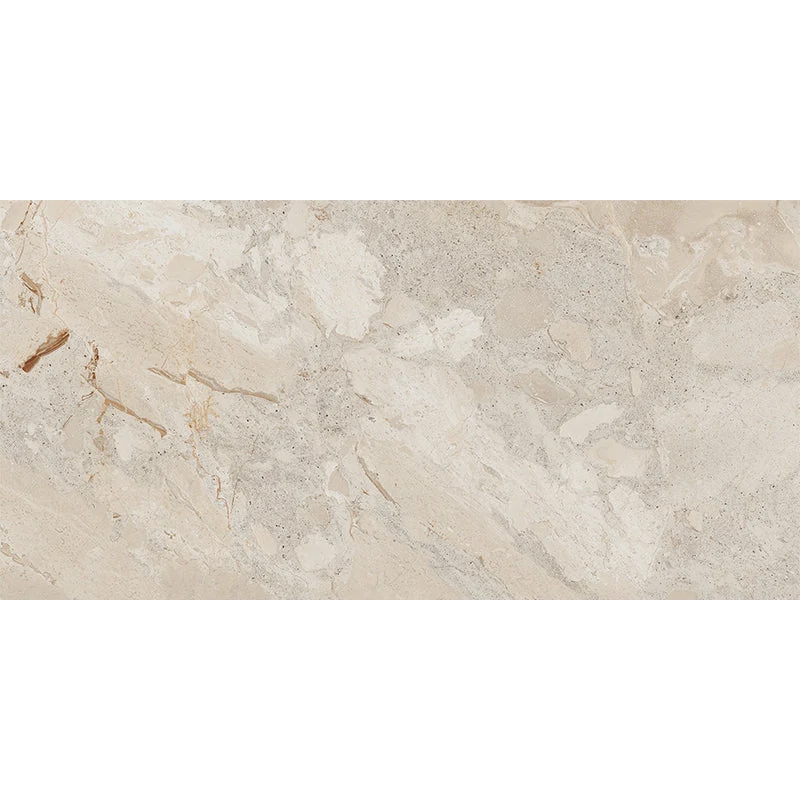
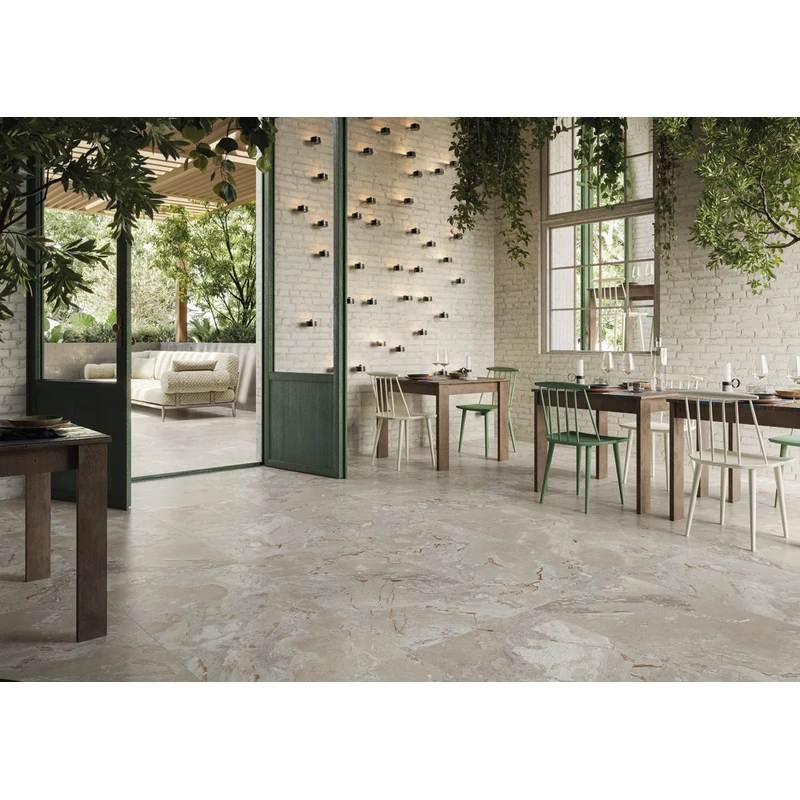
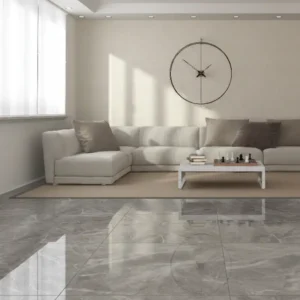
Happy Floors Eva Sand 12×24 Porcelain Tile Polished Rectified
Refined and inviting, the Eva Sand 12×24 polished porcelain tile brings a warm, contemporary neutral to walls and floors. Its smooth polished surface and precise rectified edges create crisp lines and tight, consistent joints for an elegant, cohesive look across larger areas.
Engineered in durable porcelain with a robust PEI 5 wear rating and a DCOF >0.59, this tile balances style with everyday performance in busy homes and light commercial spaces. Frost resistance expands design options to exterior facades in freeze–thaw climates. The 12×24 format reduces visible grout lines, and box coverage is 11.63 sq. ft. (6 pieces) to simplify planning and estimating.
Use Eva Sand on its own for a clean, modern palette or coordinate with complementary materials to build layered texture and tone. The polished finish subtly reflects light, enhancing openness in kitchens, baths, entries, and living areas.
Features
- Porcelain body for durability and easy care
- Color: Sand
- Finish: Polished
- Edge: Rectified for precise, narrow grout joints
- Size: 12×24 tile
- PEI rating: 5
- DCOF: >0.59
- Frost resistant for freeze–thaw exterior wall applications
- Coverage: 11.63 sq. ft. per box | 6 pieces per box | approx. 1.94 sq. ft. per piece
Recommended Applications
- Residential interior floors
- Residential interior walls
- Light commercial interior floors
- Commercial interior walls
- Backsplashes
- Shower walls
- Fireplace surrounds
- Exterior walls/facades (freeze–thaw)
Installation Guide – Happy Floors Eva Sand 12×24 Porcelain Tile Polished Rectified
Important Advisory
Always follow the tile manufacturer’s instructions, local building codes, and recognized industry standards (ANSI A108/A118/A326.3 and TCNA guidelines). Verify substrate suitability, flatness, and movement accommodation. Provide waterproofing/drainage where required by application.
Step 1: Layout & Planning
- Confirm the substrate is clean, dry, structurally sound, and flat within tolerances for 12×24 tile.
- Plan the layout by dry-laying to balance cuts and avoid narrow slivers at perimeters and transitions.
- Blend tiles from multiple boxes to evenly distribute any shade or pattern variation.
- Use spacers consistent with rectified edges and include movement joints per TCNA EJ171 and project conditions.
Step 2: Tile Installation
- Use a polymer‑modified thinset mortar approved for porcelain tile and the project’s substrate.
- Key mortar into the substrate, then comb with an appropriate notched trowel; back‑butter tiles as needed to achieve required coverage.
- Set tiles with a slight perpendicular motion to collapse ridges and promote full bond; target 80–95% coverage per application and location.
- Use a tile leveling system when helpful to reduce lippage in 12×24 installations.
- Allow mortar to cure per manufacturer instructions before grouting or traffic.
Step 3: Cutting
- Cut with a wet saw using a premium diamond blade rated for porcelain.
- Support tile fully during cuts and mark carefully to minimize chipping.
- Lightly ease sharp cut edges where they will be exposed.
Step 4: Joint Filling
- Select a grout suitable for porcelain and the chosen joint width; follow manufacturer mixing and cure directions.
- Pack joints completely with a rubber float; clean diagonally and remove haze promptly with clean water and non‑abrasive tools, especially on polished surfaces.
- Use appropriate sealant at movement joints and changes of plane; do not grout these areas.
- Protect the installation from traffic until grout has cured.
Step 5: Cleaning & Maintenance
- Clean routinely with a pH‑neutral cleaner approved for porcelain; avoid harsh acids, alkalis, or abrasives.
- Use entry mats and protective glides to reduce tracked‑in grit and scratching.
- Follow grout manufacturer guidance for care and any recommended sealing of cementitious grout.
Disclaimer
Installation should be performed by qualified professionals. Verify actual materials, lot characteristics, and suitability for specific applications before installation. Stone Market USA is not responsible for issues from improper installation, handling, or site conditions.