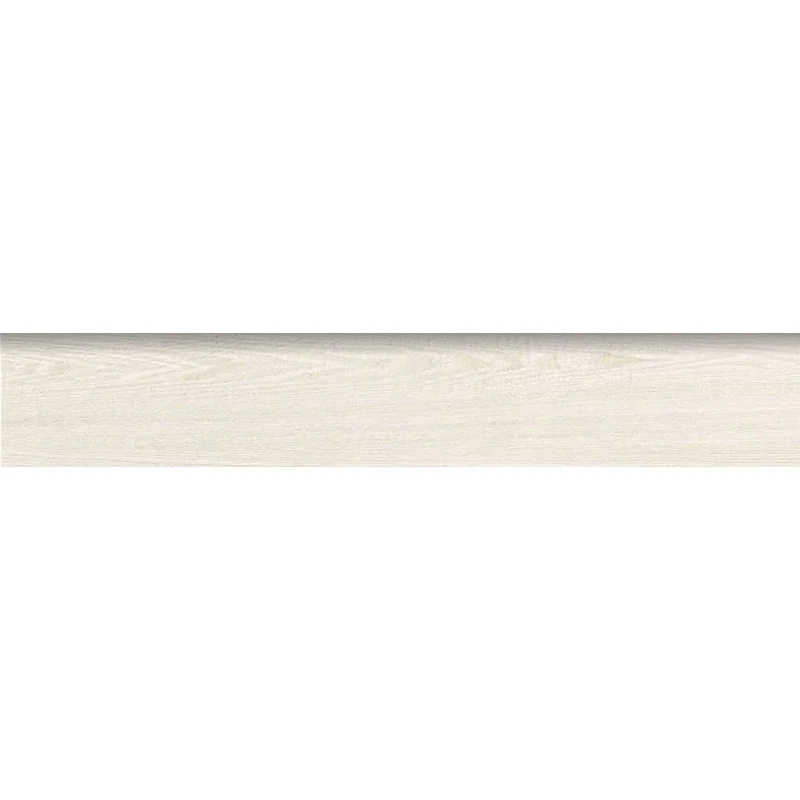
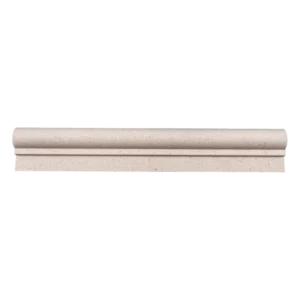
Acorn White 3×18 Natural Porcelain Bullnose Tile
The Acorn White 3×18 Porcelain Bullnose Tile provides a clean, coordinated finishing detail for Acorn installations. Its bright white tone and natural finish create a refined transition along exposed tile edges while maintaining a cohesive look with matching field tiles.
Sized in a versatile 3×18 format, this porcelain trim is ideal for finishing wall edges on backsplashes, shower surrounds, bathroom walls, and other tiled interiors where a professional edge is desired. A factory-painted beveled edge helps deliver a smooth, consistent finish with minimal maintenance.
Crafted from durable porcelain, this bullnose offers everyday practicality and easy care. Use it to complete your Acorn White design with precise, polished edges and consistent color alignment across your installation.
Features
- 3×18 porcelain bullnose trim in Acorn White
- Natural finish for a coordinated, low-sheen look
- Factory painted-bevel edge for clean, finished transitions
- Durable, low-maintenance porcelain construction
- Coordinates with Acorn collection field tiles
- Sold by the piece for flexible ordering on finishing runs
- Frost-resistant porcelain construction
Recommended Applications
- Exposed tile edges on interior walls
- Kitchen backsplash edges
- Bathroom walls and shower wall edges
- Wall transitions and outside corners
- Decorative finishing details and borders
- Residential interior walls
Installation Guide – Acorn White 3×18 Natural Porcelain Bullnose Tile
Important Advisory
Always follow the tile manufacturer’s instructions, ANSI A108/A118 standards, and local building codes. Verify substrate flatness and suitability before installation. Use appropriate waterproofing behind tile in wet areas and confirm layout, color match, and edge orientation with a dry layout before setting.
Step 1: Layout & Planning
- Confirm the finished-edge locations and quantity of bullnose pieces needed.
- Dry-lay the bullnose with coordinating field tile to check alignment, joint width, and overall appearance.
- Blend pieces as needed to maintain consistent shade and patterning with adjacent tiles.
- Plan corners and terminations so factory-finished edges face exposed areas.
Step 2: Bullnose Installation
- Use a high-quality polymer-modified thin-set mortar suitable for porcelain and the substrate.
- Trowel mortar evenly with an appropriately sized notched trowel; ensure full coverage at edges.
- Press each bullnose firmly into place and align with adjacent field tile to maintain straight lines and consistent reveals.
- Remove excess mortar from surfaces and joints before it skins over, and allow to cure per manufacturer instructions.
Step 3: Cutting
- Use a wet saw with a porcelain-rated diamond blade for clean, accurate cuts.
- Measure and mark carefully; dry-fit cut pieces before setting.
- Position factory-finished bullnose edges toward exposed edges whenever possible.
Step 4: Joint Filling
- After mortar cures, grout joints with a grout compatible with porcelain and the joint width.
- Choose a grout color that complements the Acorn White tile.
- Clean excess grout with a damp sponge and allow to cure fully before normal use or moisture exposure.
- Seal only if required by the grout manufacturer; porcelain tile typically does not require sealing.
Step 5: Cleaning & Maintenance
- Clean with a pH-neutral cleaner suitable for porcelain tile.
- Avoid abrasive pads or harsh chemicals that could affect the finish or grout.
- Wipe residues promptly and use soft cloths or non-abrasive sponges for routine care.
Disclaimer
Installation conditions vary. Confirm suitability of substrates, setting materials, and waterproofing with manufacturers. Follow all industry standards and local codes. Stone Market USA is not responsible for installation errors or site conditions.