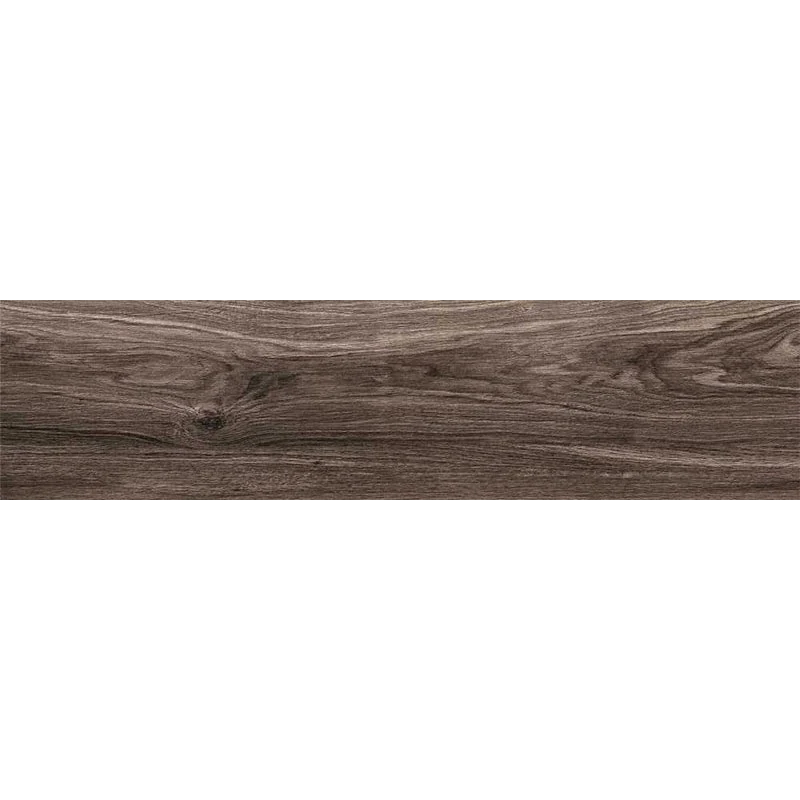
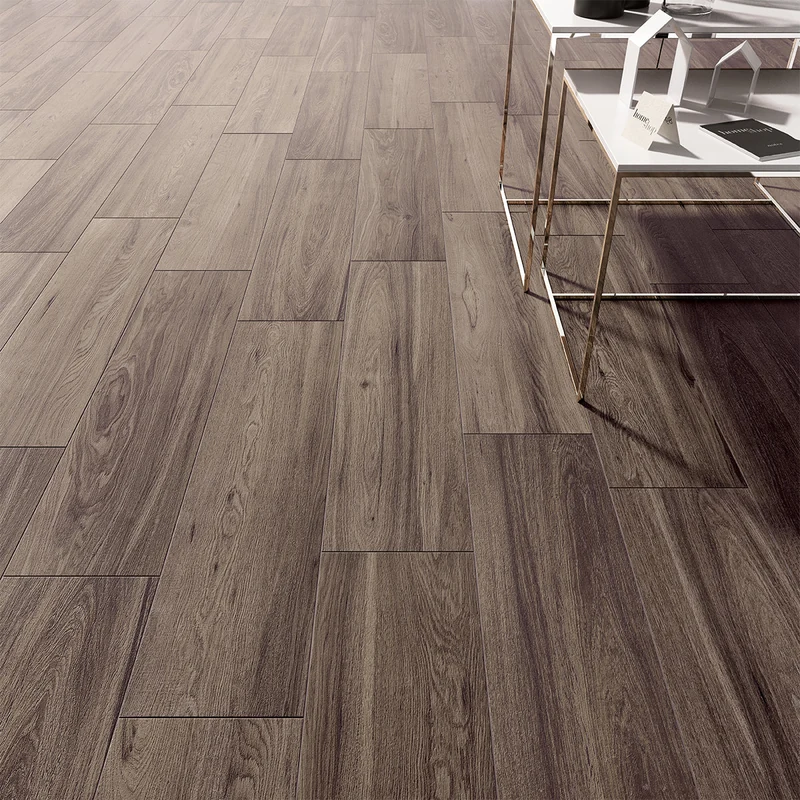
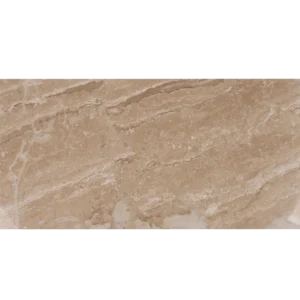
Acorn Walnut 9×36 Natural Wood Look Porcelain Tile
Bring the inviting warmth of walnut into your space with the Acorn Walnut 9×36 wood-look porcelain tile. Rich brown tones and authentic grain movement deliver the character of natural hardwood in a surface engineered for everyday living.
The elongated 9×36 plank format enhances visual flow and creates continuous, wood-inspired lines across floors and walls. A natural matte finish underscores the realistic texture, while rectified edges support clean, contemporary installations with tighter grout joints.
Built on a durable porcelain body with a stated DCOF >0.42 and frost resistance, this tile offers low-maintenance performance for busy households. Expect natural pattern variation from piece to piece; dry-lay and blend tiles from multiple boxes to balance tones and grain before installation.
Features
- Wood-look design with warm walnut tones and realistic grain movement
- Porcelain construction for durable, low-maintenance performance
- 9×36 elongated plank format enhances linear flow and wood-inspired layouts
- Natural matte finish for a refined, authentic appearance
- Rectified edges allow for tight, clean grout joints
- DCOF: >0.42 (as provided)
- Frost resistant porcelain body
- Box coverage: 13.08 sq ft (approximate)
- Intended for interior floors and walls when installed to standards
Recommended Applications
- Residential interior floors
- Living rooms and family rooms
- Kitchens and dining areas
- Bathrooms (floors and walls)
- Entryways and hallways
- Shower walls
- Feature walls and fireplace surrounds
Installation Guide – Acorn Walnut 9×36 Natural Wood Look Porcelain Tile
Important Advisory
Follow the tile manufacturer’s instructions, ANSI A108/TCNA guidelines, and local building codes. Verify substrate suitability, flatness, movement joints, and environmental conditions before starting. Always blend tiles from multiple boxes to distribute pattern and tone.
Step 1: Layout & Planning
- Confirm substrate flatness appropriate for large-format planks; correct irregularities before setting tile.
- Establish layout lines and determine plank direction to emphasize the wood-look grain.
- Dry-lay and blend tiles from multiple boxes to balance tonal and pattern variation.
- Use a staggered layout with a maximum 1/3 offset unless otherwise directed by the manufacturer to help minimize lippage in long planks.
Maintain consistent joint width with appropriate spacers and plan movement joints per EJ171 or local standards.
Step 2: Tile Installation
- Ensure the substrate is clean, sound, and dry. Use an appropriate primer or membrane where required (e.g., waterproofing in wet areas).
- Use a porcelain-approved, large-and-heavy-tile (LHT/LFT) mortar and a notched trowel sized for proper coverage.
- Comb mortar in a single direction and back-butter planks as needed to achieve required coverage.
- Set tiles by sliding perpendicular to the trowel ridges to collapse them and improve bond.
- Use a leveling system when appropriate to help reduce lippage with long planks. Check alignment and flatness frequently.
Observe open times and cure times per mortar manufacturer before grouting or traffic.
Step 3: Cutting
- Cut with a professional wet saw using a diamond blade suitable for porcelain.
- Measure carefully, dry-fit cut pieces, and protect edges during handling.
- Use appropriate PPE and smooth exposed cuts as needed with a diamond pad.
Step 4: Joint Filling
- Select a grout compatible with porcelain tile and the chosen joint width.
- Choose a grout color that complements the walnut tones and desired wood-look effect.
- Apply grout diagonally across joints with a rubber float, then clean per grout manufacturer guidance.
- Honor movement joints and perimeters as required. Allow grout to cure fully before service. Seal grout only if recommended by the grout manufacturer.
Step 5: Cleaning & Maintenance
- Sweep or vacuum regularly to remove abrasive debris.
- Clean with pH-neutral products approved for porcelain tile; rinse thoroughly.
- Wipe spills promptly and avoid harsh or abrasive cleaners and pads.
- Use entry mats and protective furniture pads to help reduce wear.
Porcelain tile generally does not require sealing; follow grout care recommendations from the grout manufacturer.
Disclaimer
Guidance provided is general and does not replace manufacturer instructions or industry standards. Verify suitability for your specific project conditions and comply with local codes. Always inspect material before installation; installation constitutes acceptance.