Loading... (Warehouse Local Time)
Mon–Fri: 9:00 AM – 6:00 PM |

Myra Beige 1×2 Herringbone Honed Limestone Mosaic Tile

Myra Beige 1×2 Herringbone Honed Limestone Mosaic Tile features warm beige tones and a smooth matte finish that bring timeless elegance to interior spaces. The compact 1×2 herringbone pattern adds refined detail, making it an ideal choice for backsplashes, bathroom walls, shower surrounds, and accent features.

Item Code: MM140-29010 Category

540 Pieces in stock

Est. Coverage: 0.91 sq. ft. per piece | 4.55 sq. ft. per box | 325 sq. ft. per crate | Request Info
Note on Samples:
Sample pieces are small cut sizes, approximately 3" x 3" to 8" x 8", and intended for color and finish reference only.
If you need a full-size sample, please contact us.

Request Custom Pricing for Large Orders

Planning a large project? Orders over 500 sq. ft., full crates, or commercial applications may qualify for exclusive volume pricing. Reach out today and let us provide a custom quote tailored to your needs.

Request Volume Quote
  • Volume pricing available for qualified bulk orders.
  • We offer custom sizes, finishes, and crate-based shipments.

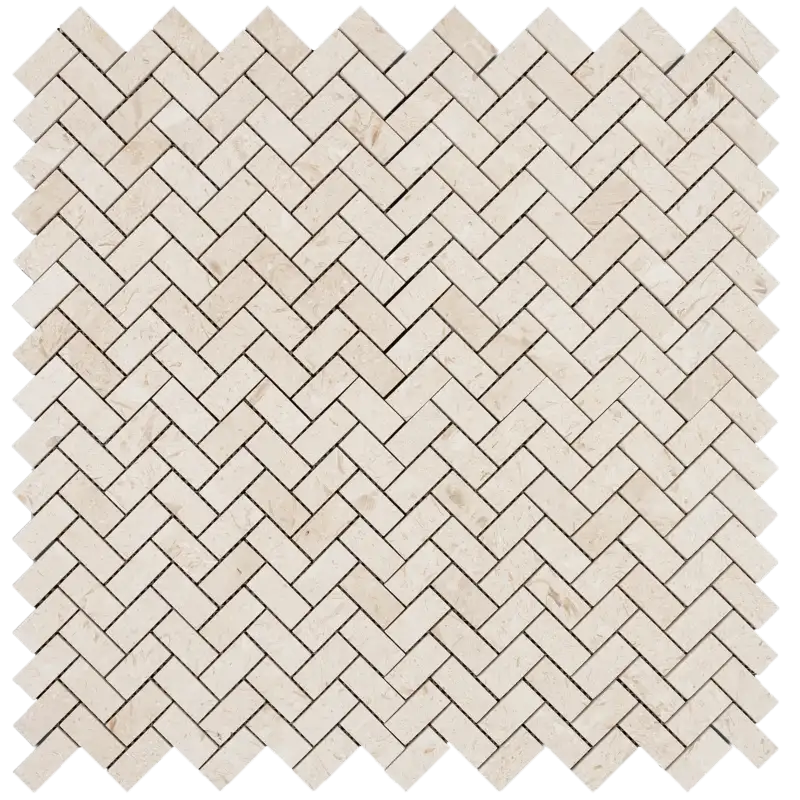
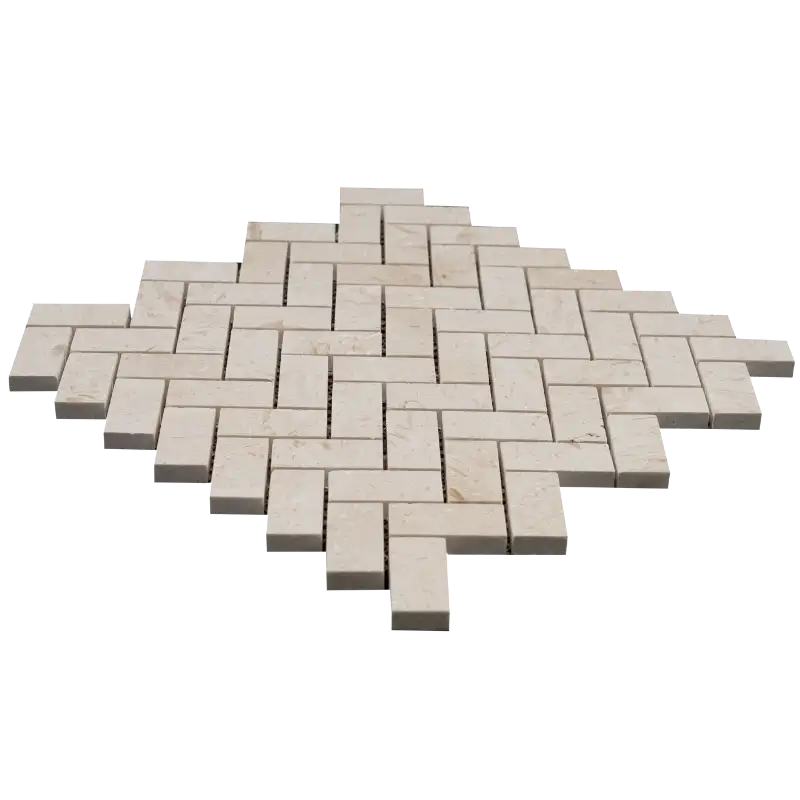
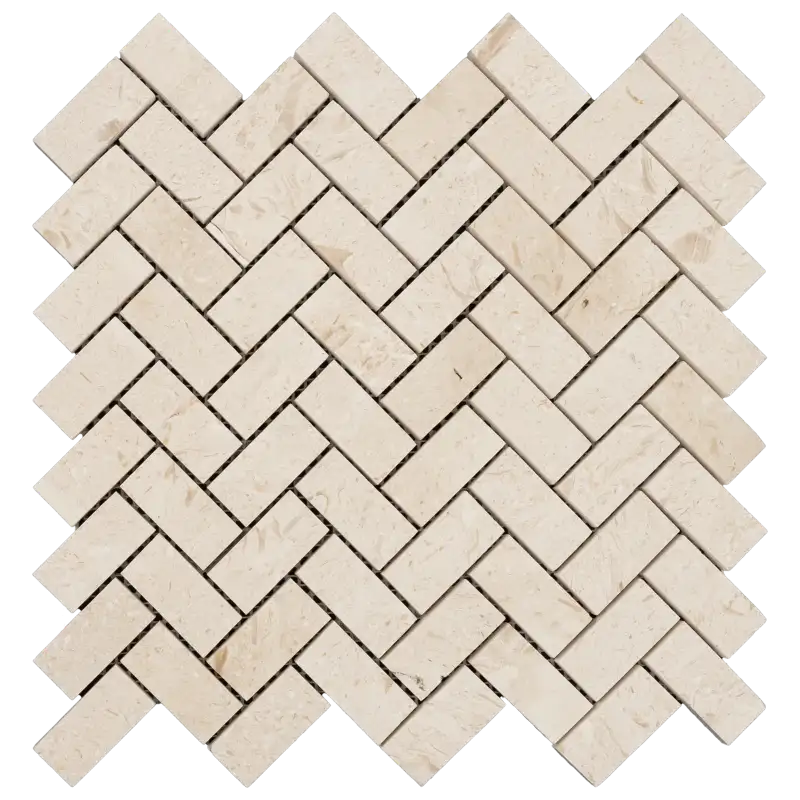
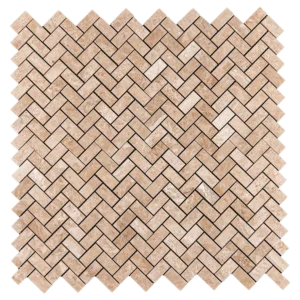
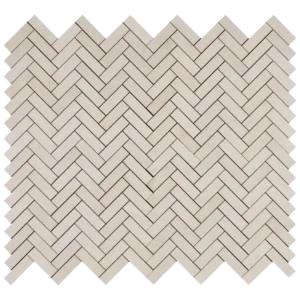
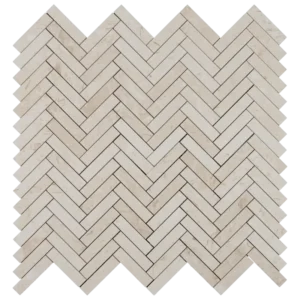
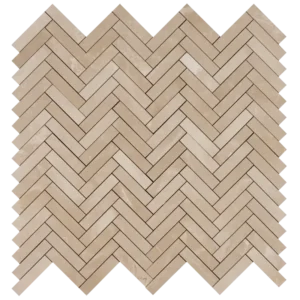
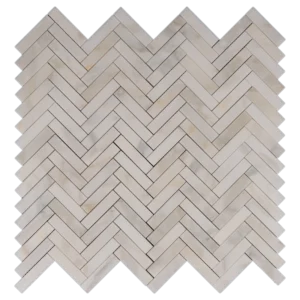
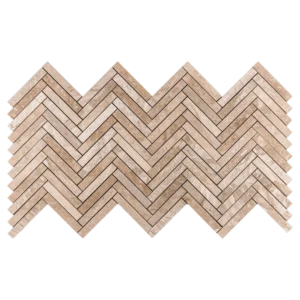
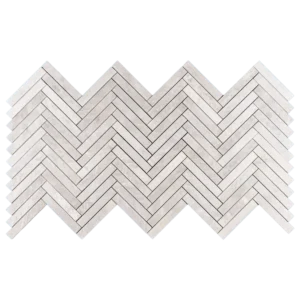
Myra Beige Limestone Mosaic Tile – 1×2 Herringbone Honed

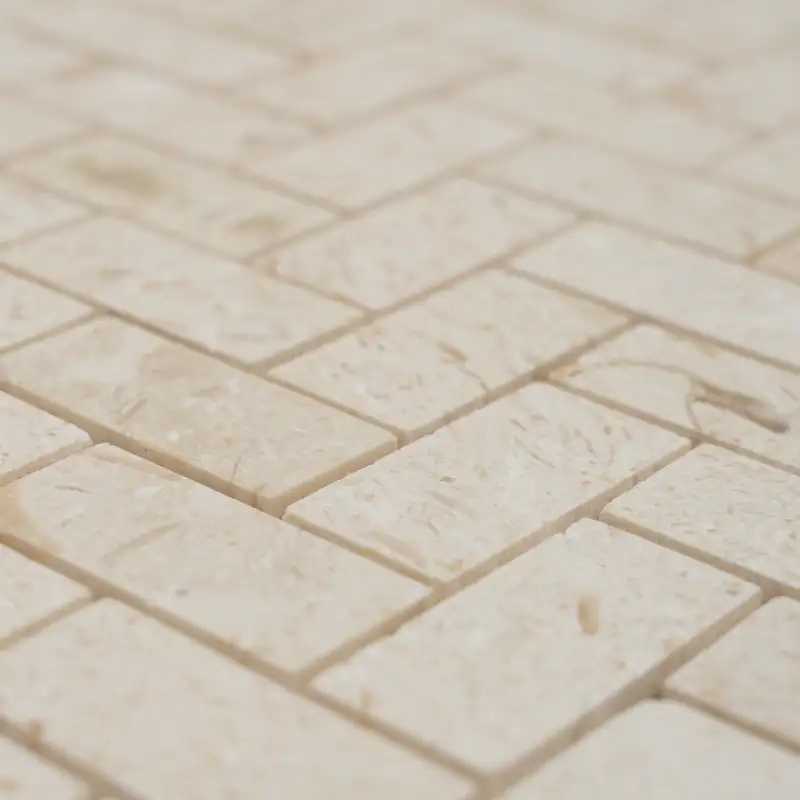
Bring understated sophistication to your interiors with the Myra Beige 1×2 Herringbone Honed Limestone Mosaic Tile. Featuring soft beige tones and a smooth matte surface, this natural limestone mosaic delivers timeless beauty with a refined, architectural character.

The compact 1×2 format creates a more detailed herringbone pattern, adding visual movement without overwhelming the space. Its honed finish enhances the stone’s natural texture while maintaining a calm, elegant appearance—ideal for both modern and classic designs.

Key Features

  • Material: Natural Myra Beige Limestone
  • Finish: Honed (Matte)
  • Pattern: Herringbone
  • Tile Size: 1″ × 2″
  • Sheet Size: 11.2″ × 11.2″ (28.5 × 28.5 cm)
  • Thickness: Approx. 3/8″ (1 cm)
  • Mounting: Mesh-mounted for consistent alignment

Why Choose Myra Beige Herringbone Limestone?

  • Classic herringbone pattern adds depth and visual interest
  • Honed limestone provides a soft, natural appearance
  • Warm beige tones complement a wide range of interior styles
  • Durable natural stone suitable for residential and light commercial use
  • Easy to maintain with stone-safe cleaning products

Recommended Applications

  • Bathroom walls and shower surrounds
  • Kitchen backsplashes
  • Accent and feature walls
  • Fireplace surrounds and decorative niches
  • Boutique commercial and hospitality interiors

Installation & Care

  • Install using high-quality white thin-set mortar suitable for natural stone
  • Seal before and after installation to protect against moisture and staining
  • Use non-sanded grout for narrow joints
  • Clean with pH-neutral, stone-safe cleaners only

Myra Beige 1×2 Herringbone Honed Limestone Mosaic Tile offers a refined balance of natural warmth, elegant texture, and timeless pattern—an excellent choice for elevated interior design projects.

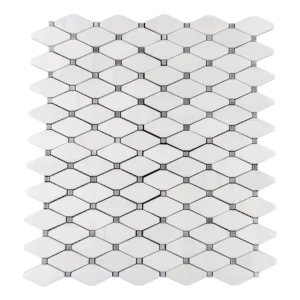
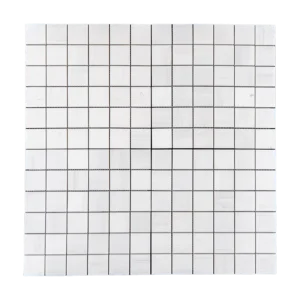
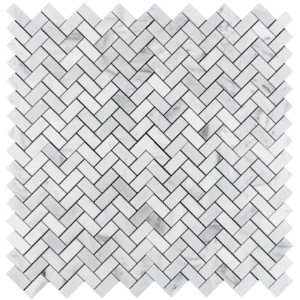
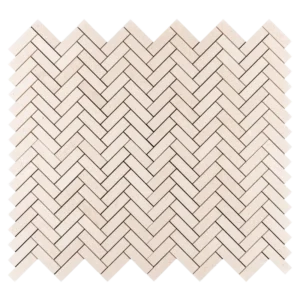
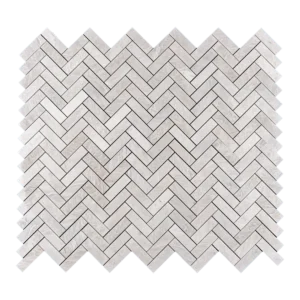
See all available patterns in our mosaic tile selection.

Weight5.8 lbs
Dimensions12 × 12.4 × 0.40 in
Finish

Thickness

Color

Size (inches)

Chip Size (Inches)

Design

Herringbone

Material

Usage Area

Backsplash, Commercial Interior Floors, Commercial Interior Walls, Outdoor Walls, Residential Interior Floors, Residential Interior Walls, Residential Light Floors, Shower Floors, Shower Walls

Collection

Myra Collection

Maximize the Performance of Your Myra Beige 1×2 Herringbone Honed Limestone Mosaic Tile

Achieve a flawless and long-lasting installation by following these essential guidelines for preparing, installing, and finishing your Myra Beige 1×2 Herringbone Honed Limestone Mosaic Tile. Proper installation ensures durability, structural stability, and a refined appearance while preserving the natural texture and elegance of honed limestone.

Step 1: Surface Preparation

A properly prepared surface is critical for a successful installation. Ensure the substrate is:

  • Clean, dry, and free of dust, grease, soap residue, and debris
  • Structurally sound, level, and free of cracks or loose areas
  • Correctly waterproofed in wet areas such as bathrooms, kitchens, and showers
  • Clear of moldings or obstructions that may interfere with tile placement
  • Leveled with a self-leveling compound if necessary

Step 2: Layout Planning

  • Measure the installation area and mark center points on all walls
  • Snap chalk lines to create accurate reference lines for alignment
  • Dry-lay multiple mosaic sheets to confirm pattern flow and visual balance
  • Adjust layout if edge cuts become too small or uneven
  • Use appropriate spacers (1.5 mm – 3 mm) for consistent grout joints
  • Verify continuous herringbone alignment before applying adhesive

Step 3: Adhesive Selection & Application

Use a high-quality white thin-set mortar approved for natural limestone. Premium brands such as Mapei, Laticrete, or Ardex are recommended.

  • Mix only the amount of mortar that can be used within 30 minutes
  • Apply mortar using the flat side of a notched trowel
  • Comb the mortar with the notched side at a 45-degree angle
  • Work in small sections to prevent premature drying
  • Back-butter the mosaic sheets when required to improve adhesion

Step 4: Cutting & Fitting

  • Mark tiles accurately using a pencil or tile marker
  • Use a wet saw with a diamond blade suitable for natural stone
  • Smooth cut edges with a rubbing stone to maintain a clean finish
  • Dry-fit all cuts before final installation to ensure pattern continuity

Step 5: Setting the Mosaic

  • Begin installation from the center reference lines and work outward
  • Set mosaic sheets using gentle pressure and a slight twisting motion
  • Avoid sliding sheets to prevent mortar displacement
  • Use spacers to maintain uniform grout joints
  • Lightly tap sheets with a rubber mallet for even placement
  • Remove excess mortar immediately with a damp sponge
  • Allow adhesive to cure for a minimum of 24 hours before grouting

Step 6: Grouting & Finishing

  • Remove spacers before grouting
  • Use non-sanded grout to protect the honed limestone surface
  • Apply grout diagonally using a rubber float to fully fill joints
  • Remove excess grout promptly
  • After initial set, clean grout haze with a damp sponge
  • Allow grout to cure for at least 72 hours before heavy use
  • Apply a penetrating sealer after grout has fully cured

Maintenance Guidelines

  • Clean regularly using pH-neutral, stone-safe cleaners
  • Avoid acidic, abrasive, or harsh chemical products
  • Reseal periodically to maintain stain resistance
  • Use protective pads under furniture to prevent surface damage

Important Notice

StoneMarket USA is not responsible for improper installation. For optimal results, professional installation by a qualified tile installer is strongly recommended.

By following these installation guidelines, your Myra Beige 1×2 Herringbone Honed Limestone Mosaic Tile will maintain its natural beauty, durability, and refined appearance for years to come.

Category
Category
Material
Material
Color
Color
Size
Size
Finish
Finish
Design
Design
Thickness
Thickness
Application
Usage Area
Request a Quote
Tell us briefly about your project, sq ft, and timing.